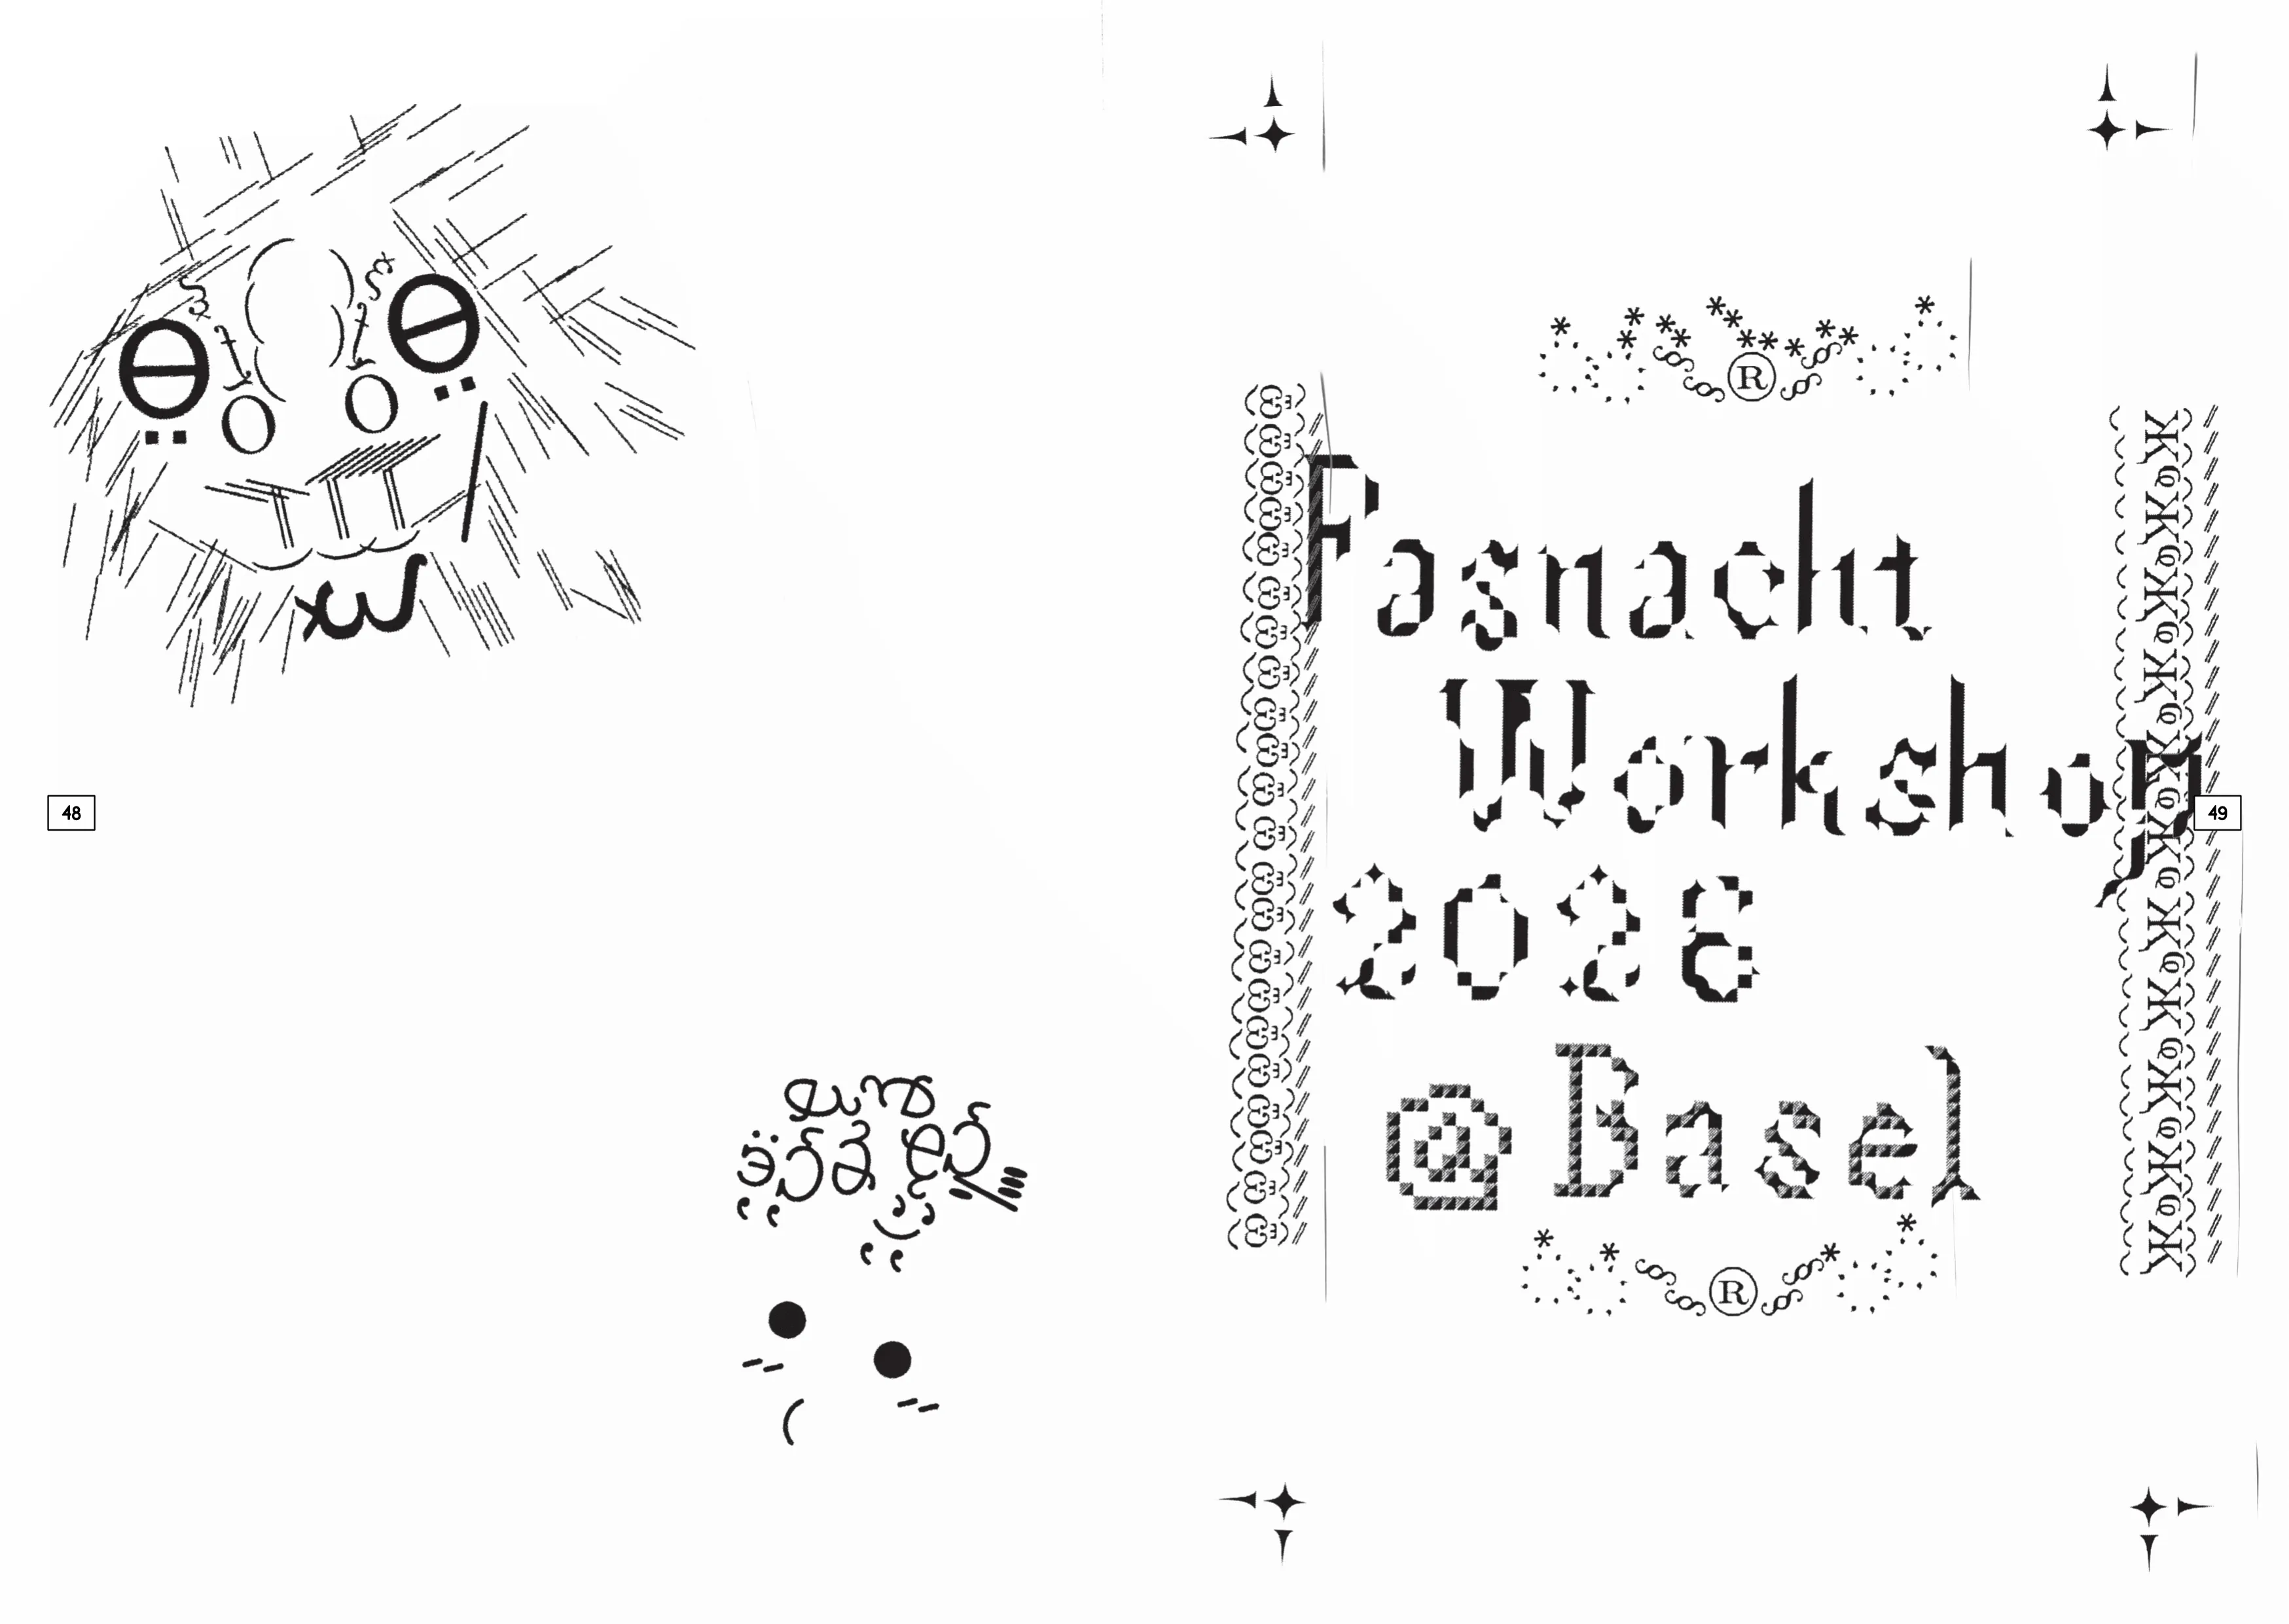
I also spent a week in February hosting an Unconventional Graphic Design Tools workshop in Basel (Switzerland).
In February I also went to Switzerland for a week. After the Unconventional Graphic Design Tools -workshop at Aalto, I got invited by Ted Davis and his students to host it at the Institute Digital Communication Environments, HGK FHNW during the Fasnacht carnival.
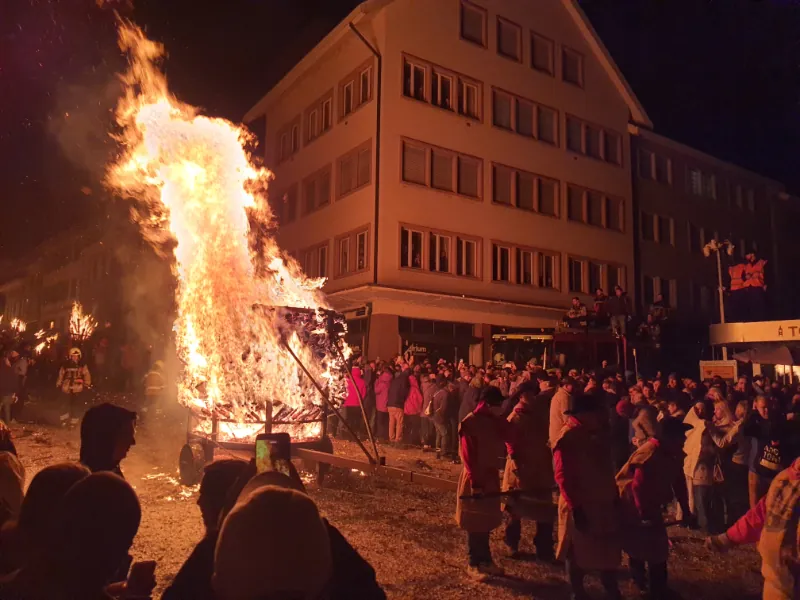
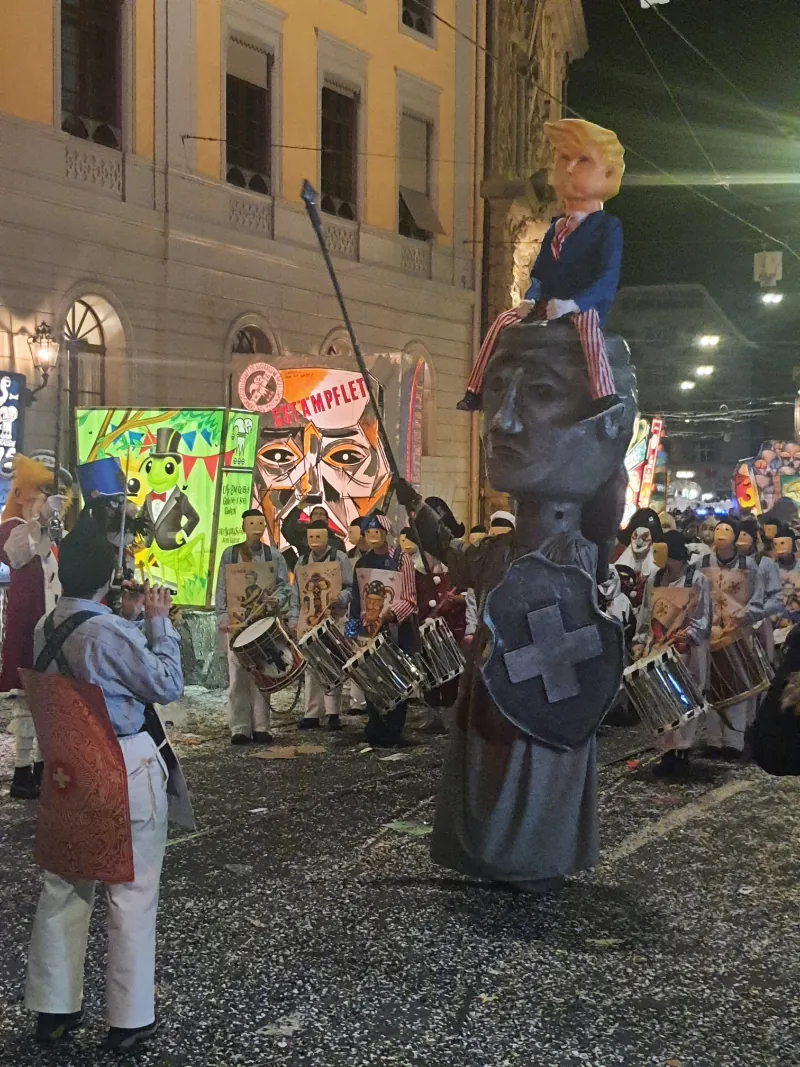
Fasnacht was fascinating. I had never heard of the carnival before going there. Googling images of it beforehand didn't convey anything about the actual experience; overpowering, surreal, medieval and very hypnotizing. Almost every night, I would go with Ted to watch the endless parades, concerts and other happenings. The streets were covered with confetti and I can still find some in my clothes and bags, and I can still hear the drumming and flutes playing in my ears. It created a strange feverish atmosphere to the workshop week. Definitely something I will remember forever.
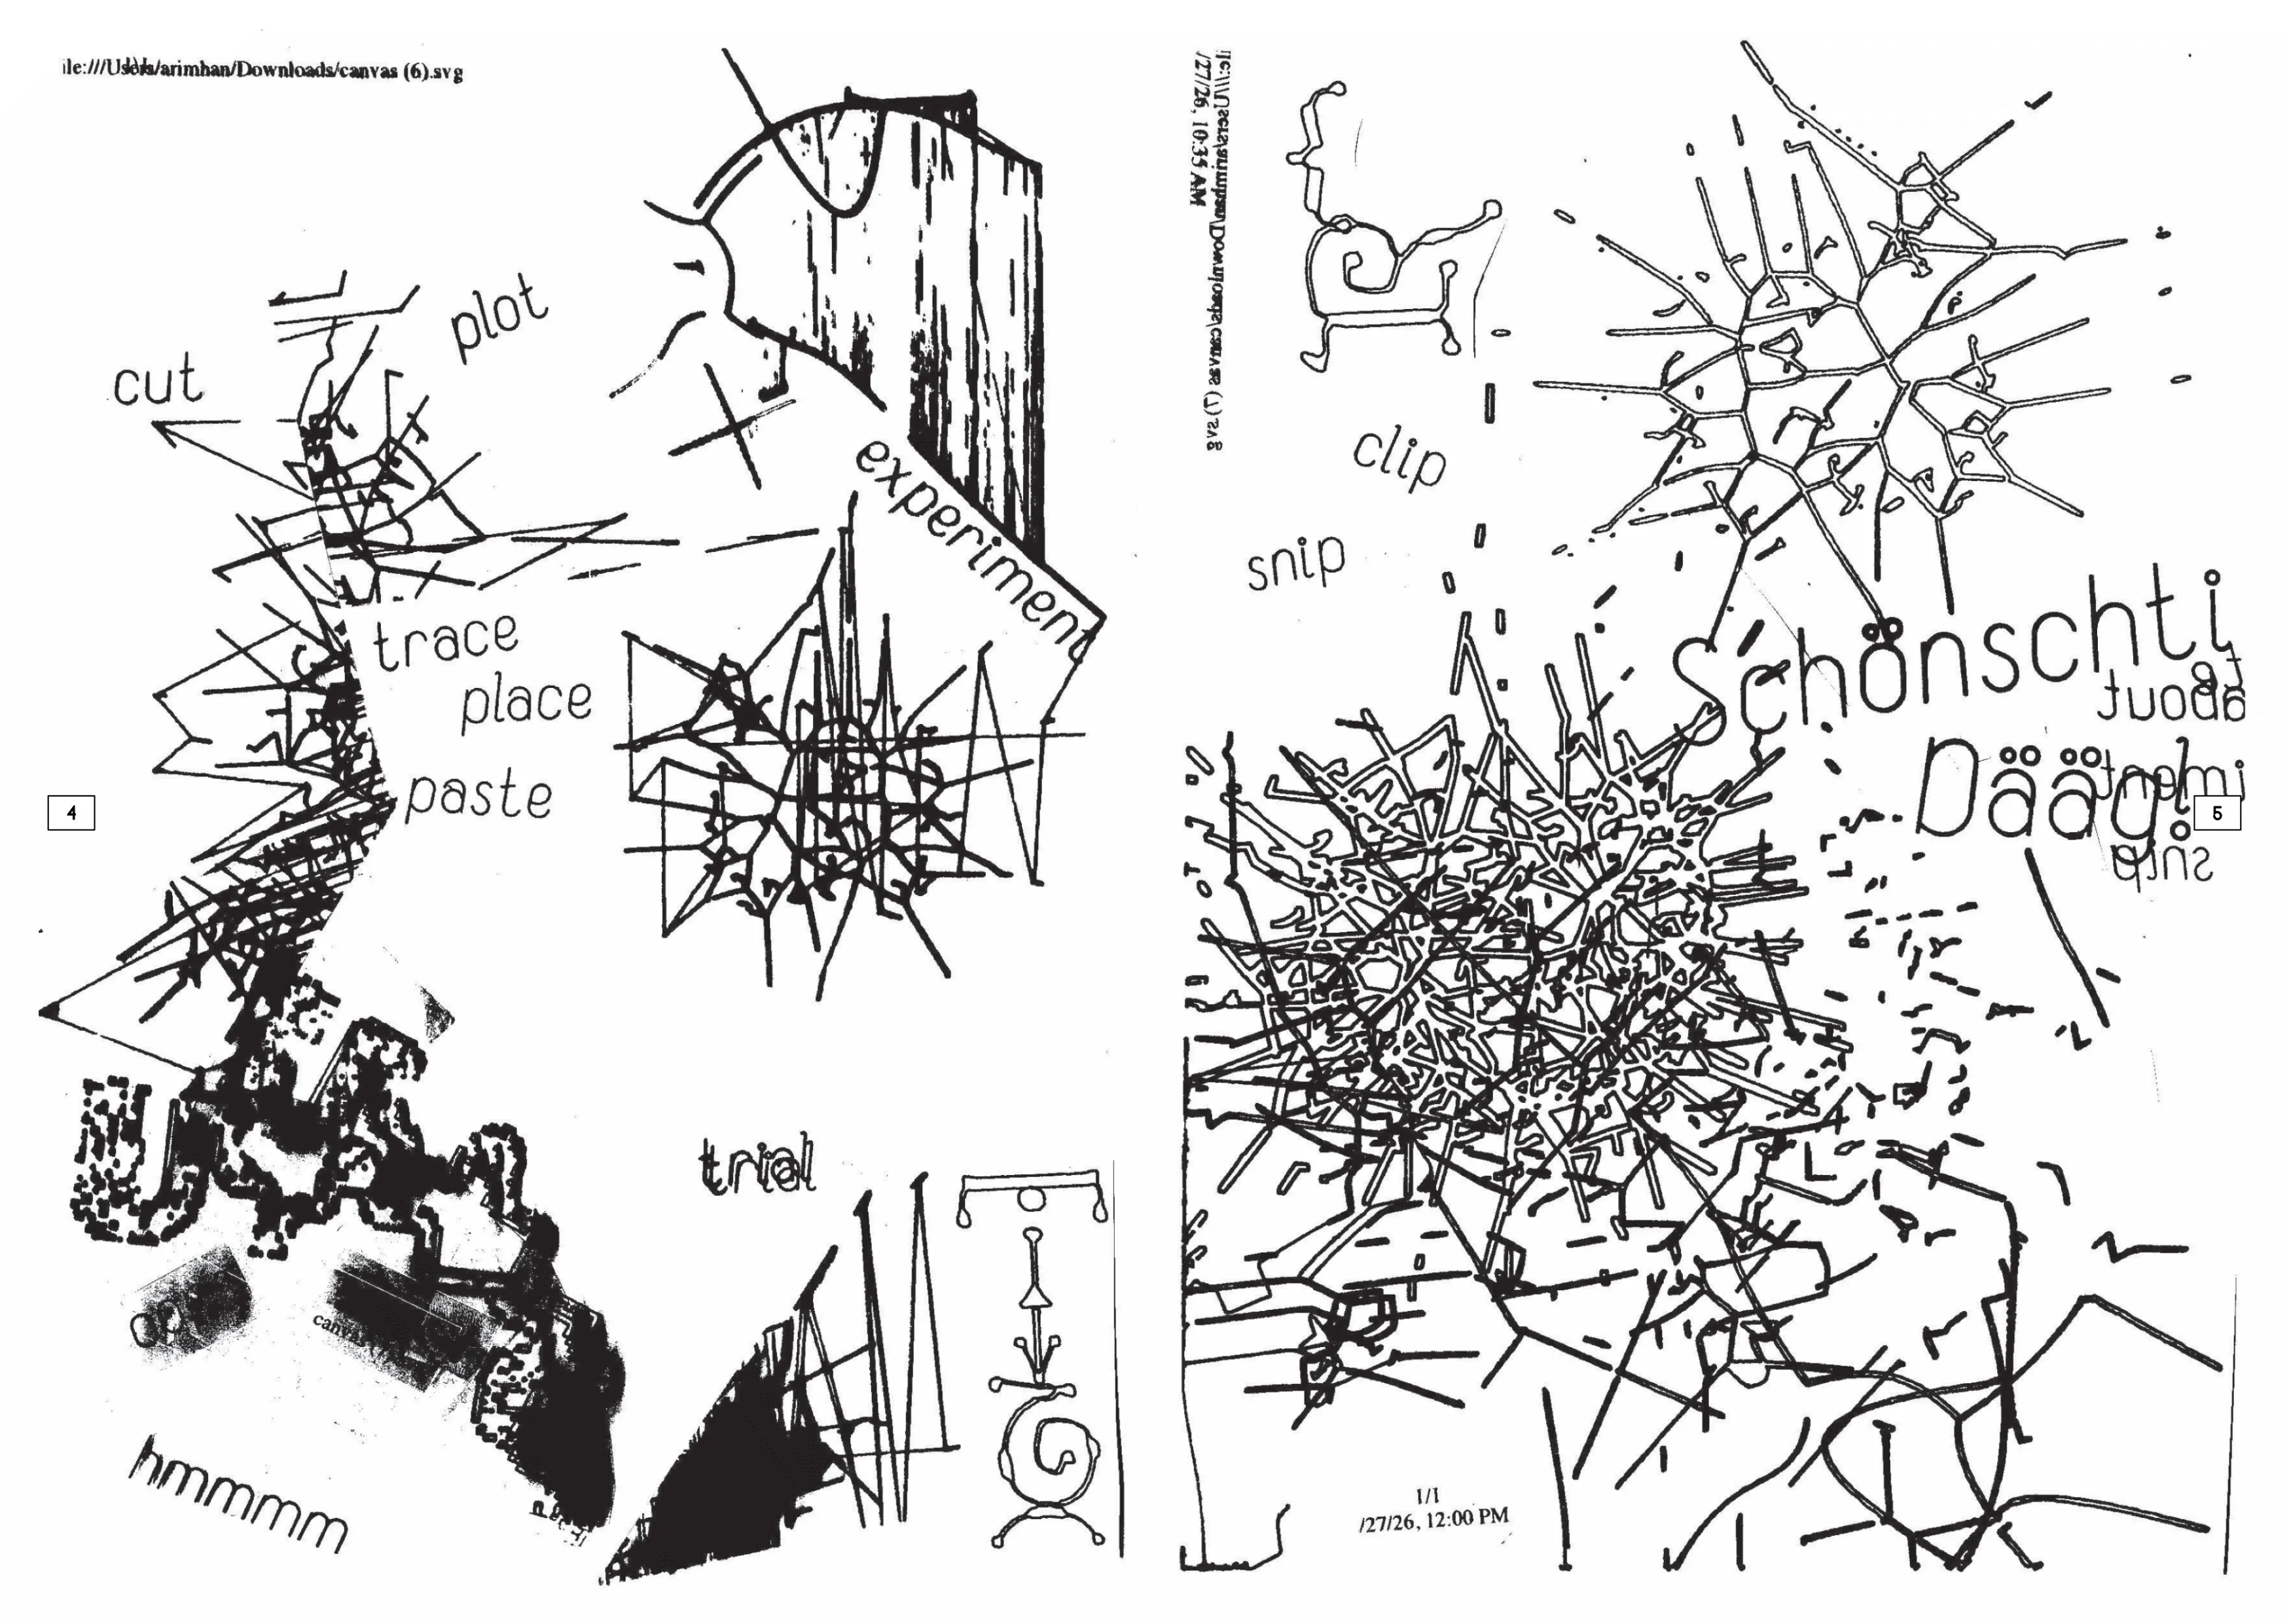
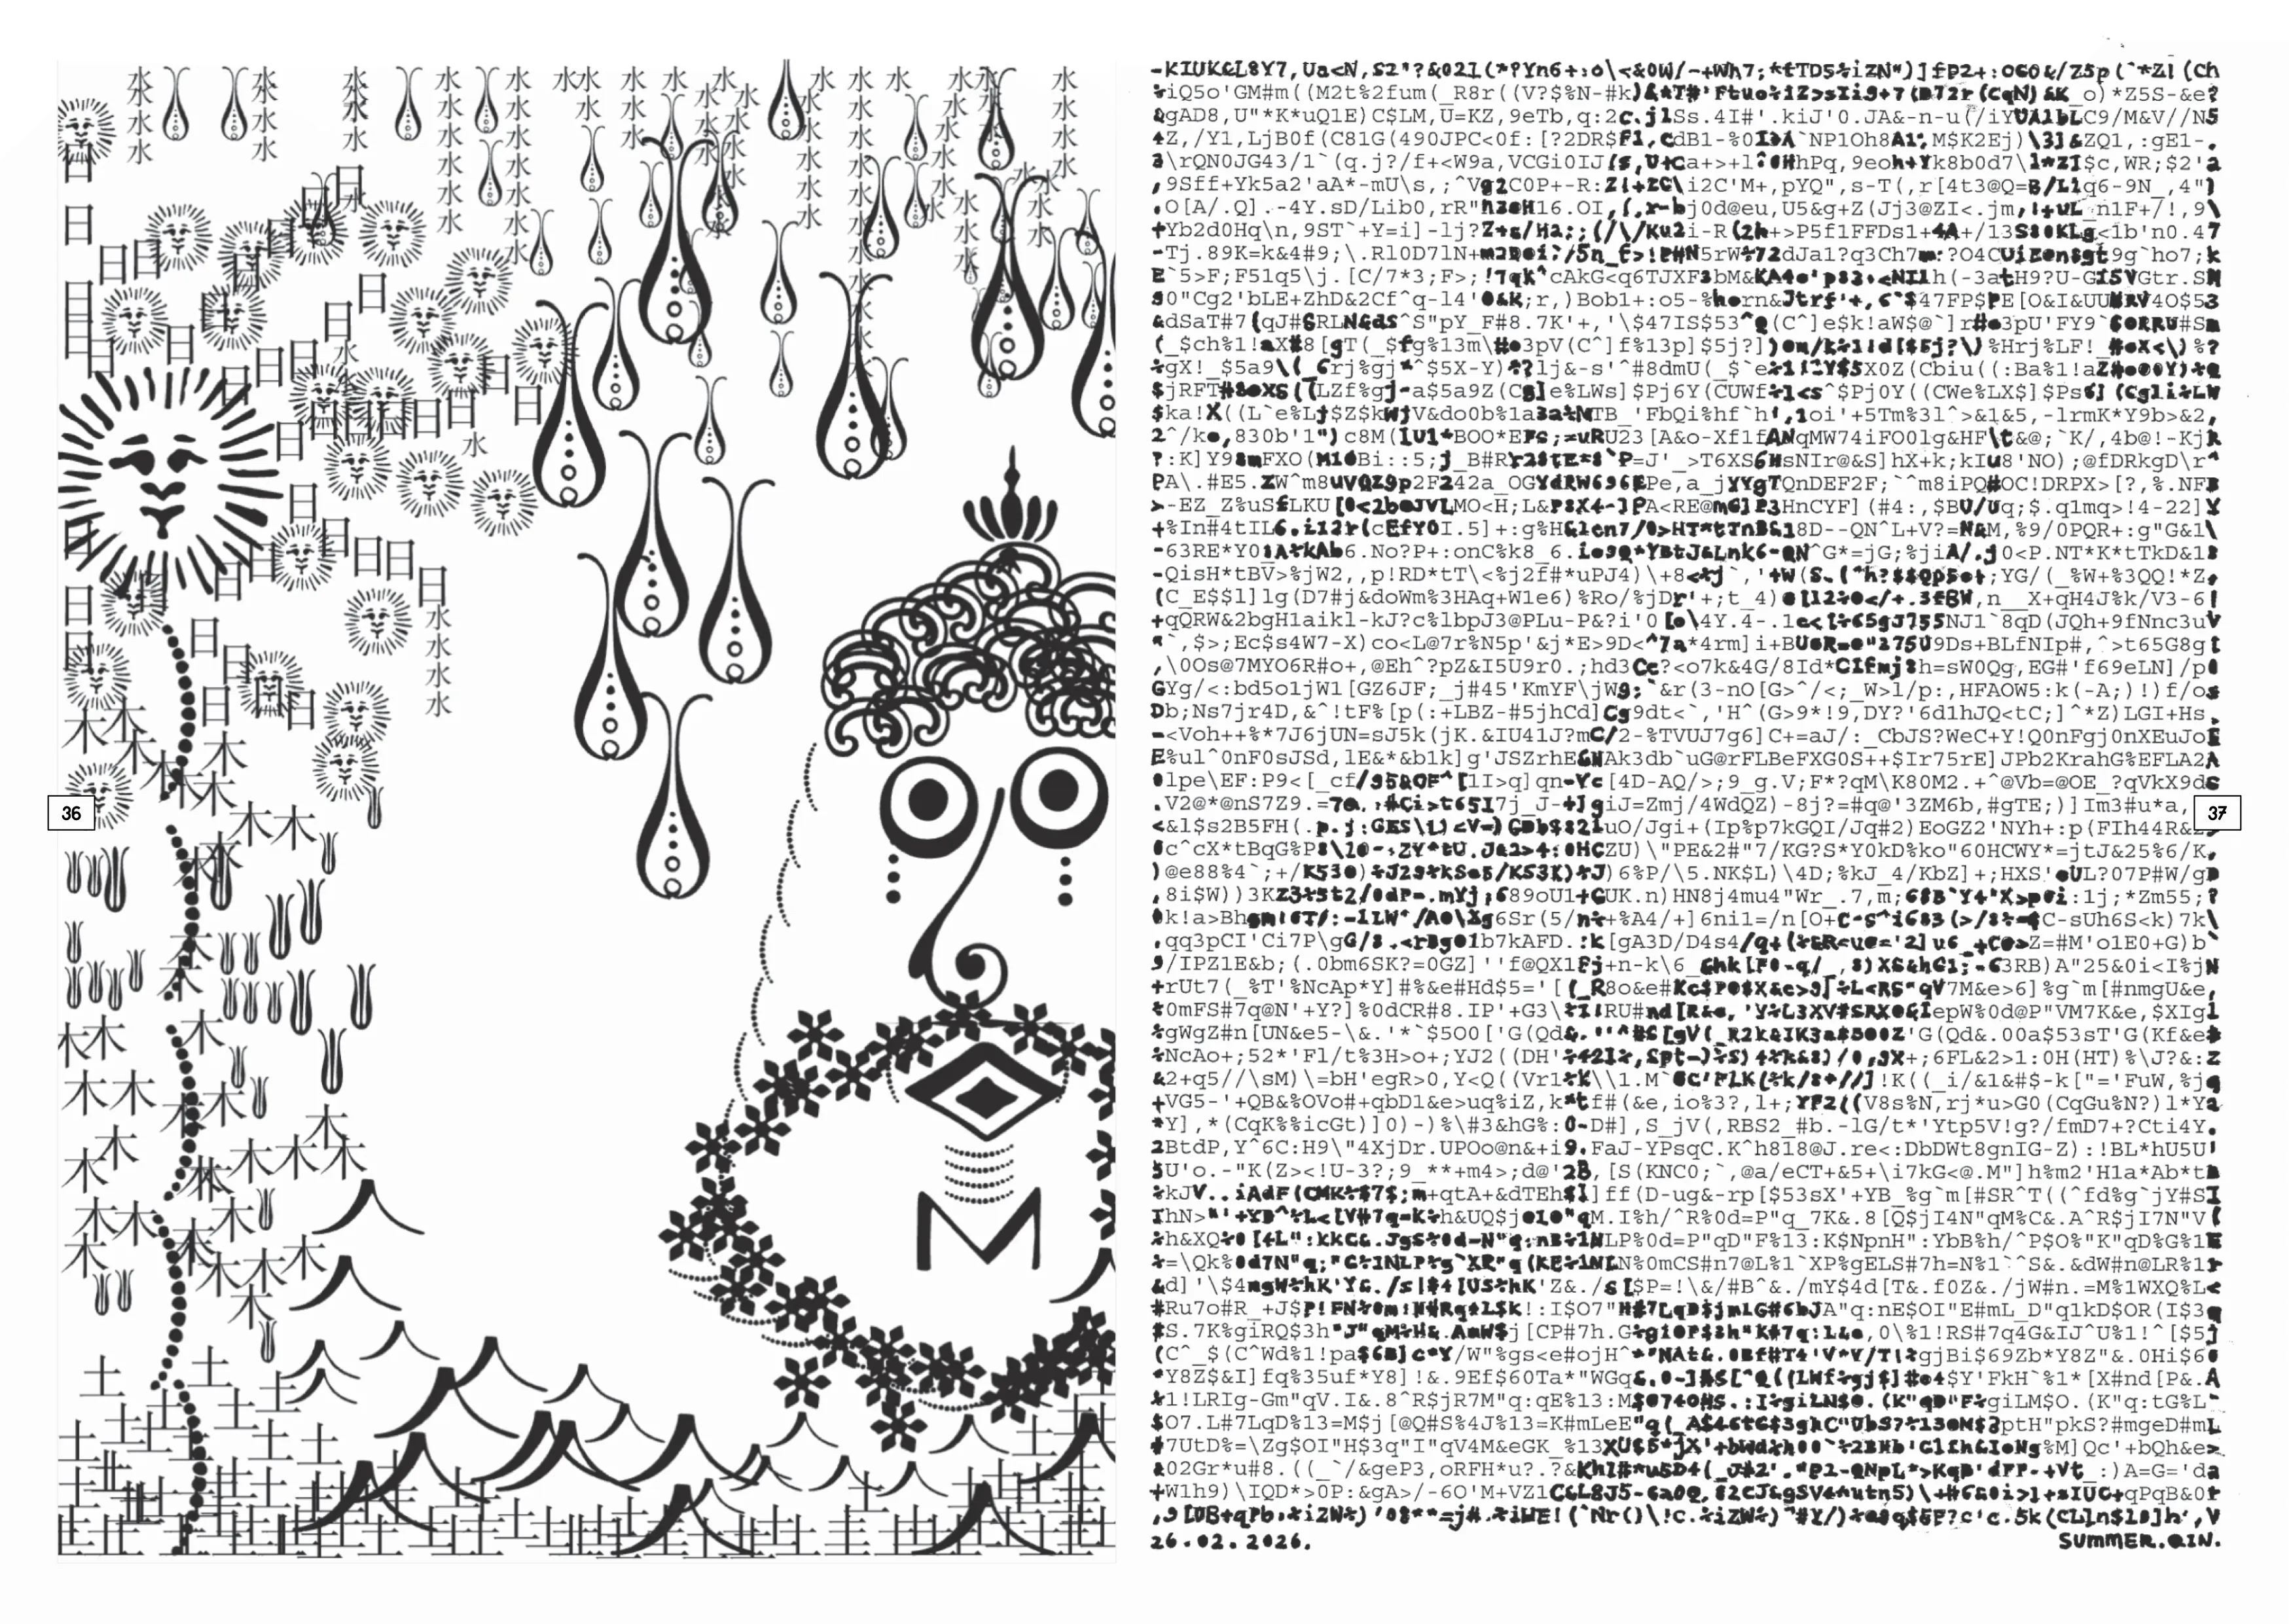
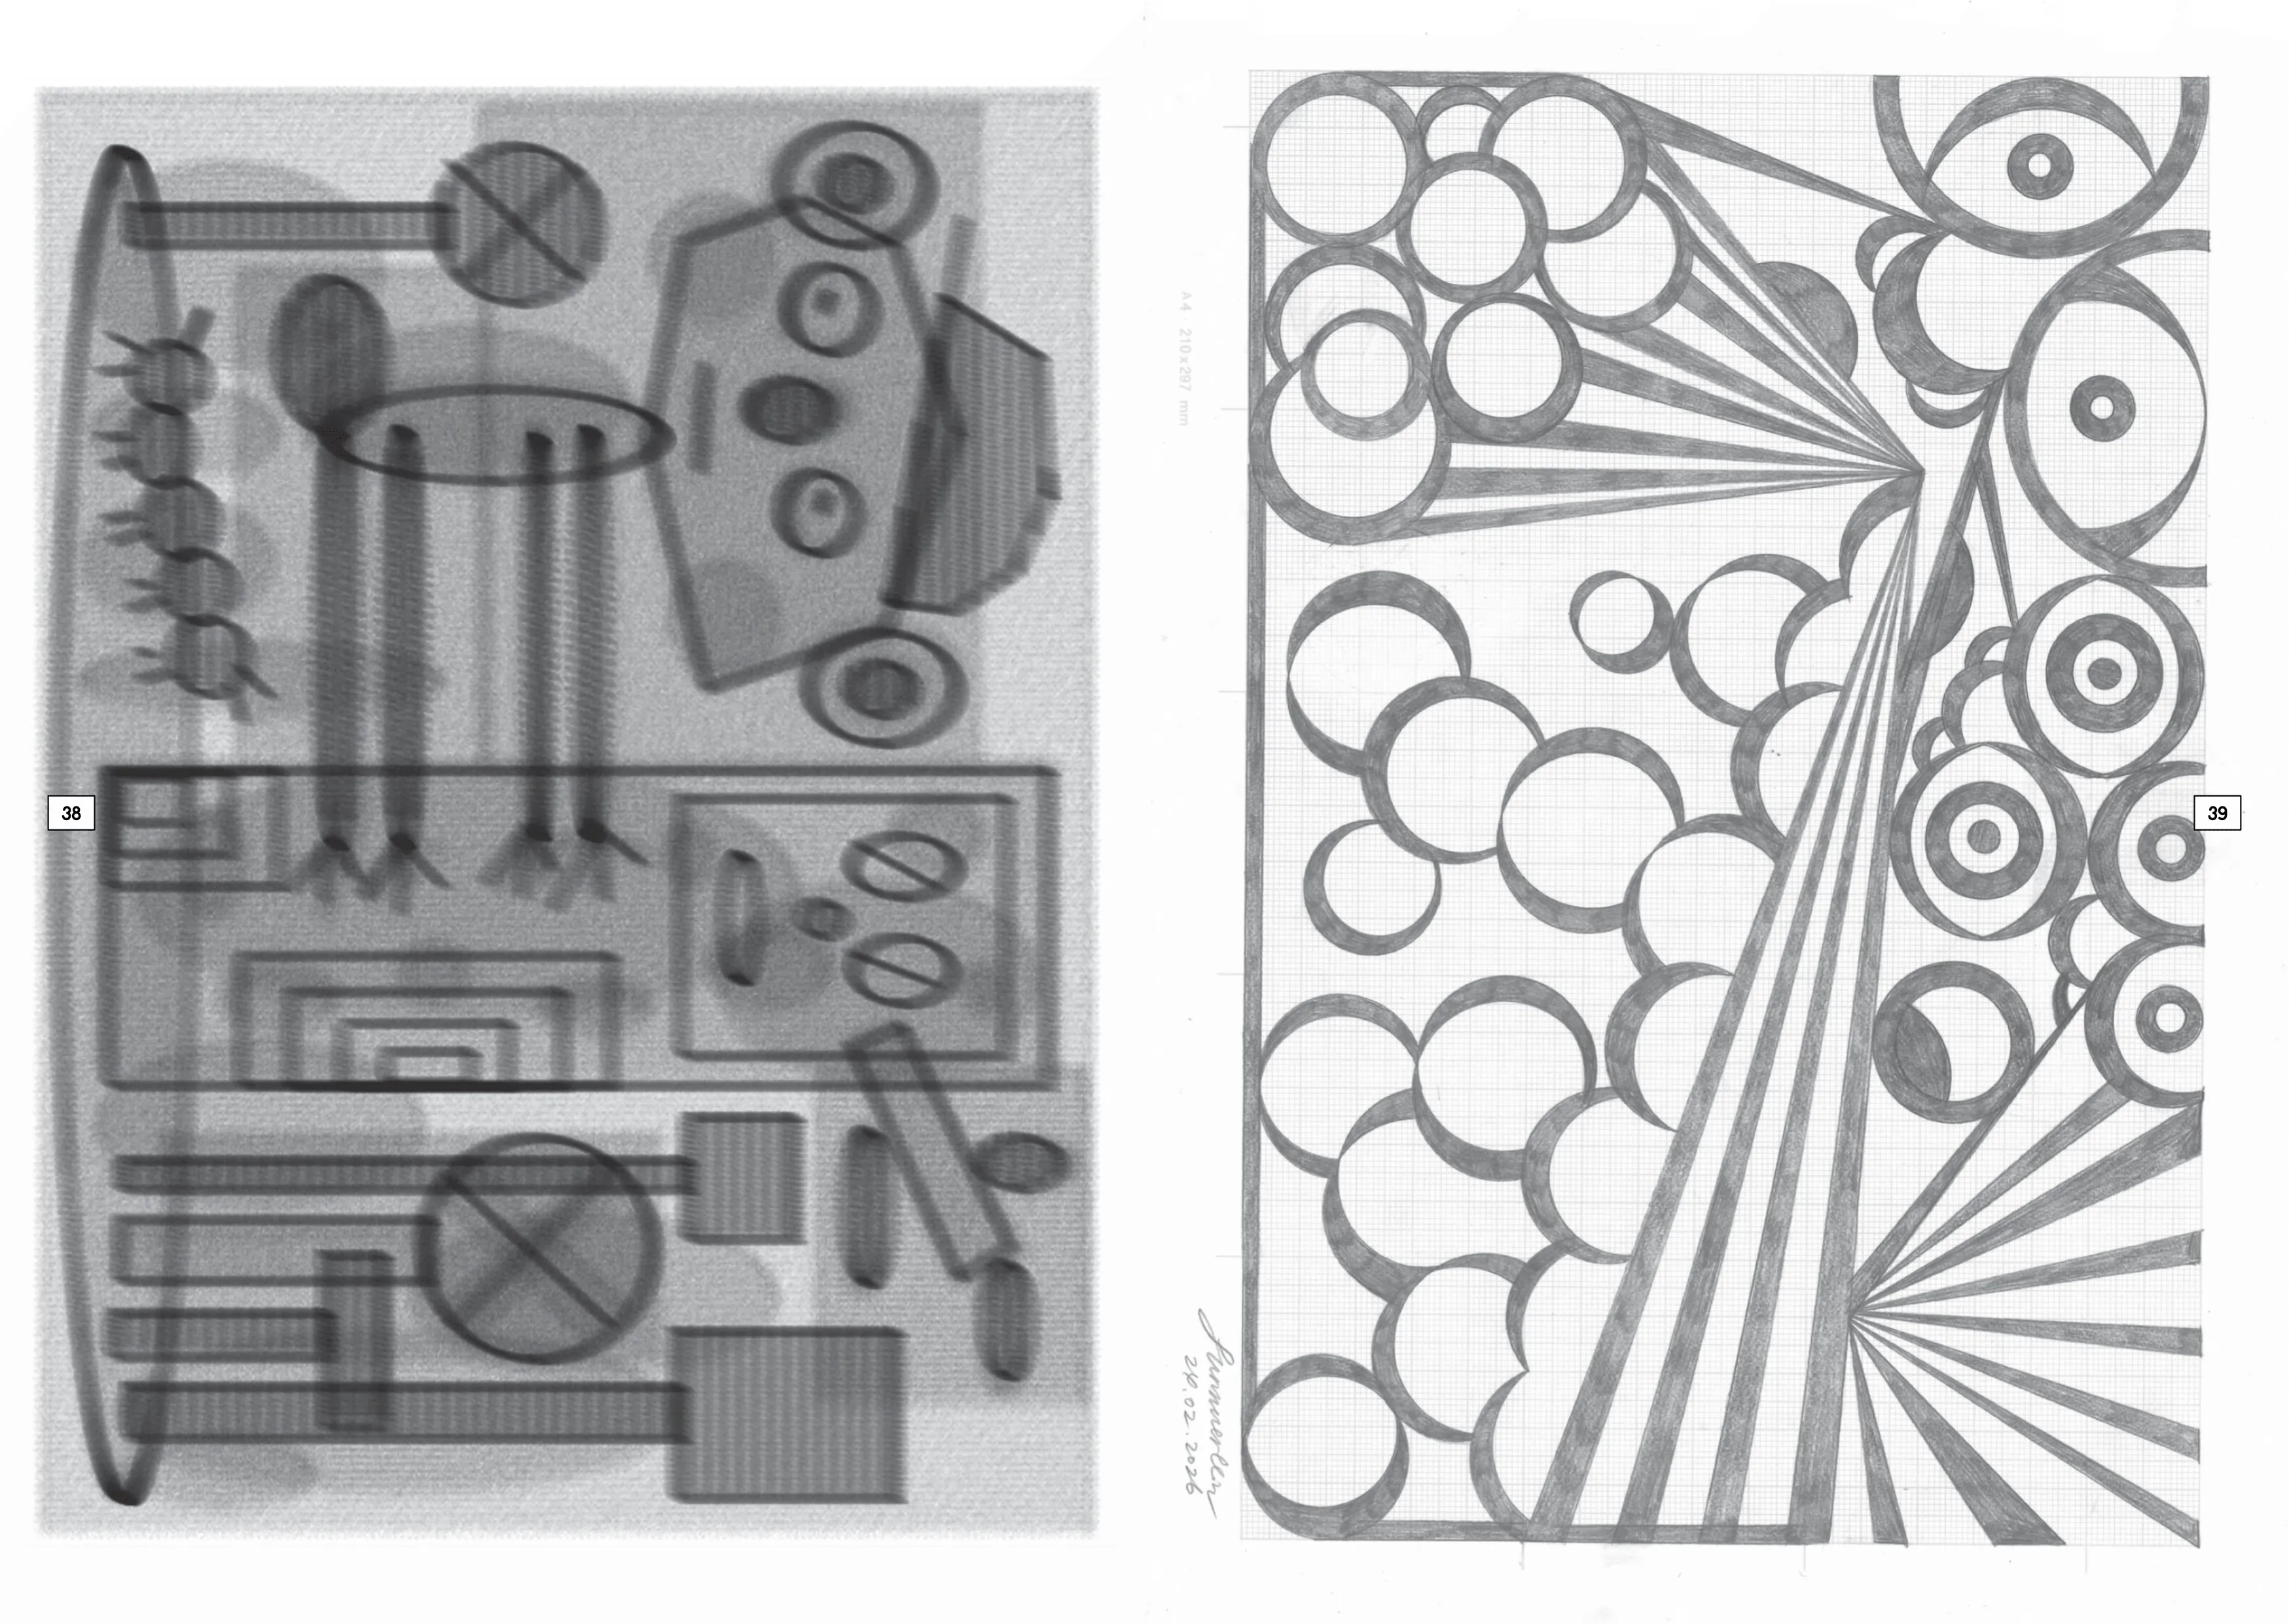
The workshop's premise was pretty much the same as the one I did at Aalto: could one be a graphic designer WITHOUT Adobe Software? The participants had a week to produce two spreads for a collective zine, using anything but Adobe tools. This time though we had a bit more time to produce the content because the students wanted to print the results later on with a Risograph. We used Il-Verse on the first day, and later on I introduced them to the single stroke font editor and Glyph Drawing Club.
Here's the first day's presentation:
Here's what each person said about their process:
Font and text set in Hershey font editor. Font shapes are mostly lines and polycentric arcs. Text aligned using a semi-justification algorithm. Stroke applied with pixel-fattening scripts. Minor final adjustments in Affinity.
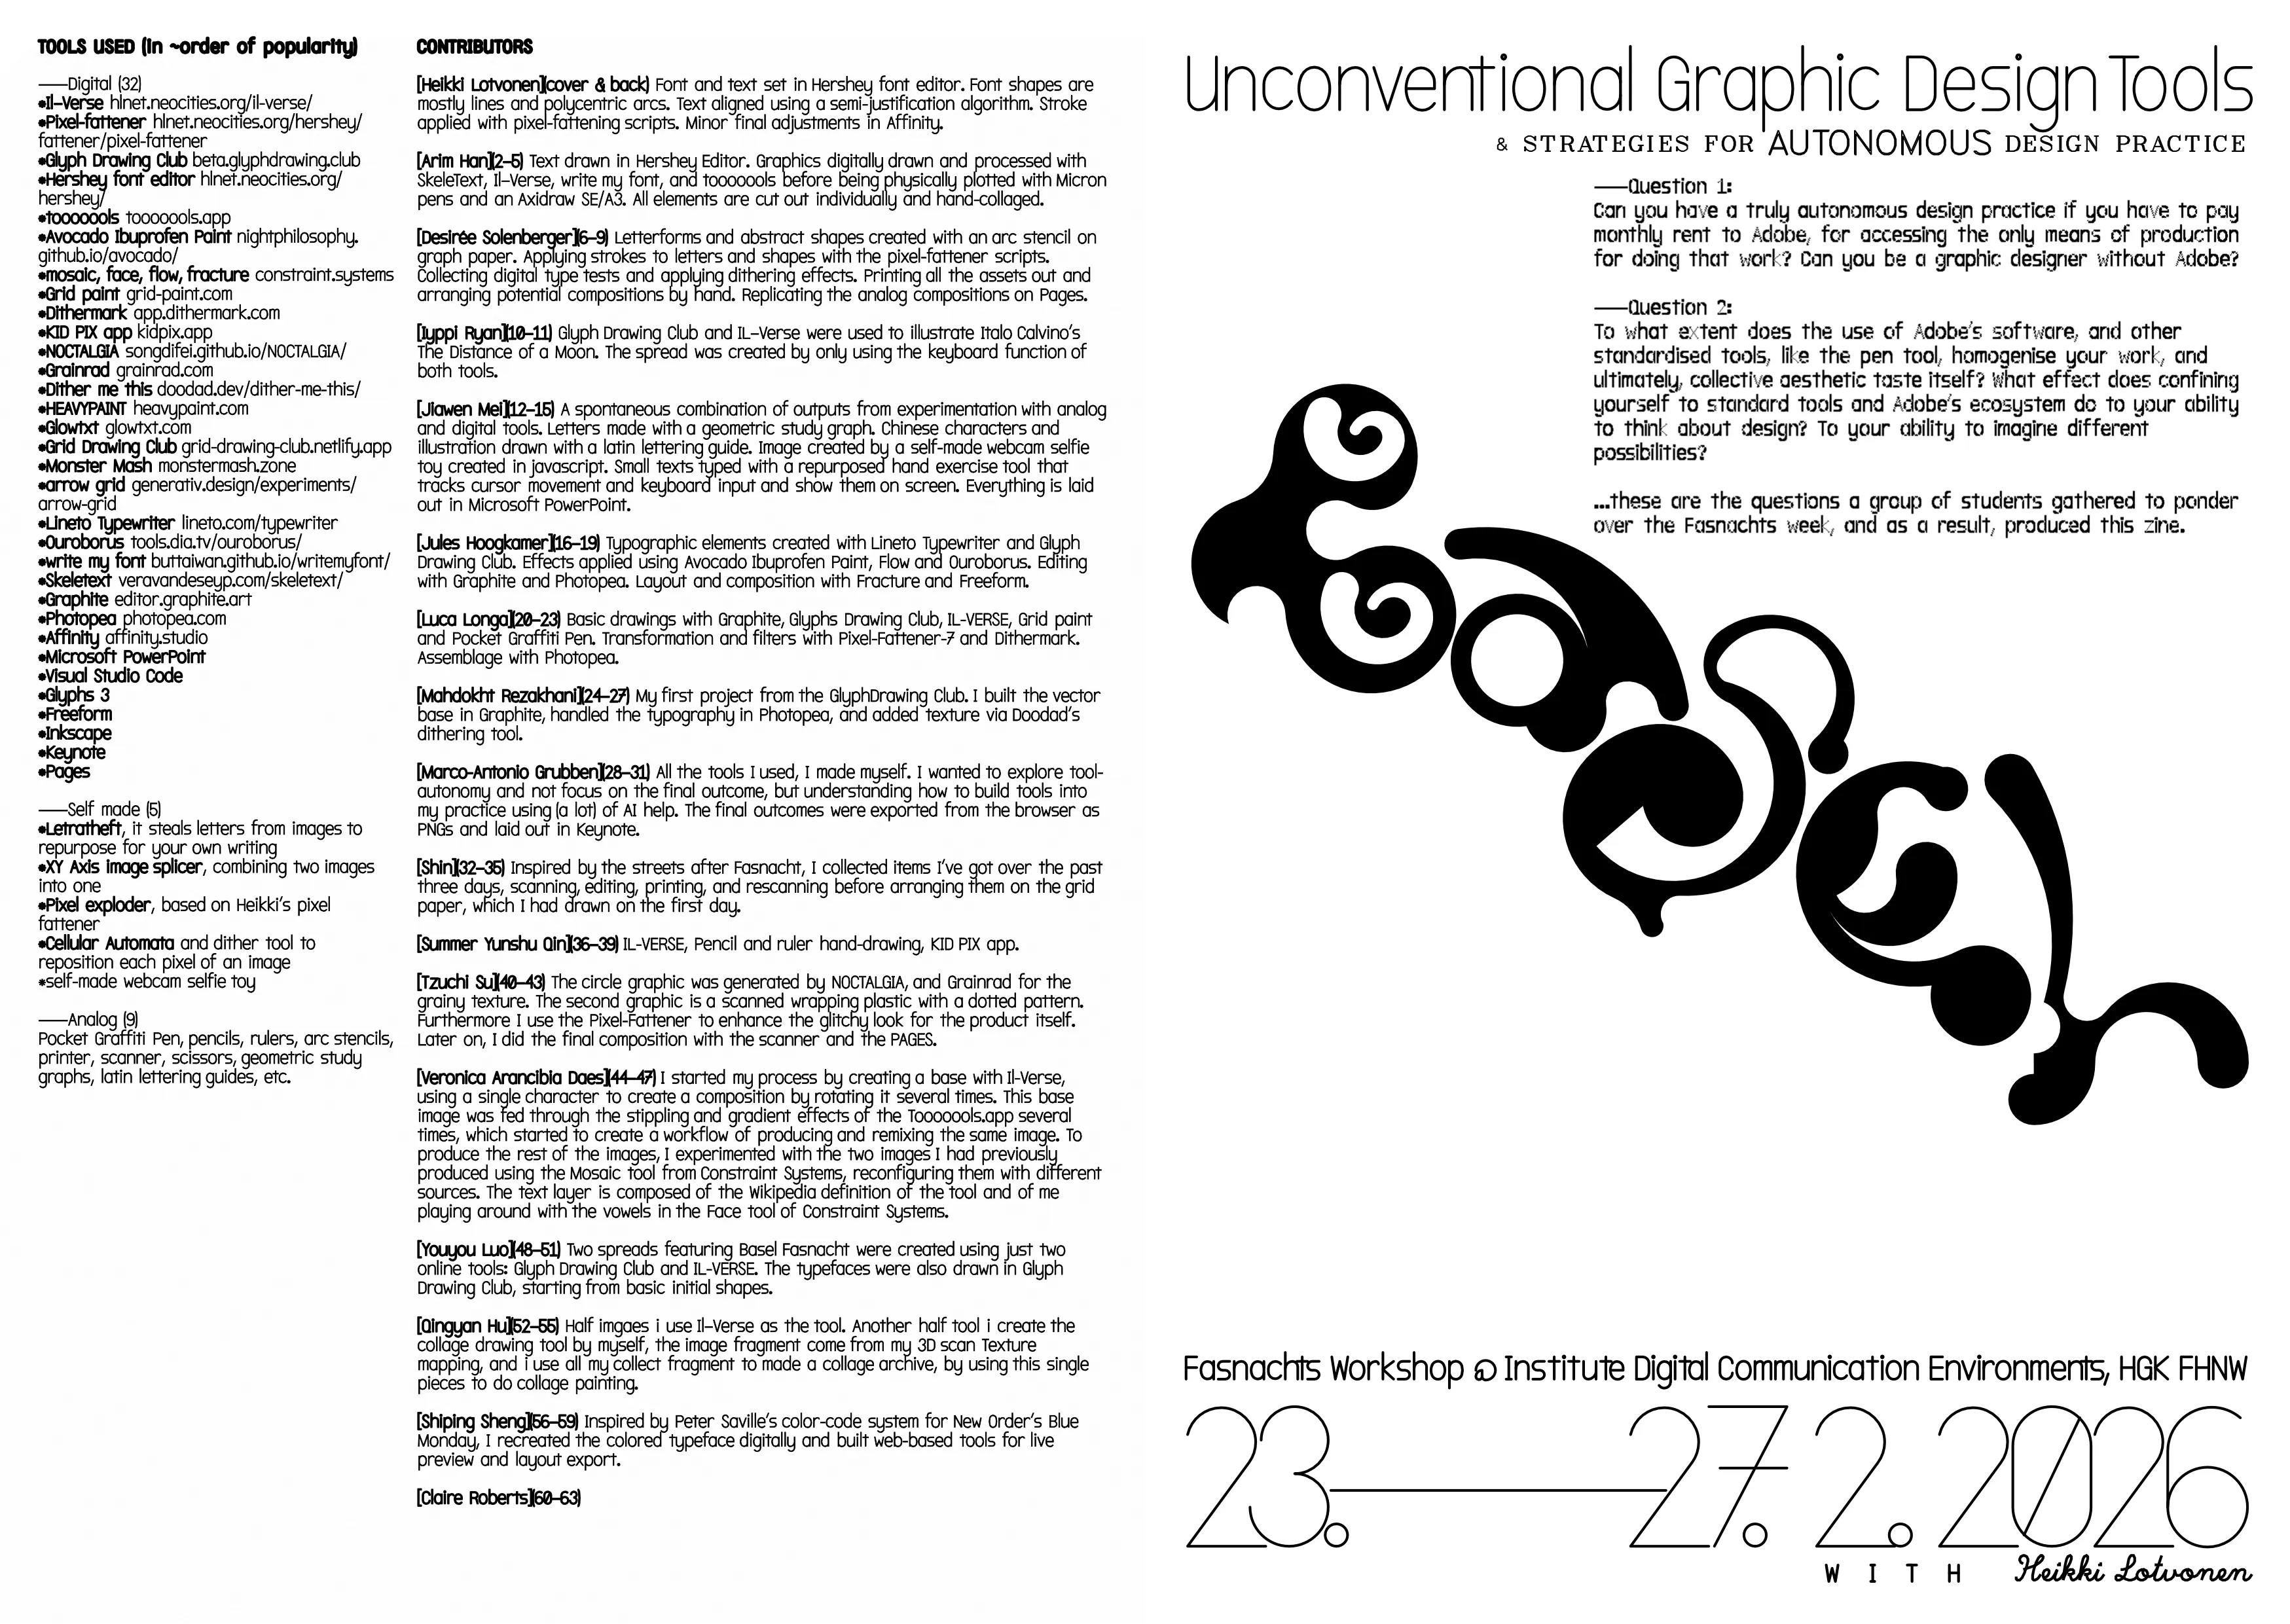
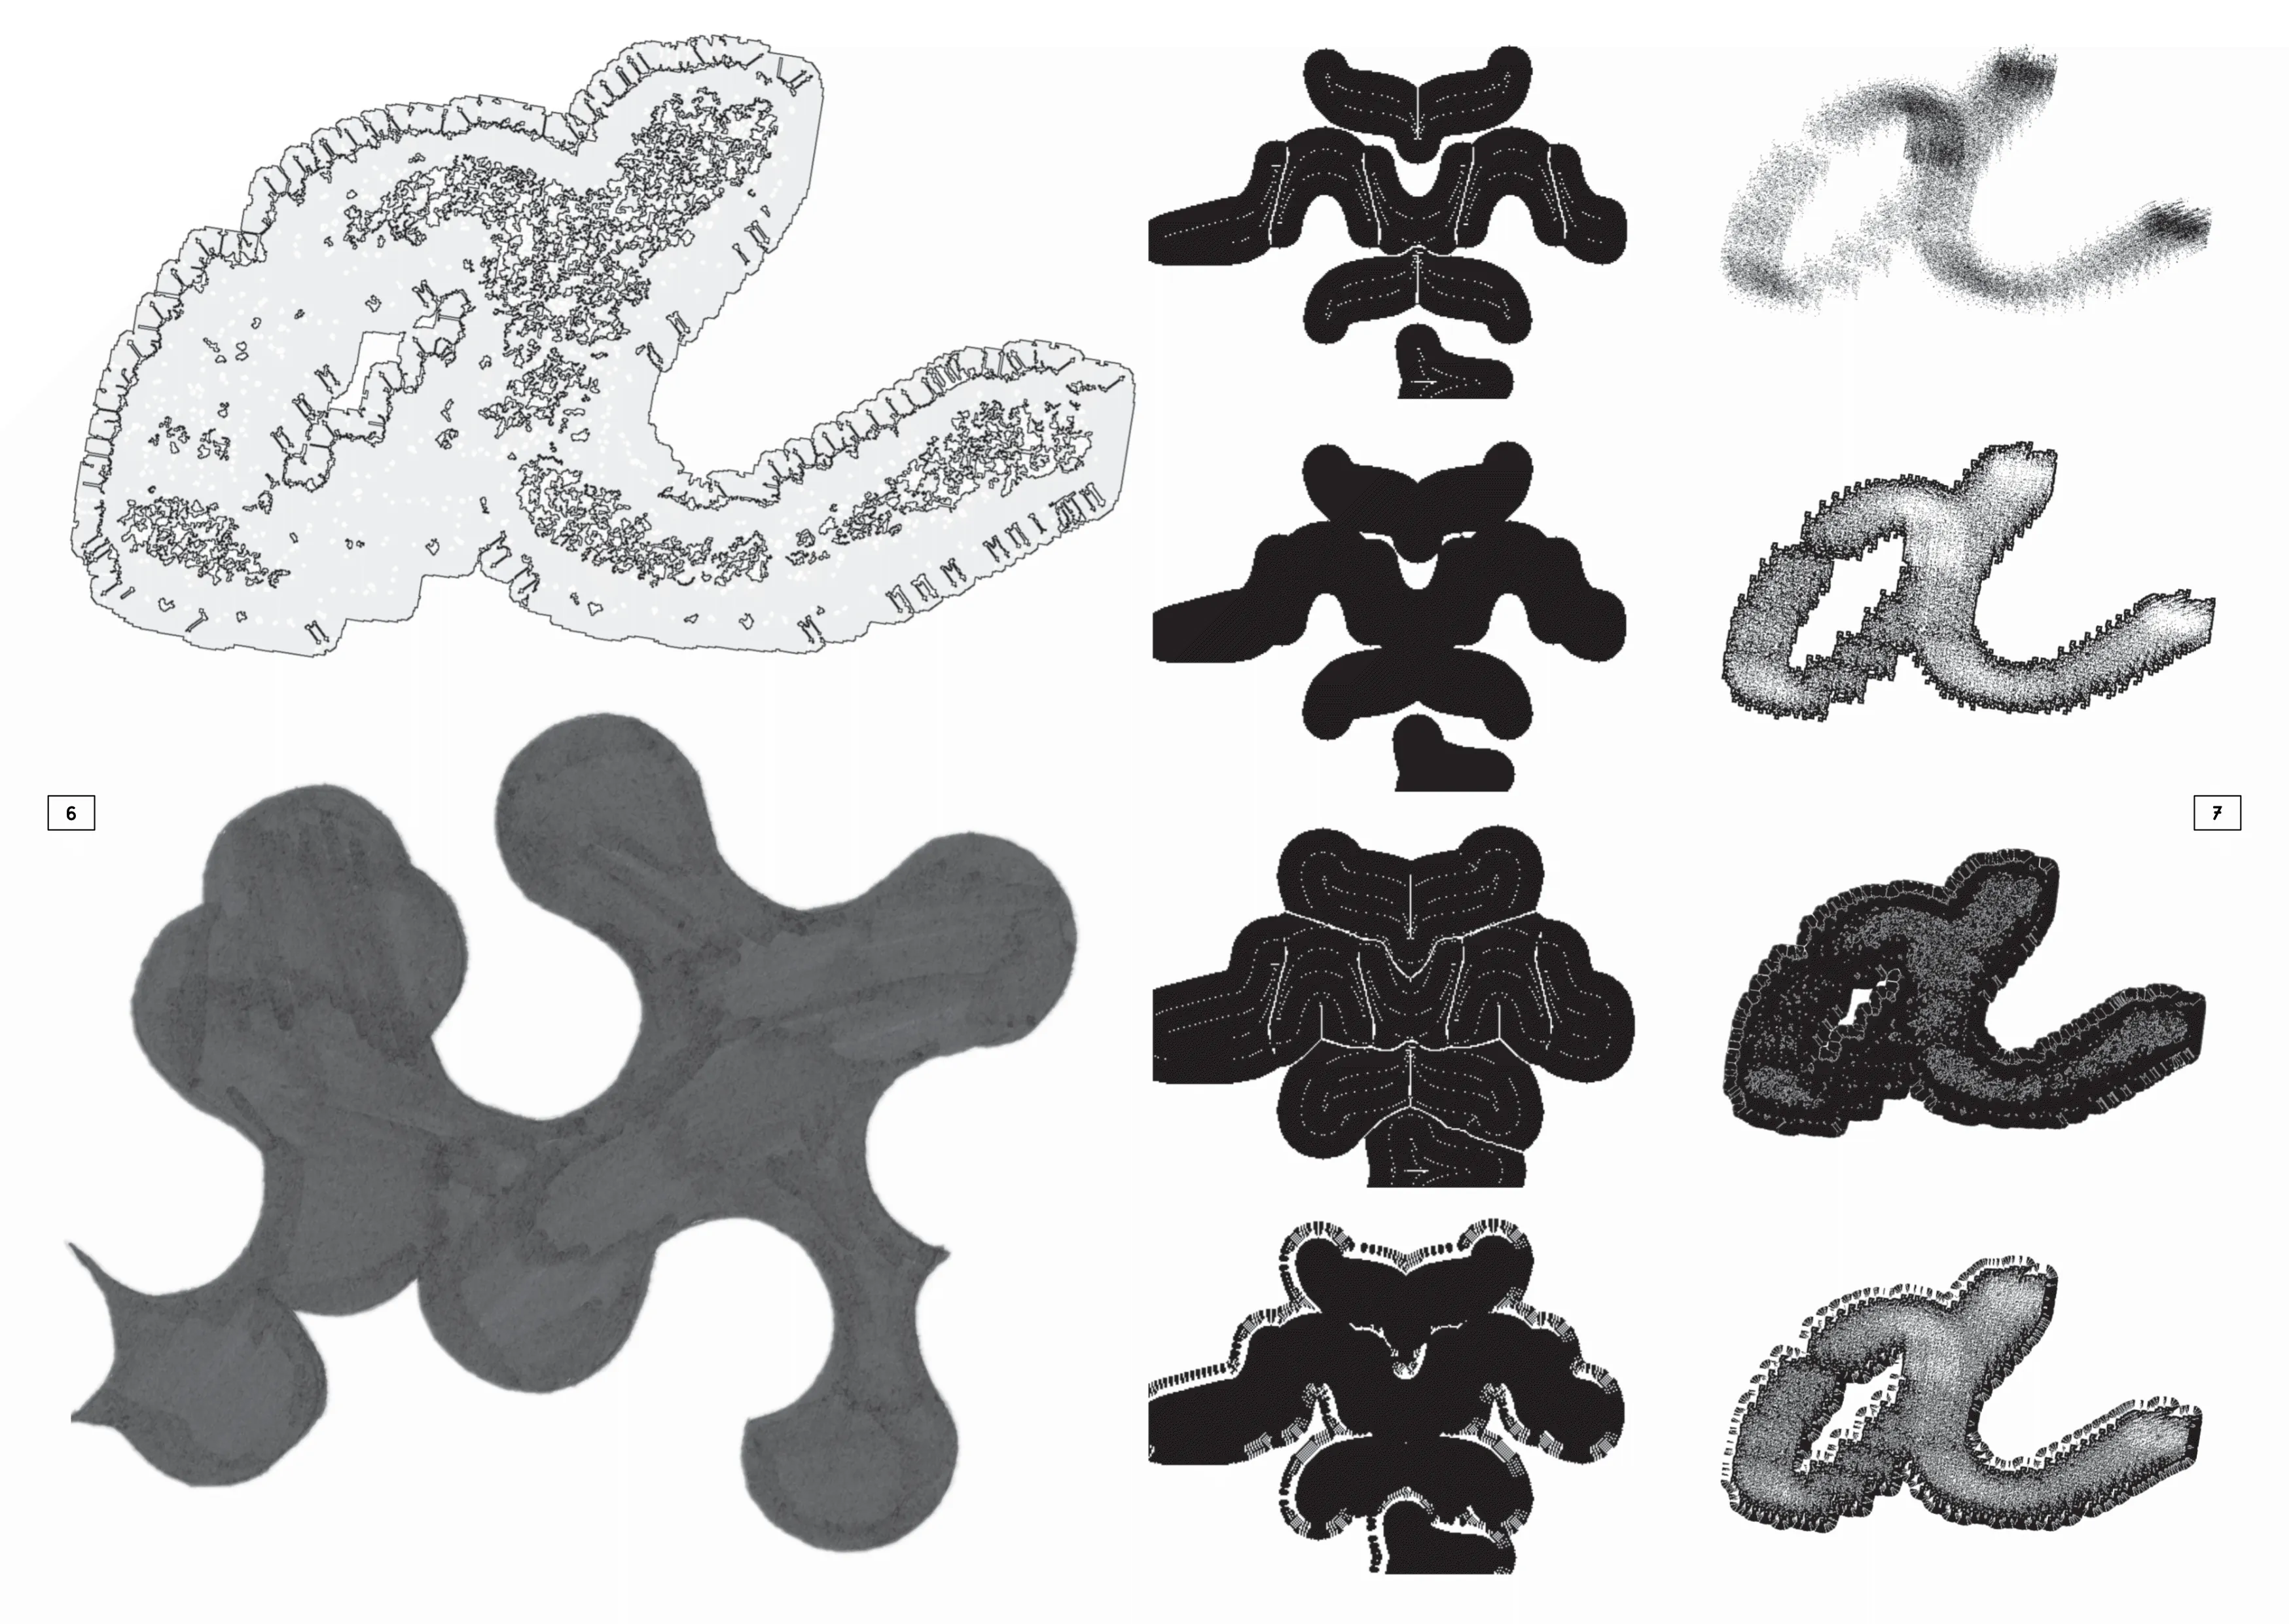
Text drawn in Hershey Editor. Graphics digitally drawn and processed with SkeleText, Il–Verse, write my font, and tooooools before being physically plotted with Micron pens and an Axidraw SE/A3. All elements are cut out individually and hand-collaged.
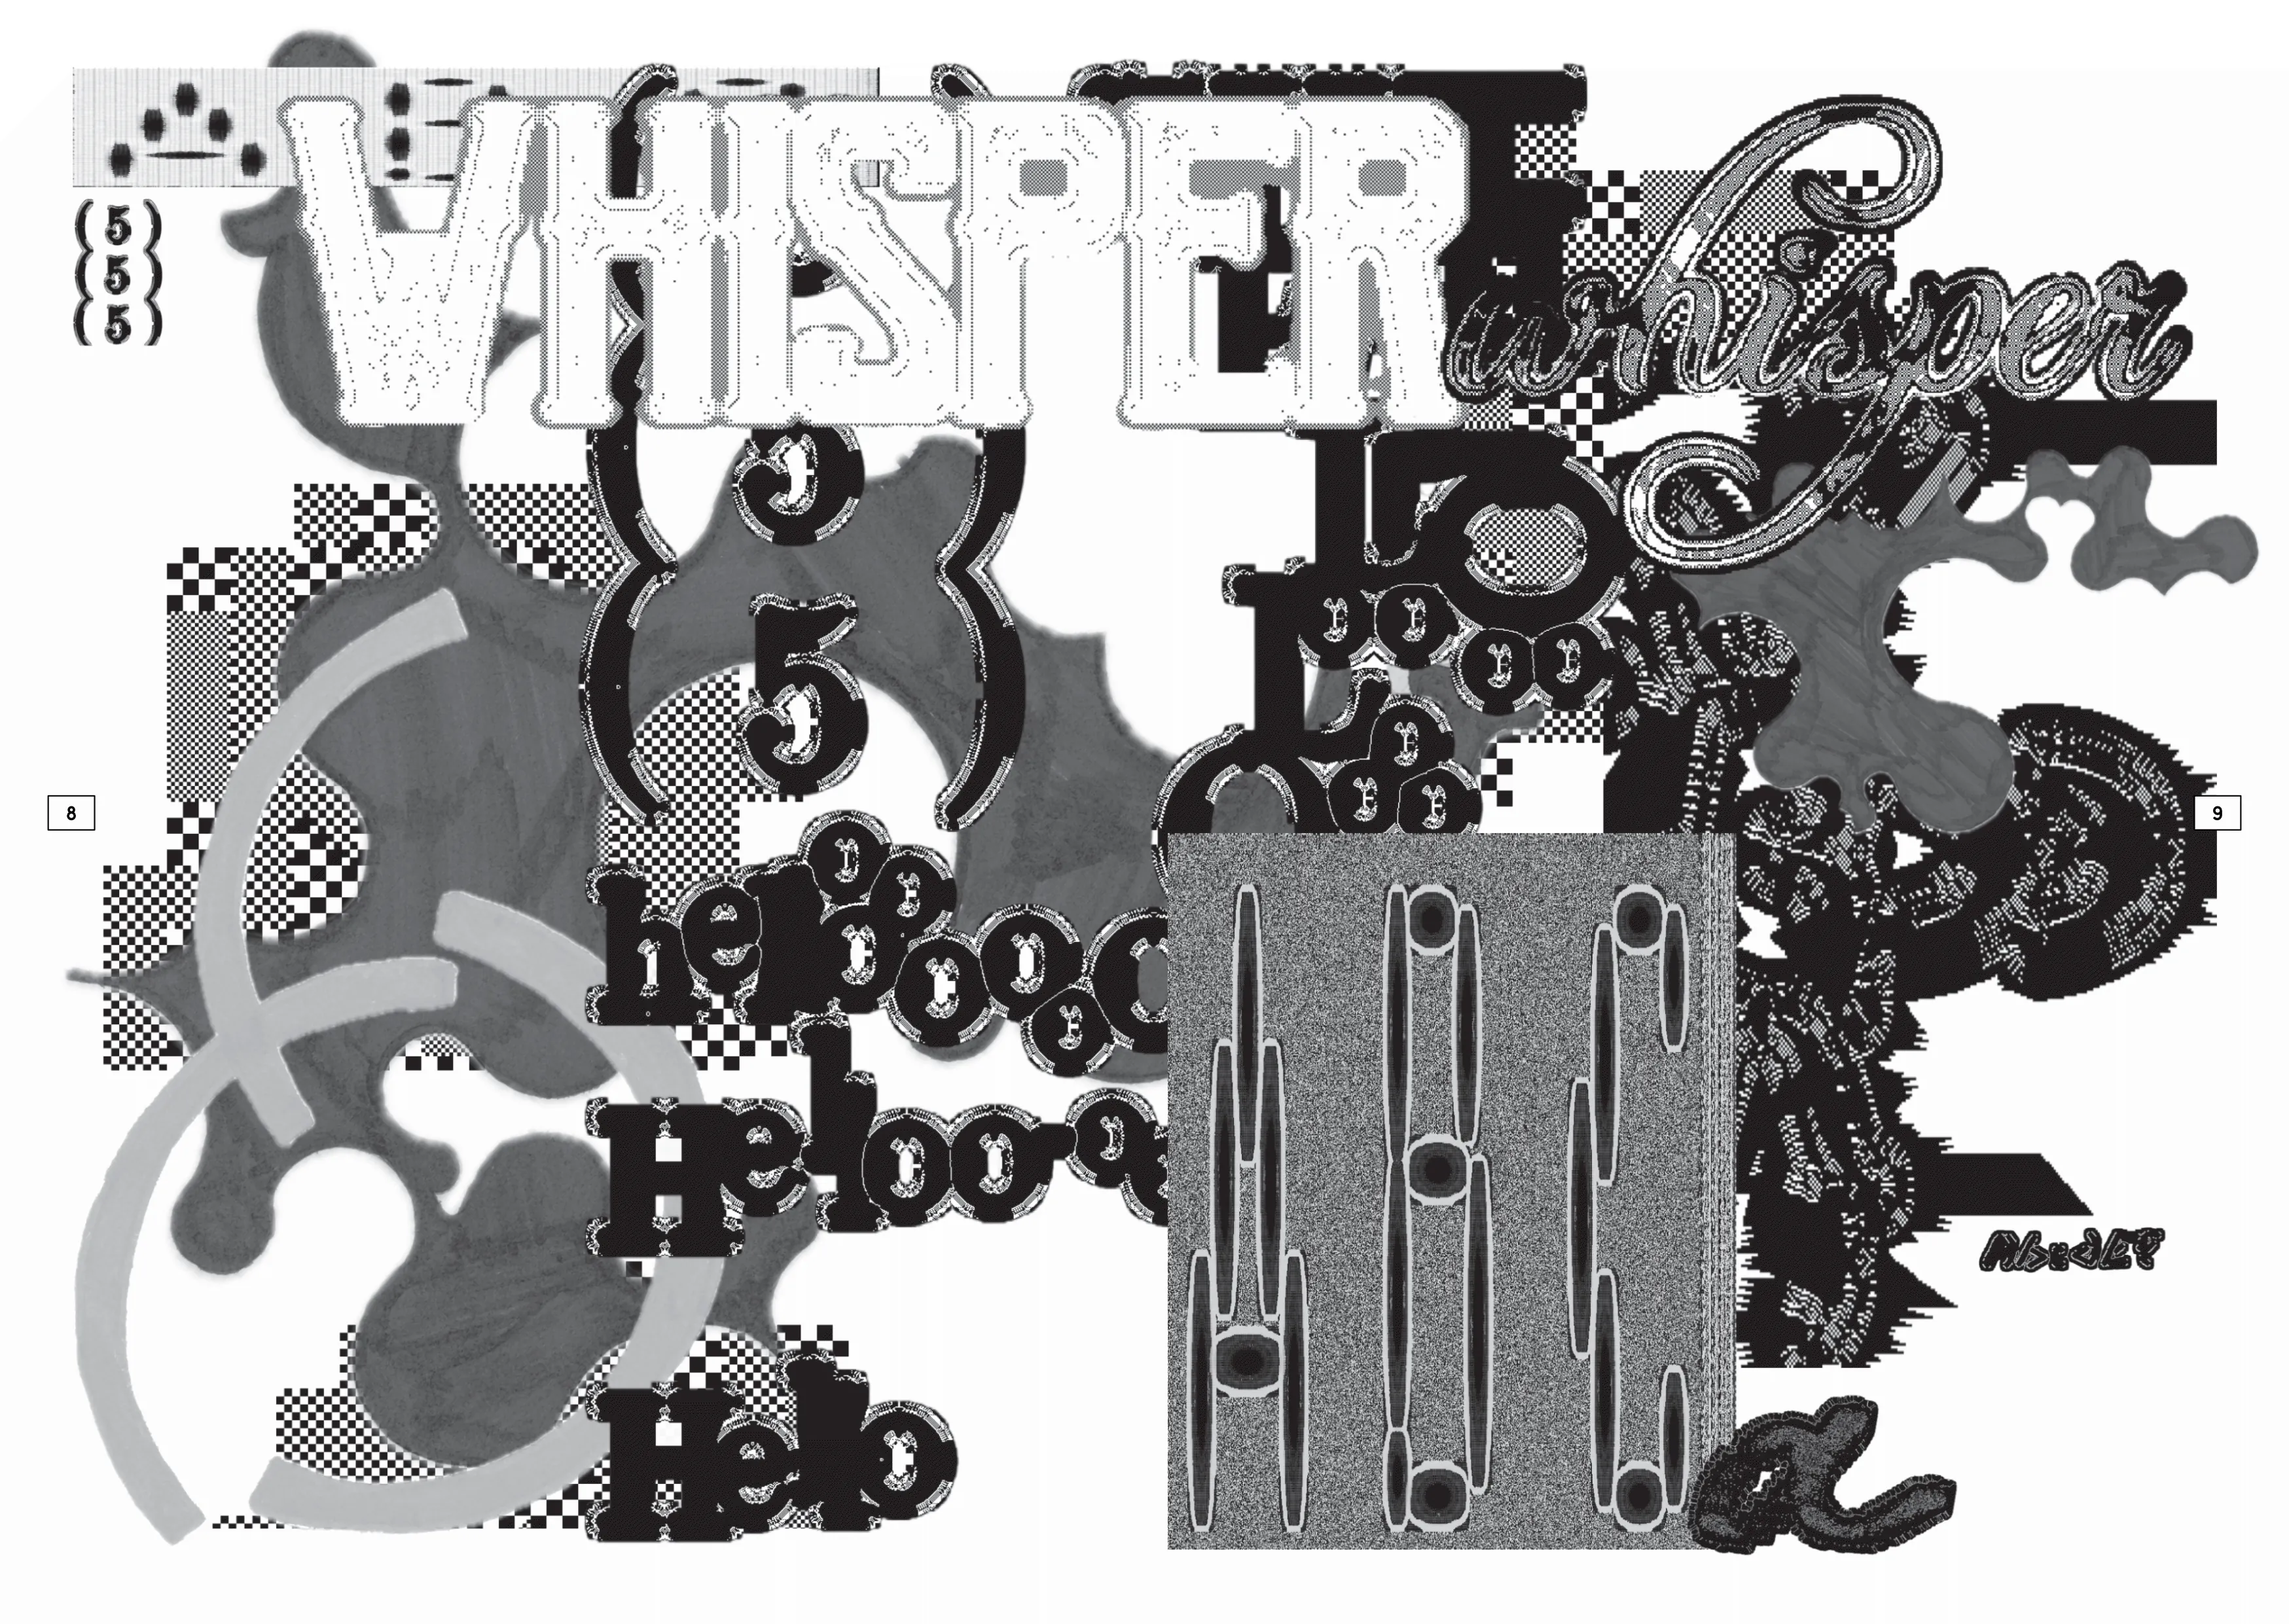
Letterforms and abstract shapes created with an arc stencil on graph paper. Applying strokes to letters and shapes with the pixel-fattener scripts. Collecting digital type tests and applying dithering effects. Printing all the assets out and arranging potential compositions by hand. Replicating the analog compositions on Pages.
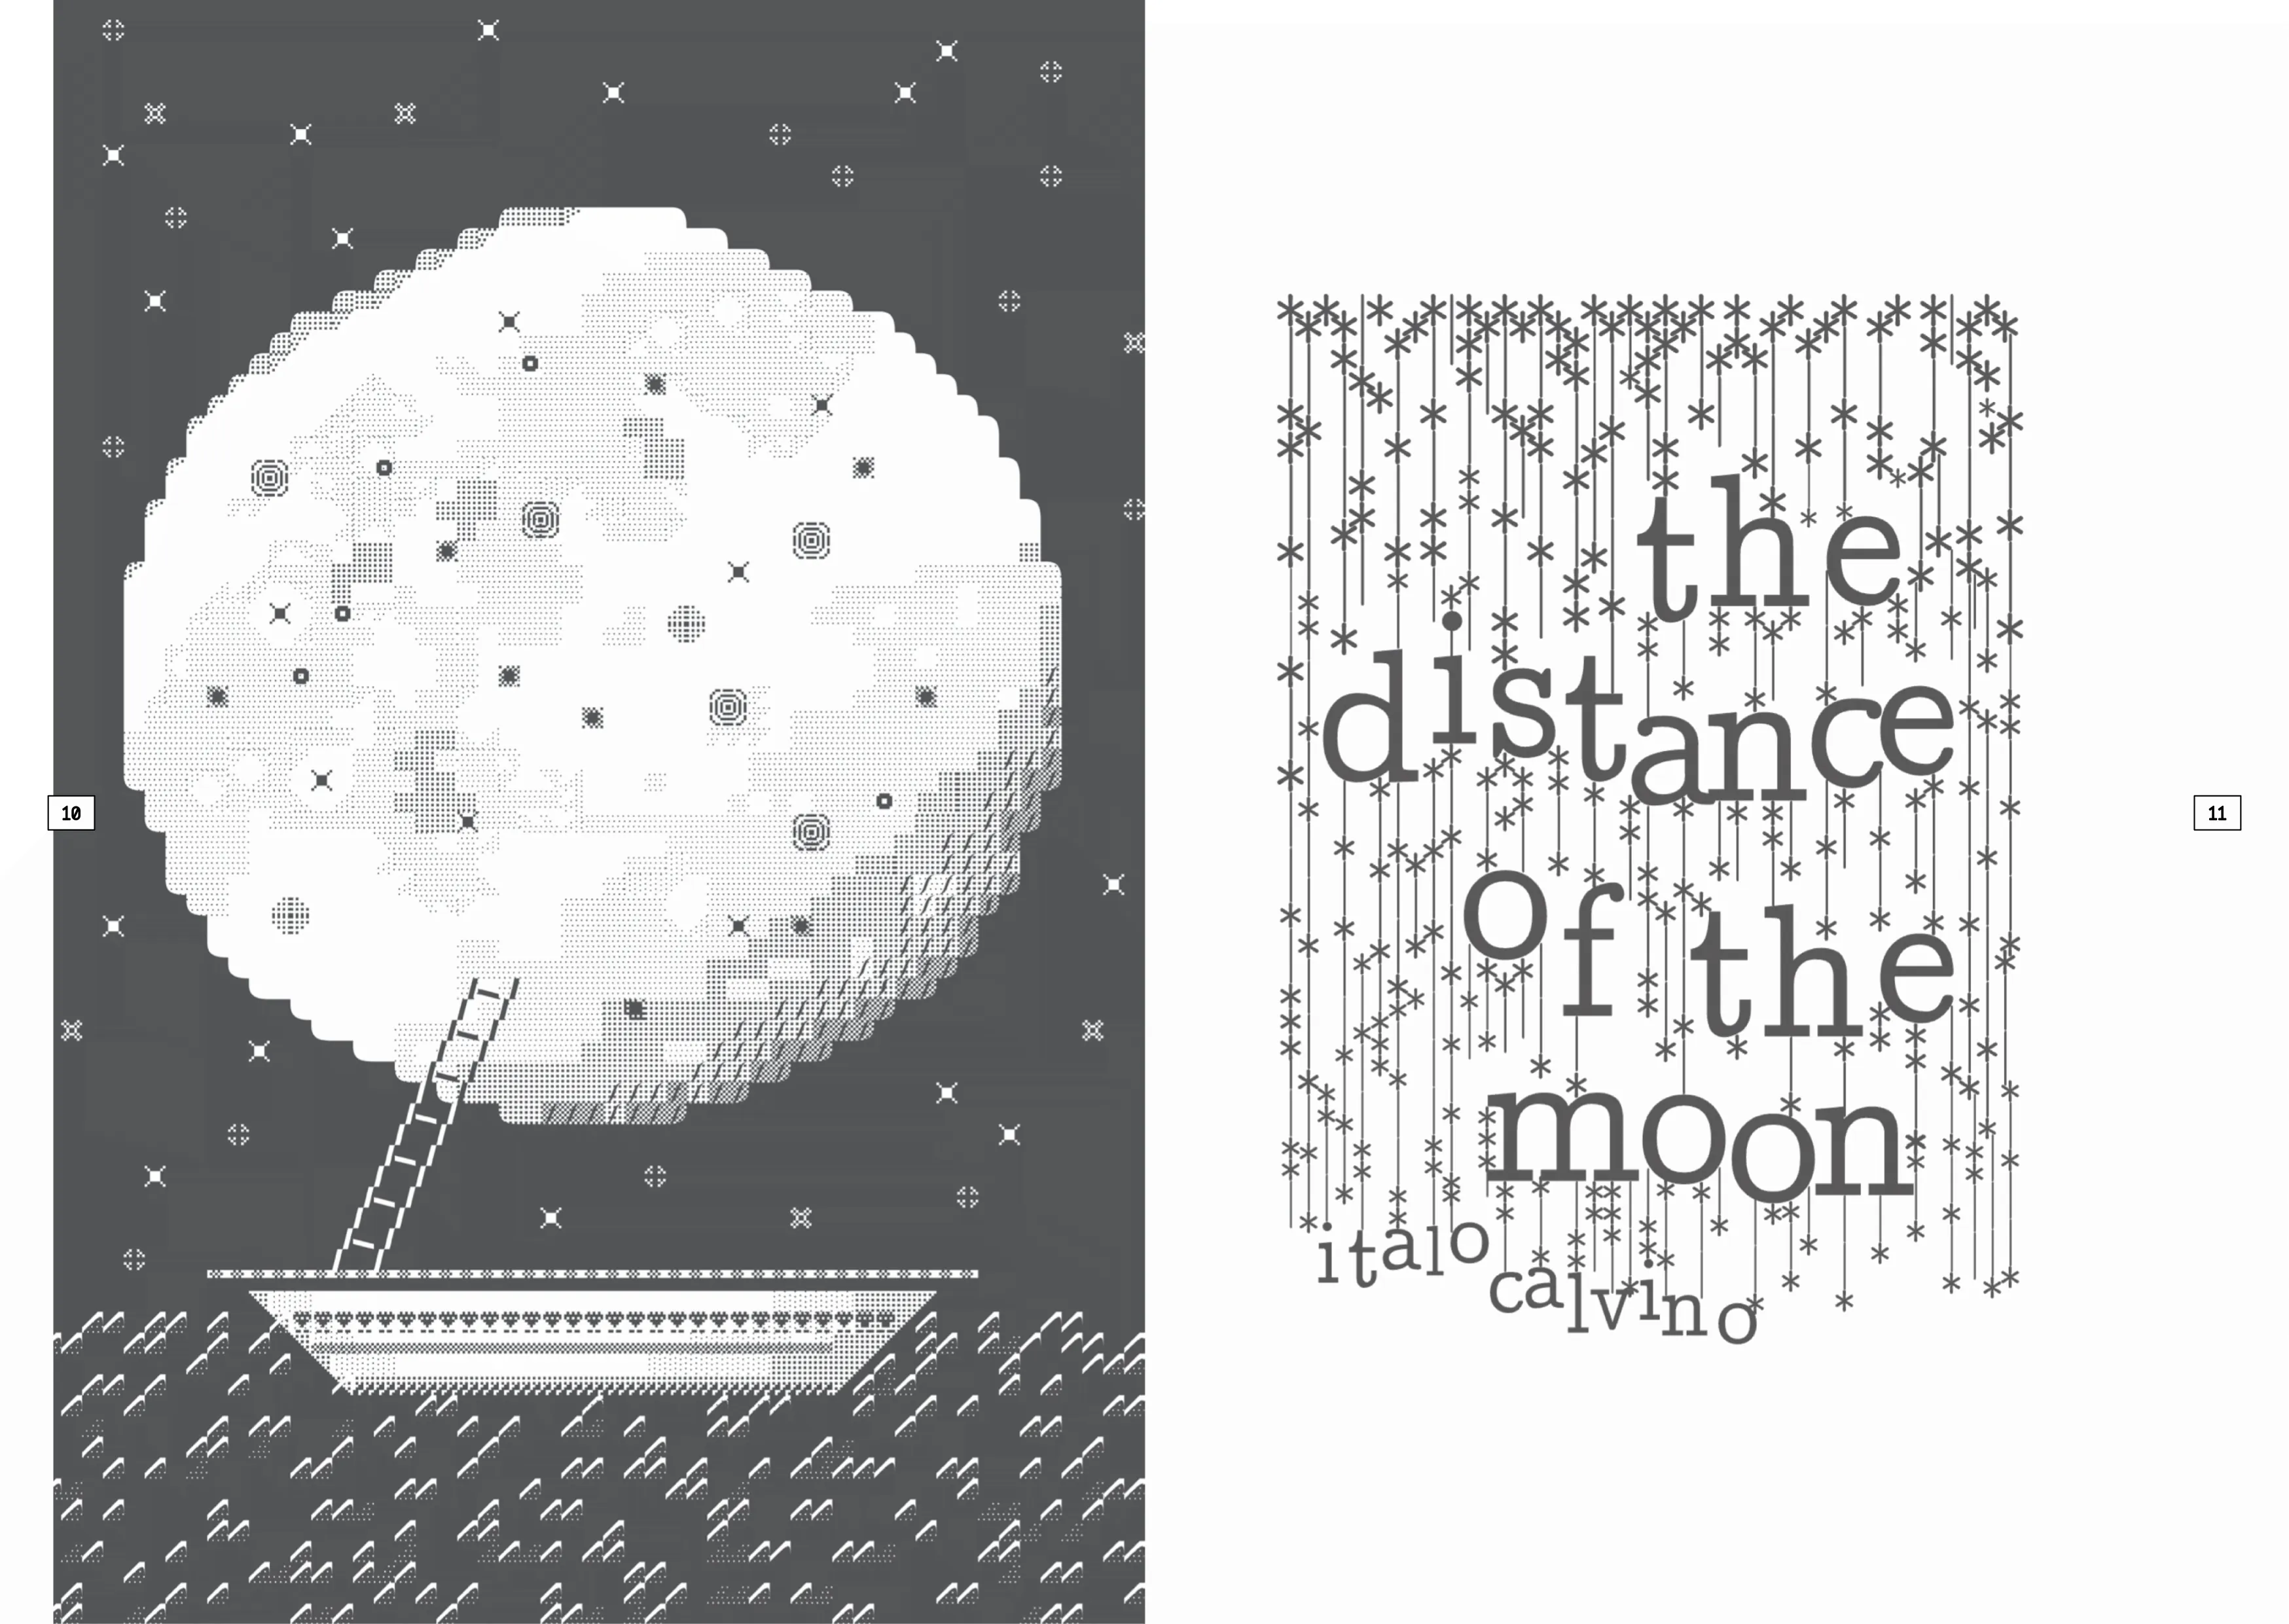
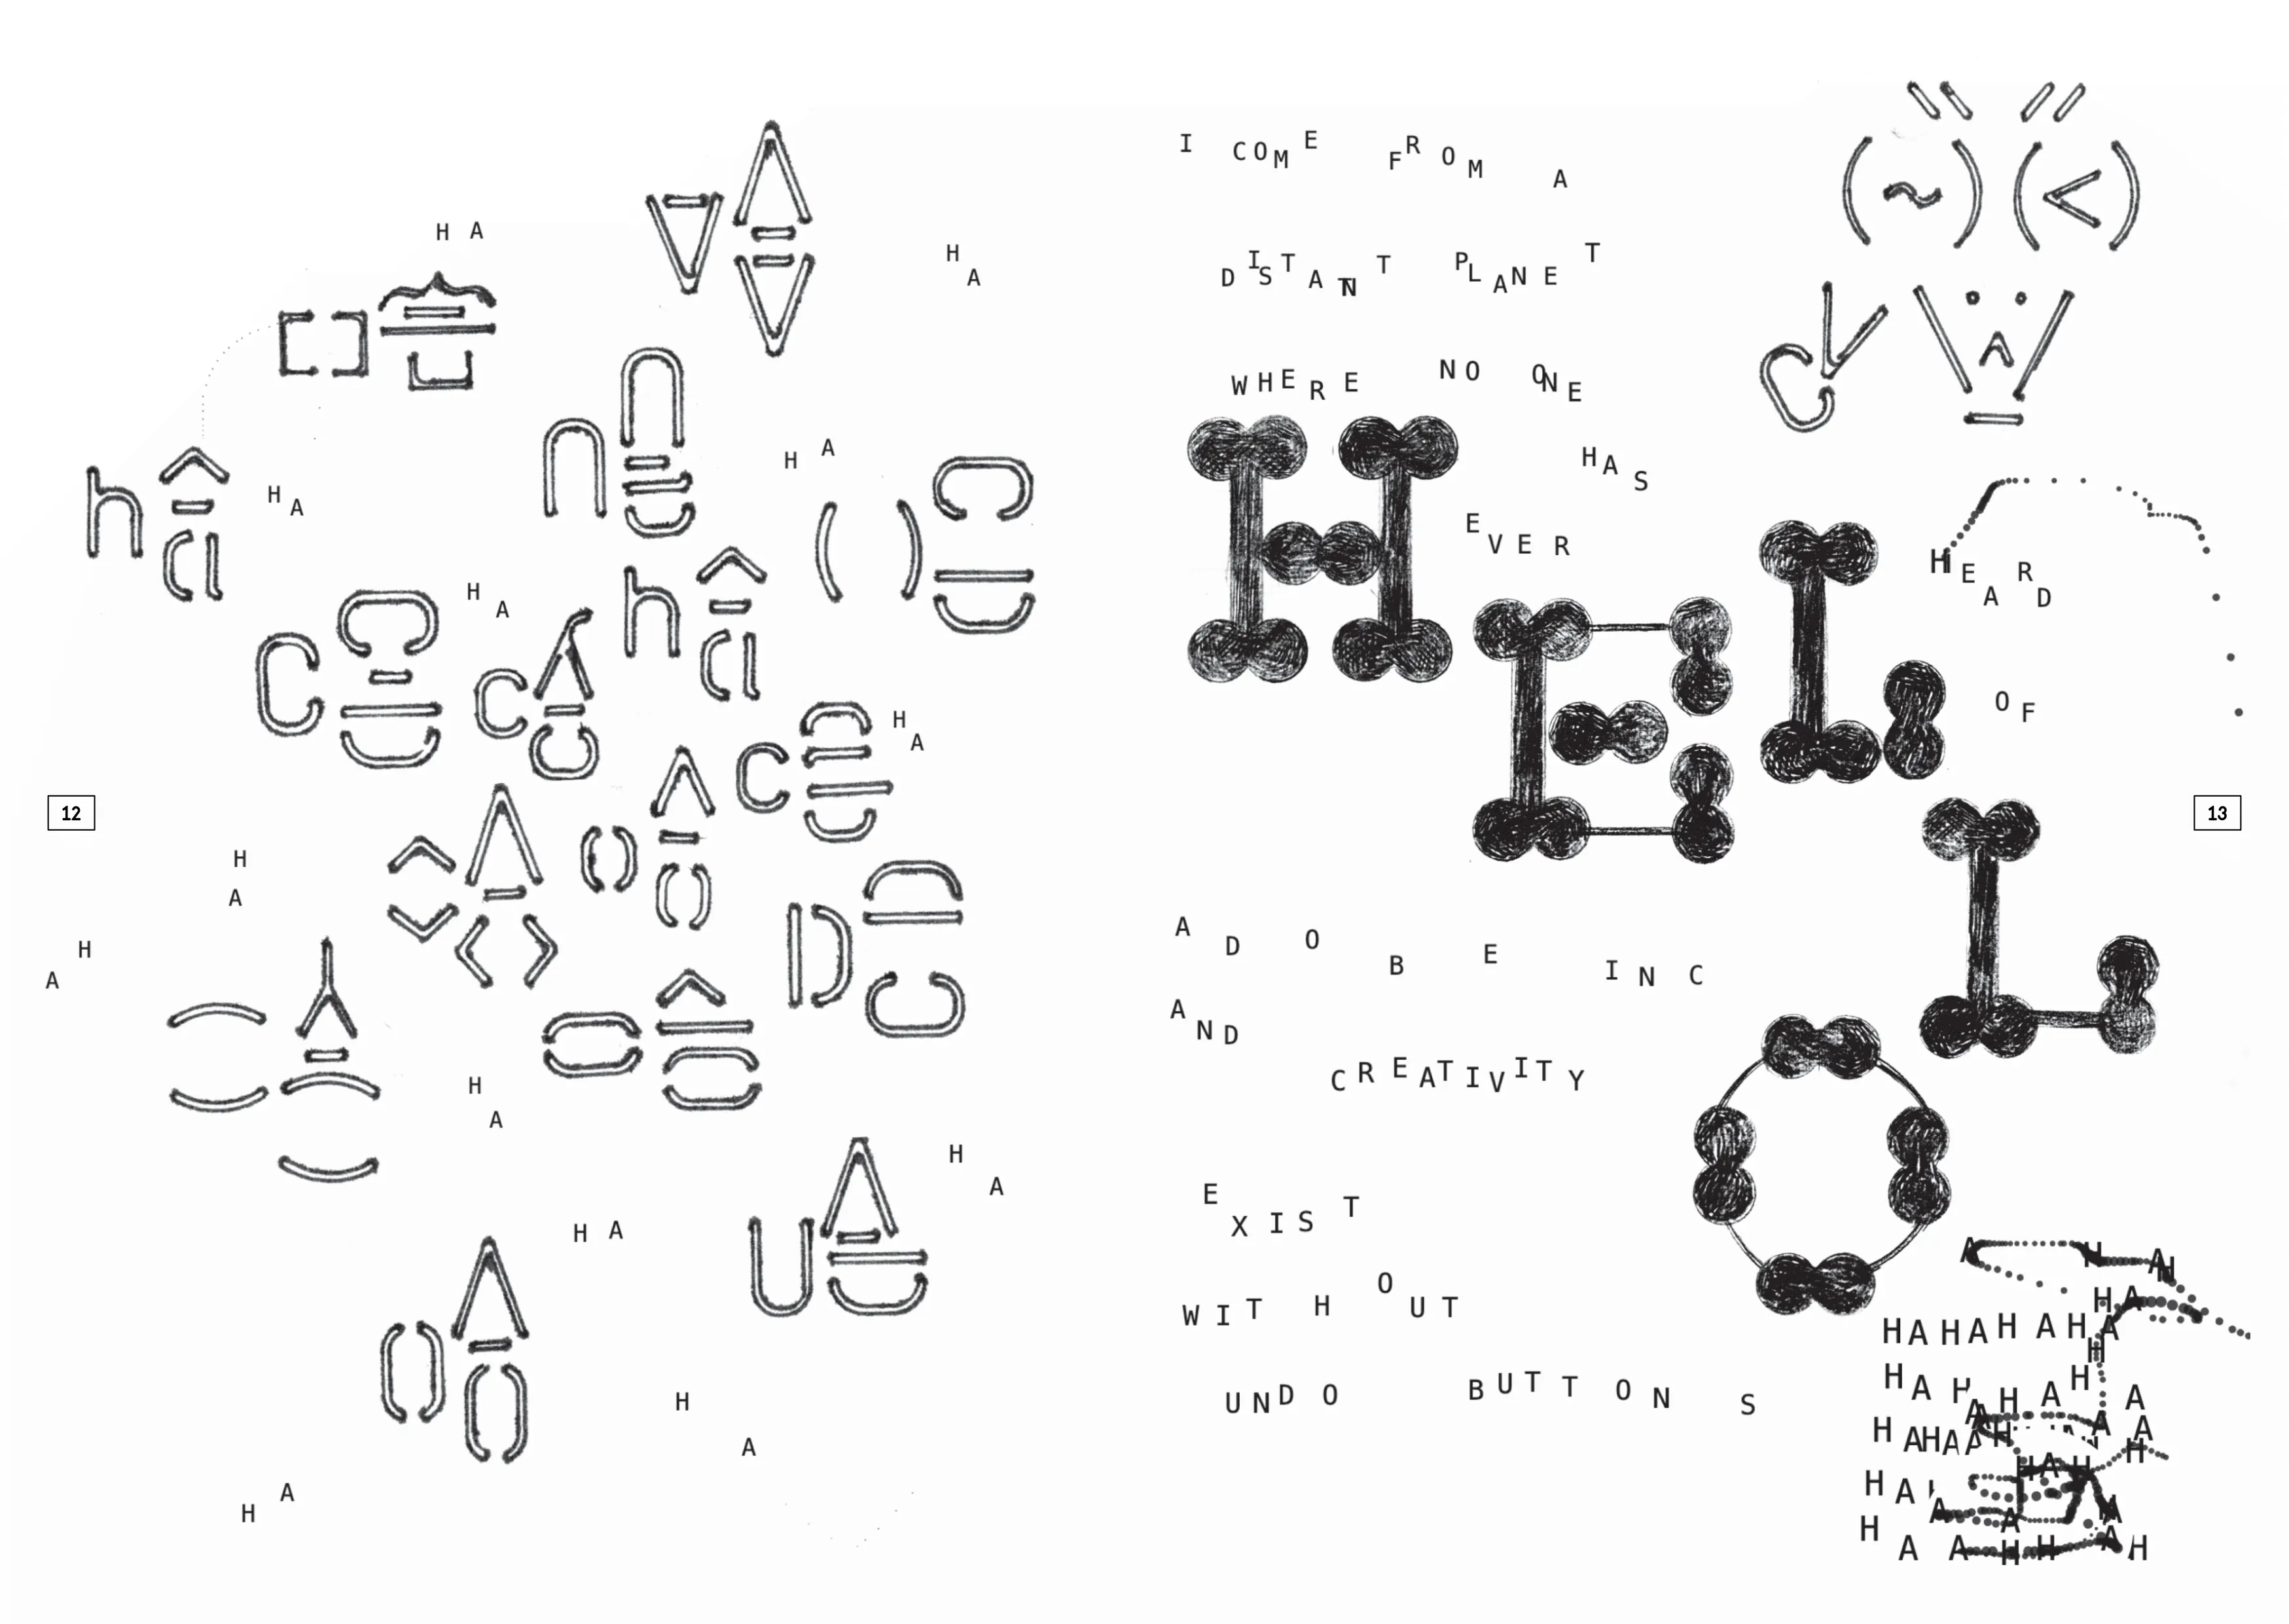
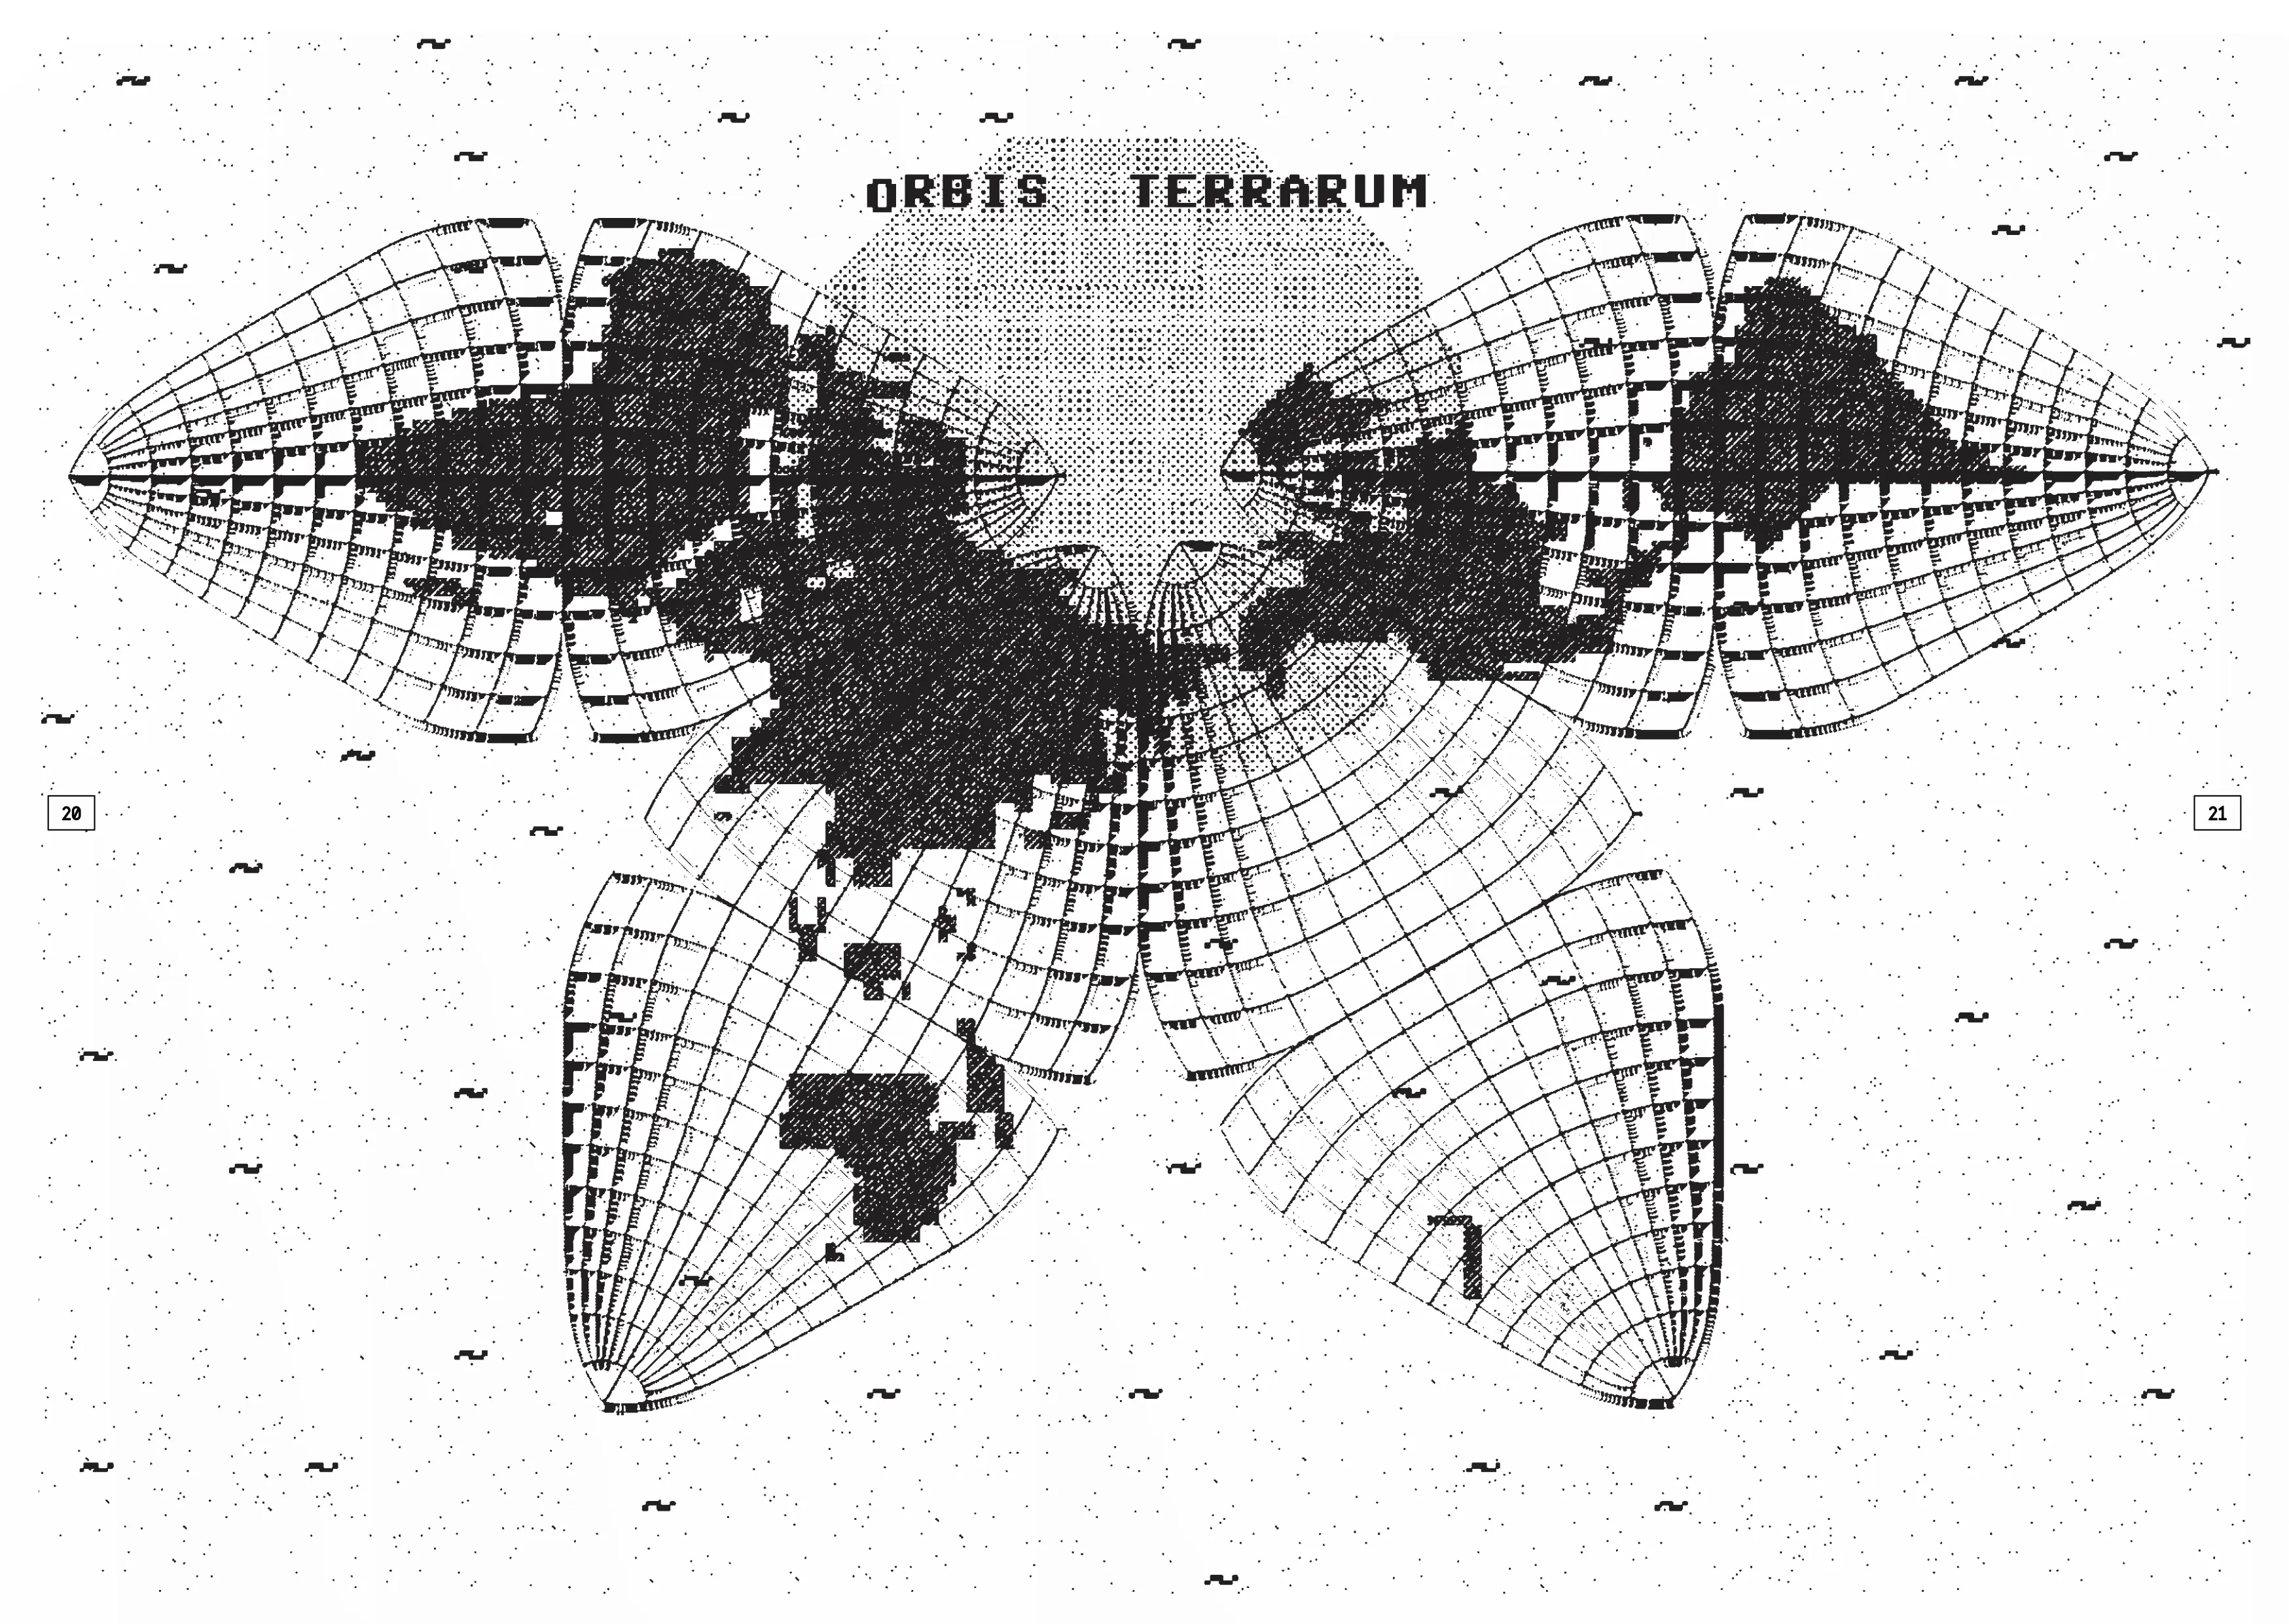
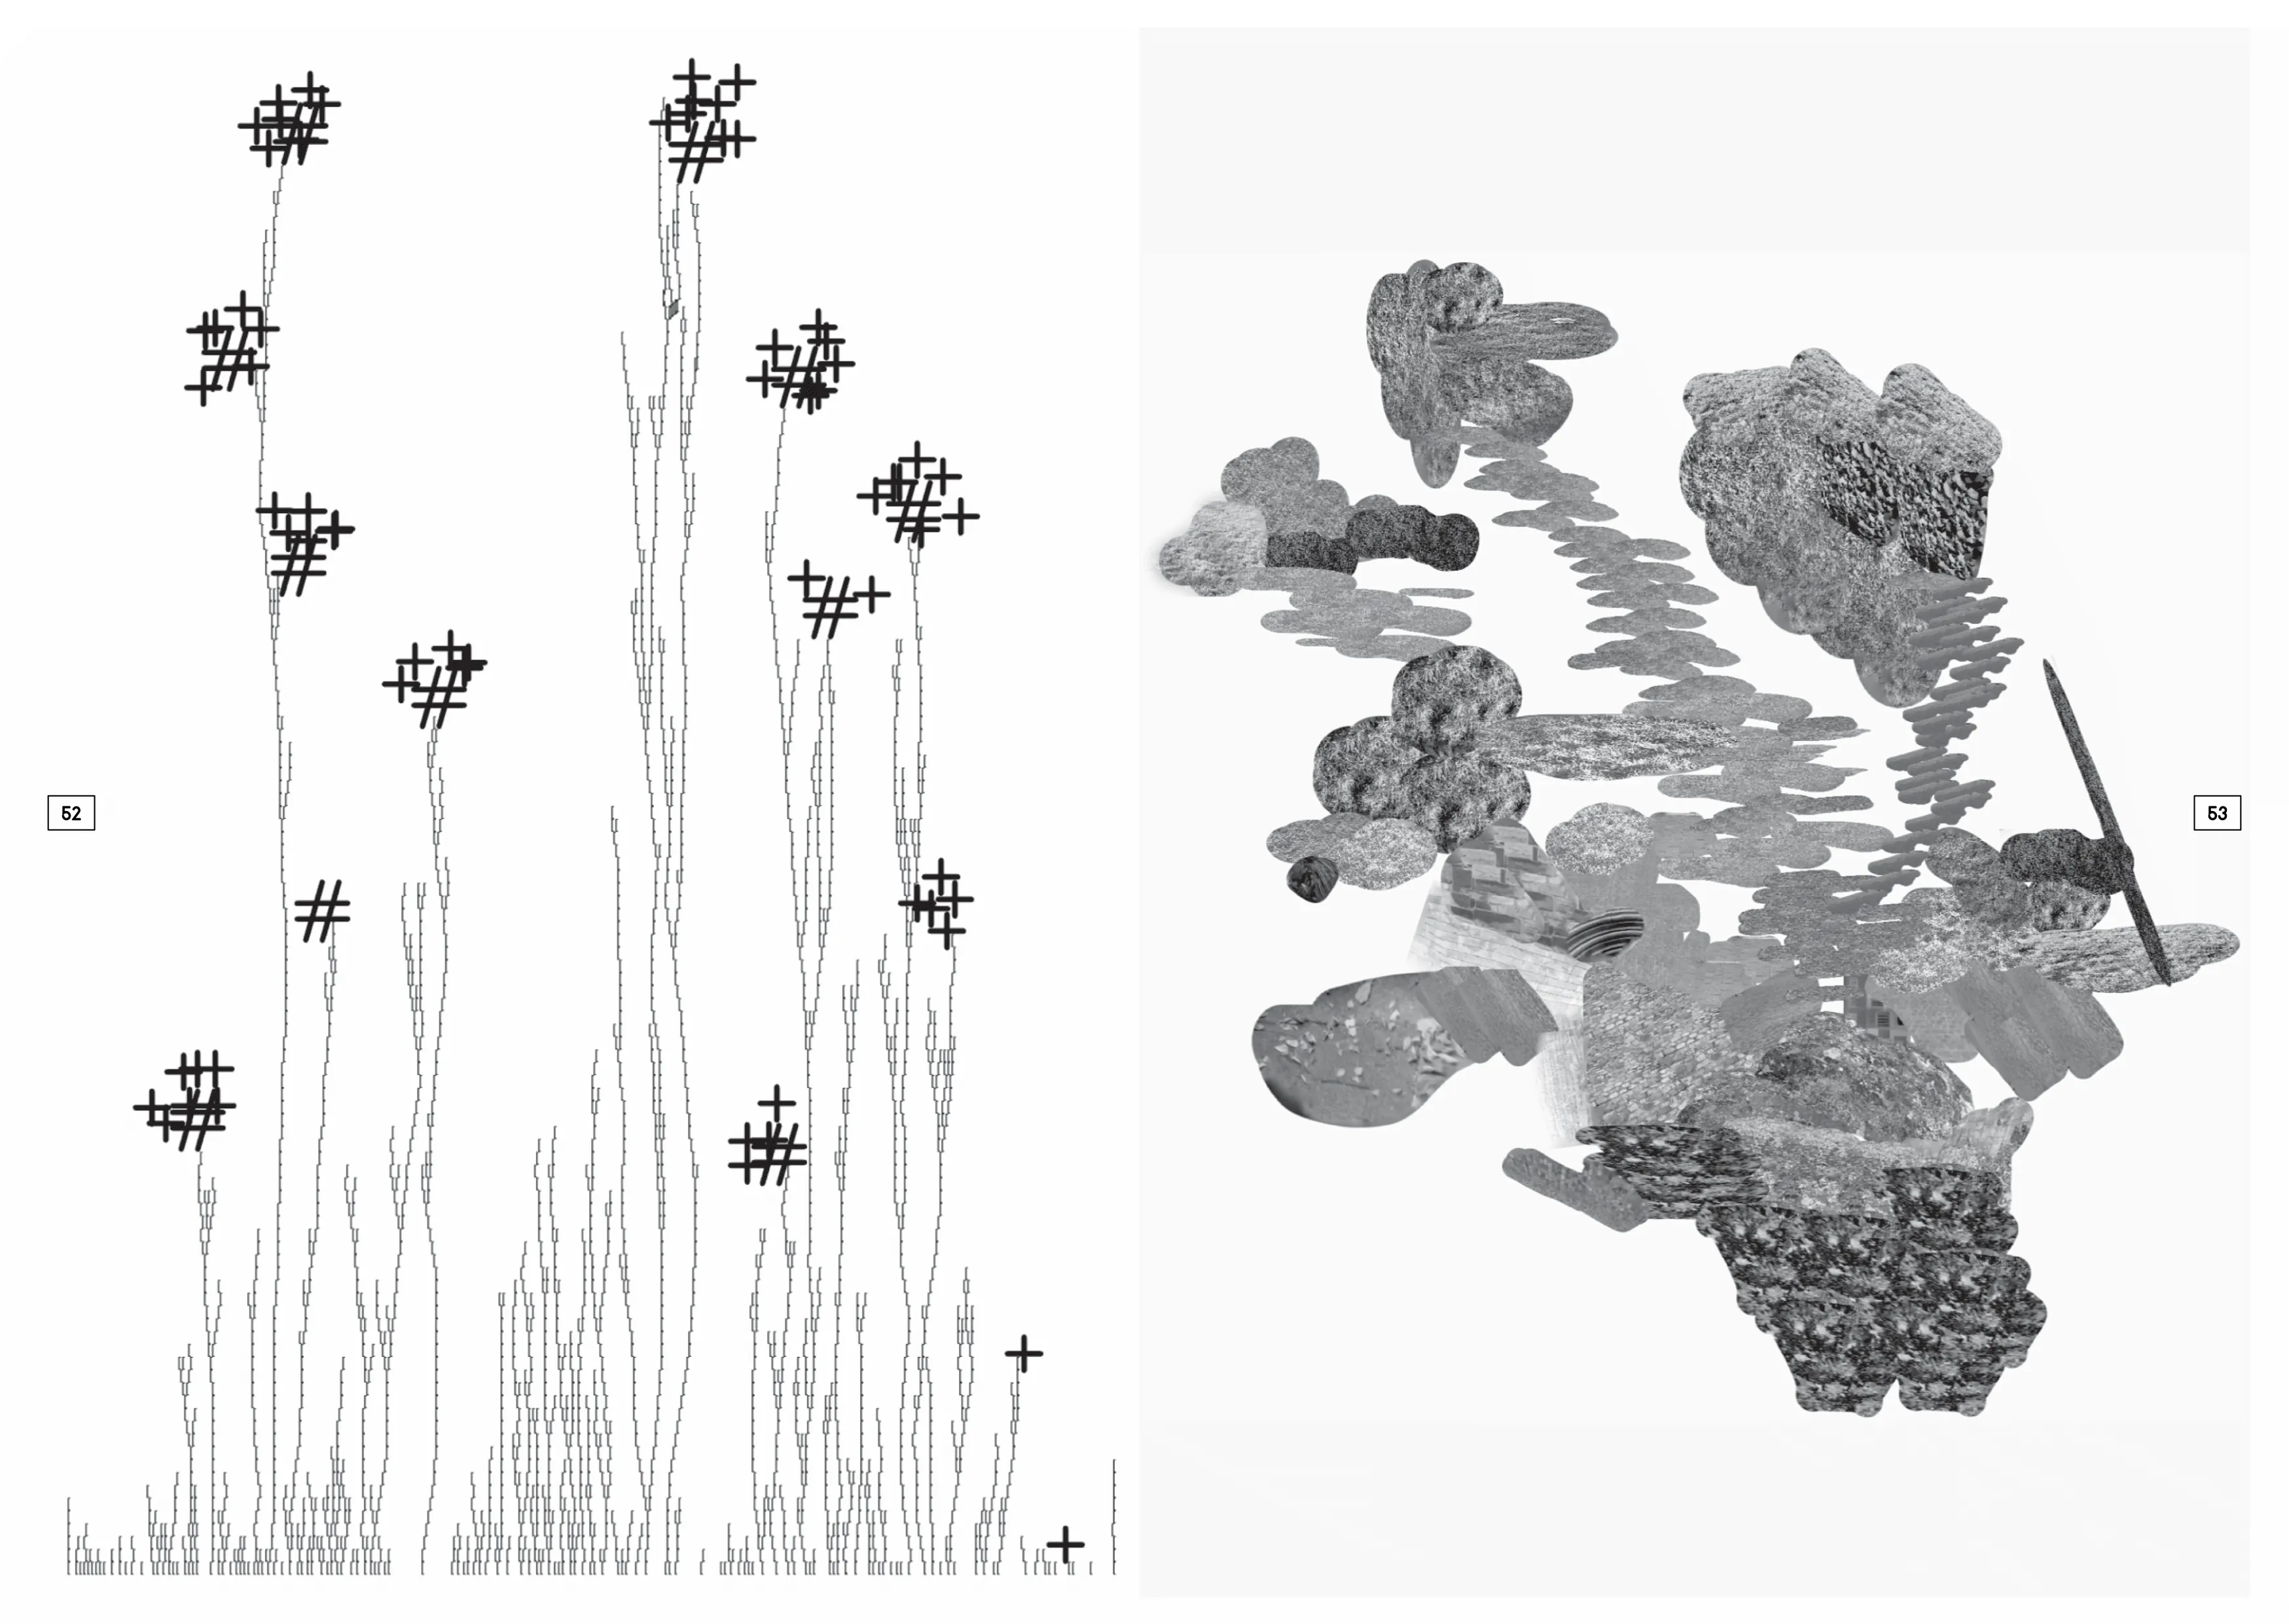
Glyph Drawing Club and IL–Verse were used to illustrate Italo Calvino’s The Distance of a Moon. The spread was created by only using the keyboard function of both tools.
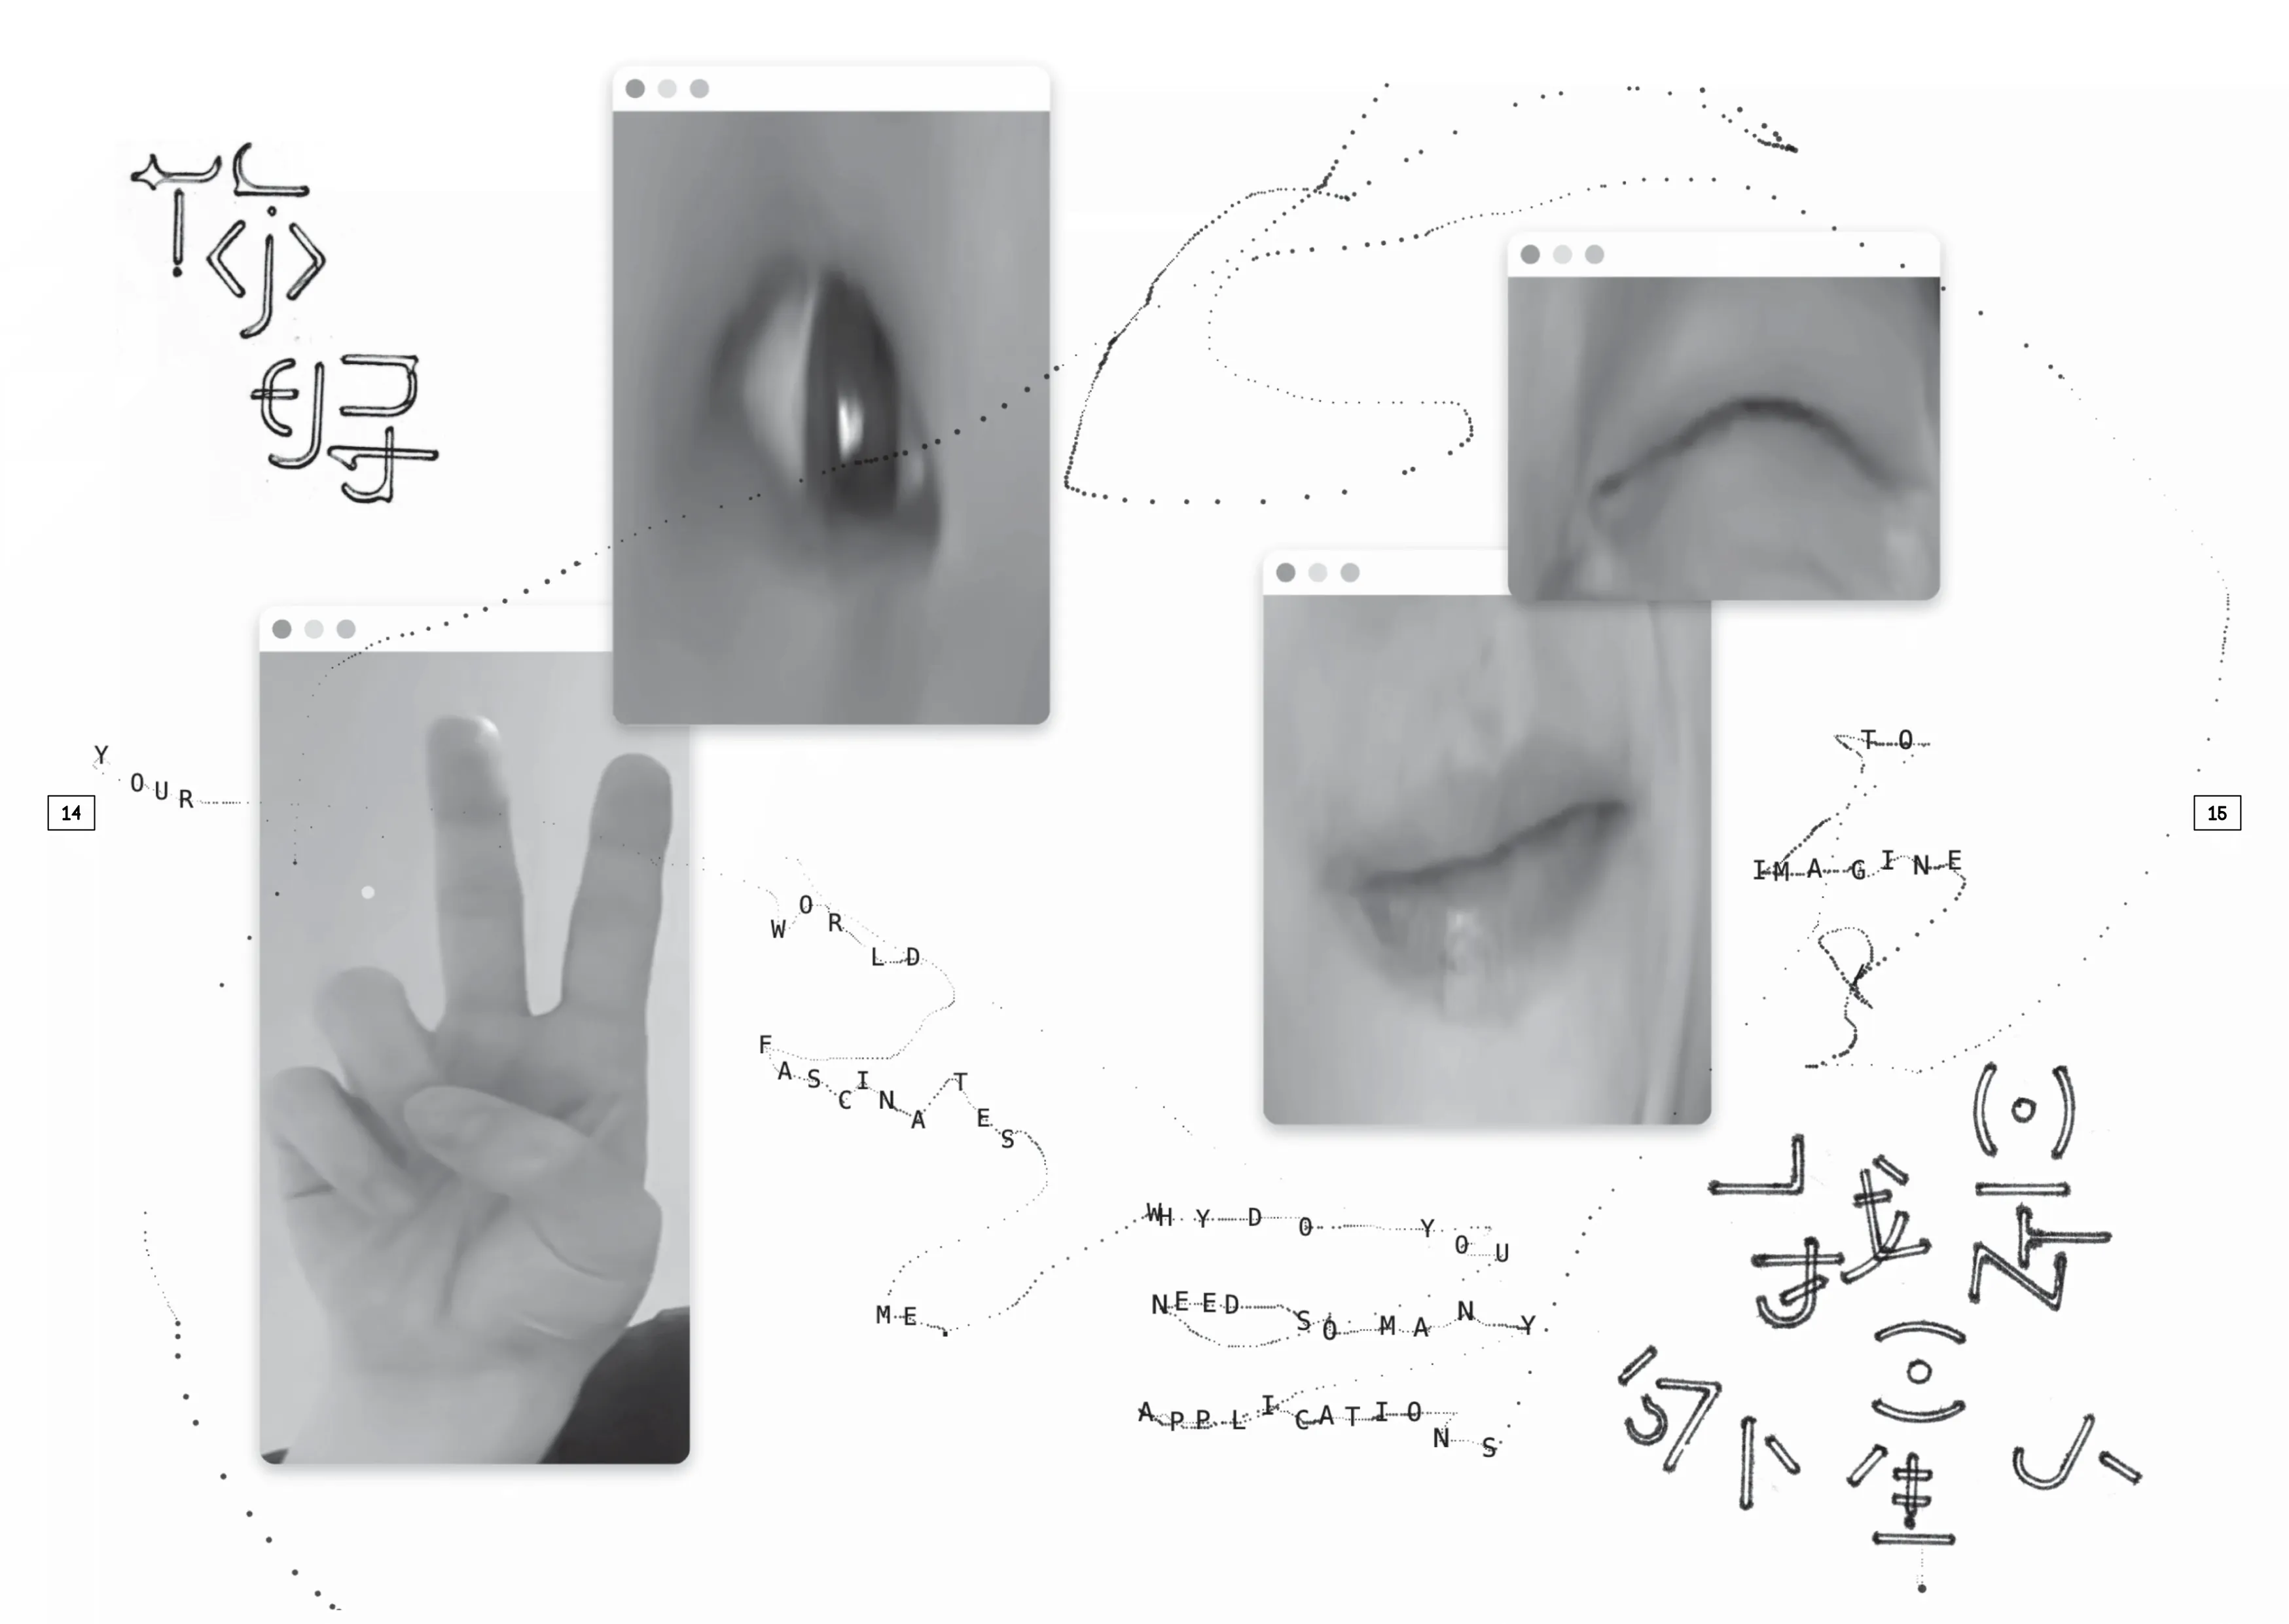
A spontaneous combination of outputs from experimentation with analog and digital tools. Letters made with a geometric study graph. Chinese characters and illustration drawn with a latin lettering guide. Image created by a self-made webcam selfie toy created in javascript. Small texts typed with a repurposed hand exercise tool that tracks cursor movement and keyboard input and show them on screen. Everything is laid out in Microsoft PowerPoint.
Typographic elements created with Lineto Typewriter and Glyph Drawing Club. Effects applied using Avocado Ibuprofen Paint, Flow and Ouroborus. Editing with Graphite and Photopea. Layout and composition with Fracture and Freeform.
Basic drawings with Graphite, Glyphs Drawing Club, IL-VERSE, Grid paint and Pocket Graffiti Pen. Transformation and filters with Pixel-Fattener-7 and Dithermark. Assemblage with Photopea.
My first project from the GlyphDrawing Club. I built the vector base in Graphite, handled the typography in Photopea, and added texture via Doodad's dithering tool.
All the tools I used, I made myself. I wanted to explore tool-autonomy and not focus on the final outcome, but understanding how to build tools into my practice using (a lot) of AI help. The final outcomes were exported from the browser as PNGs and laid out in Keynote.
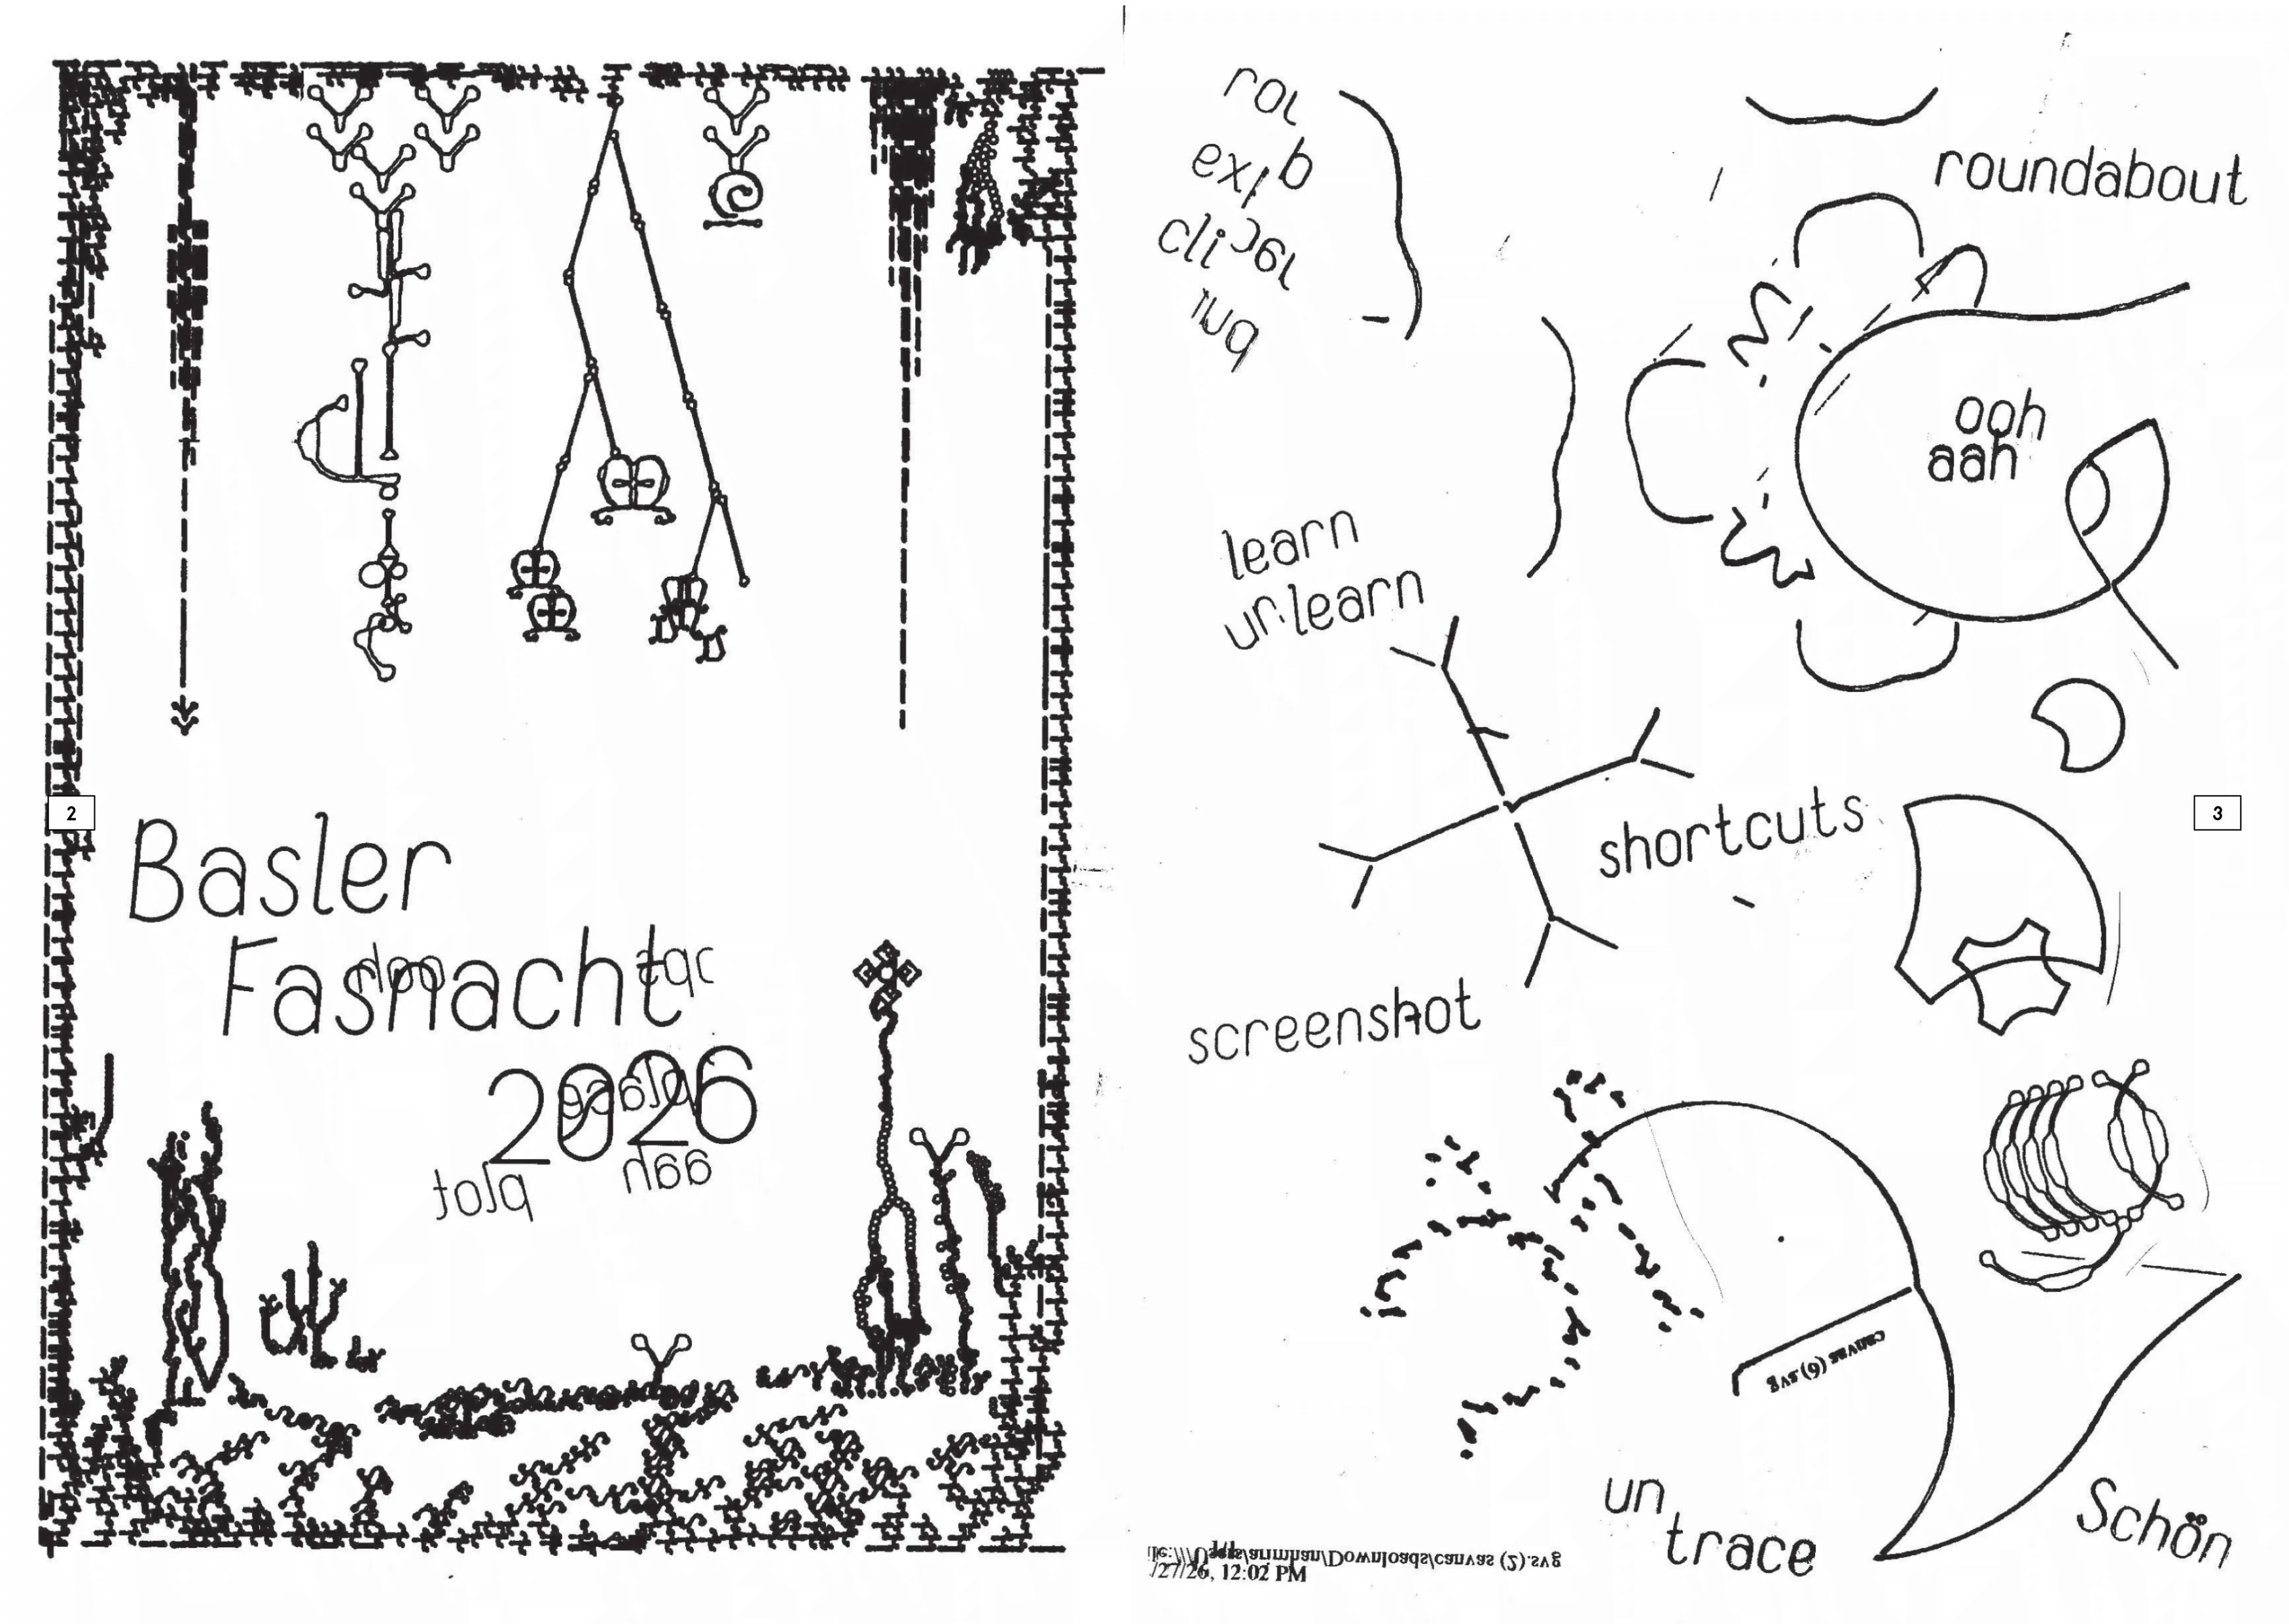
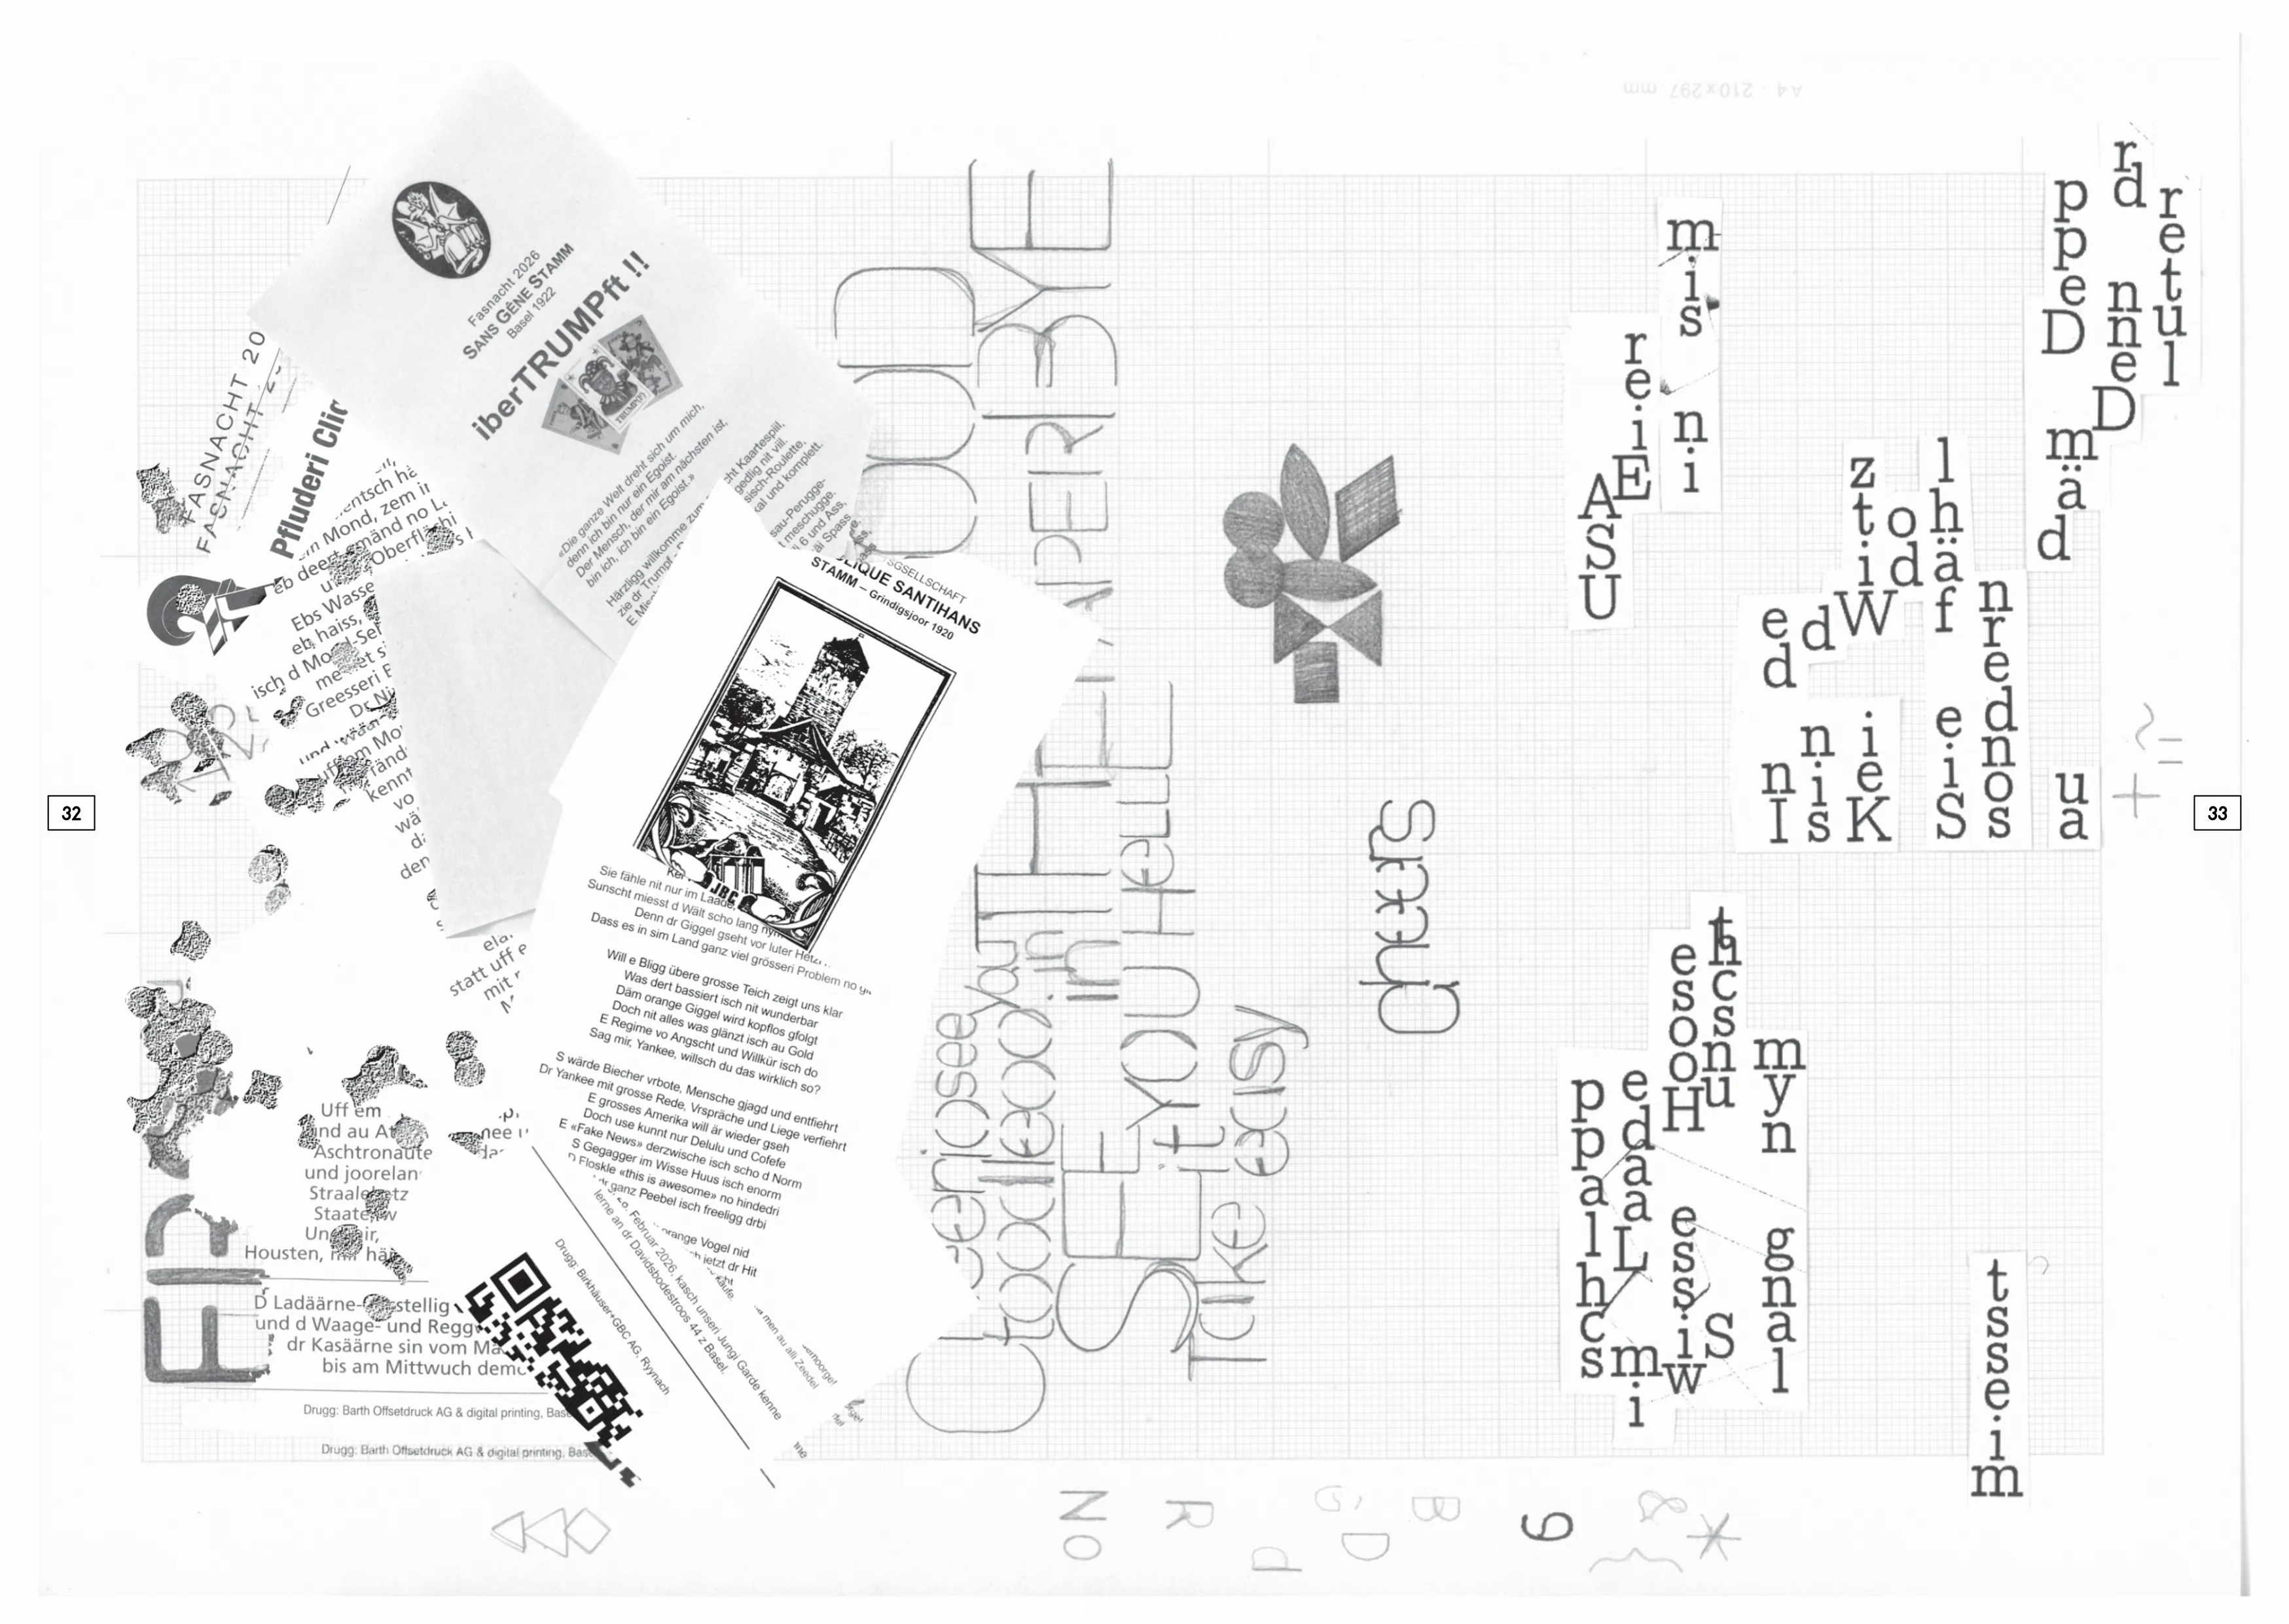
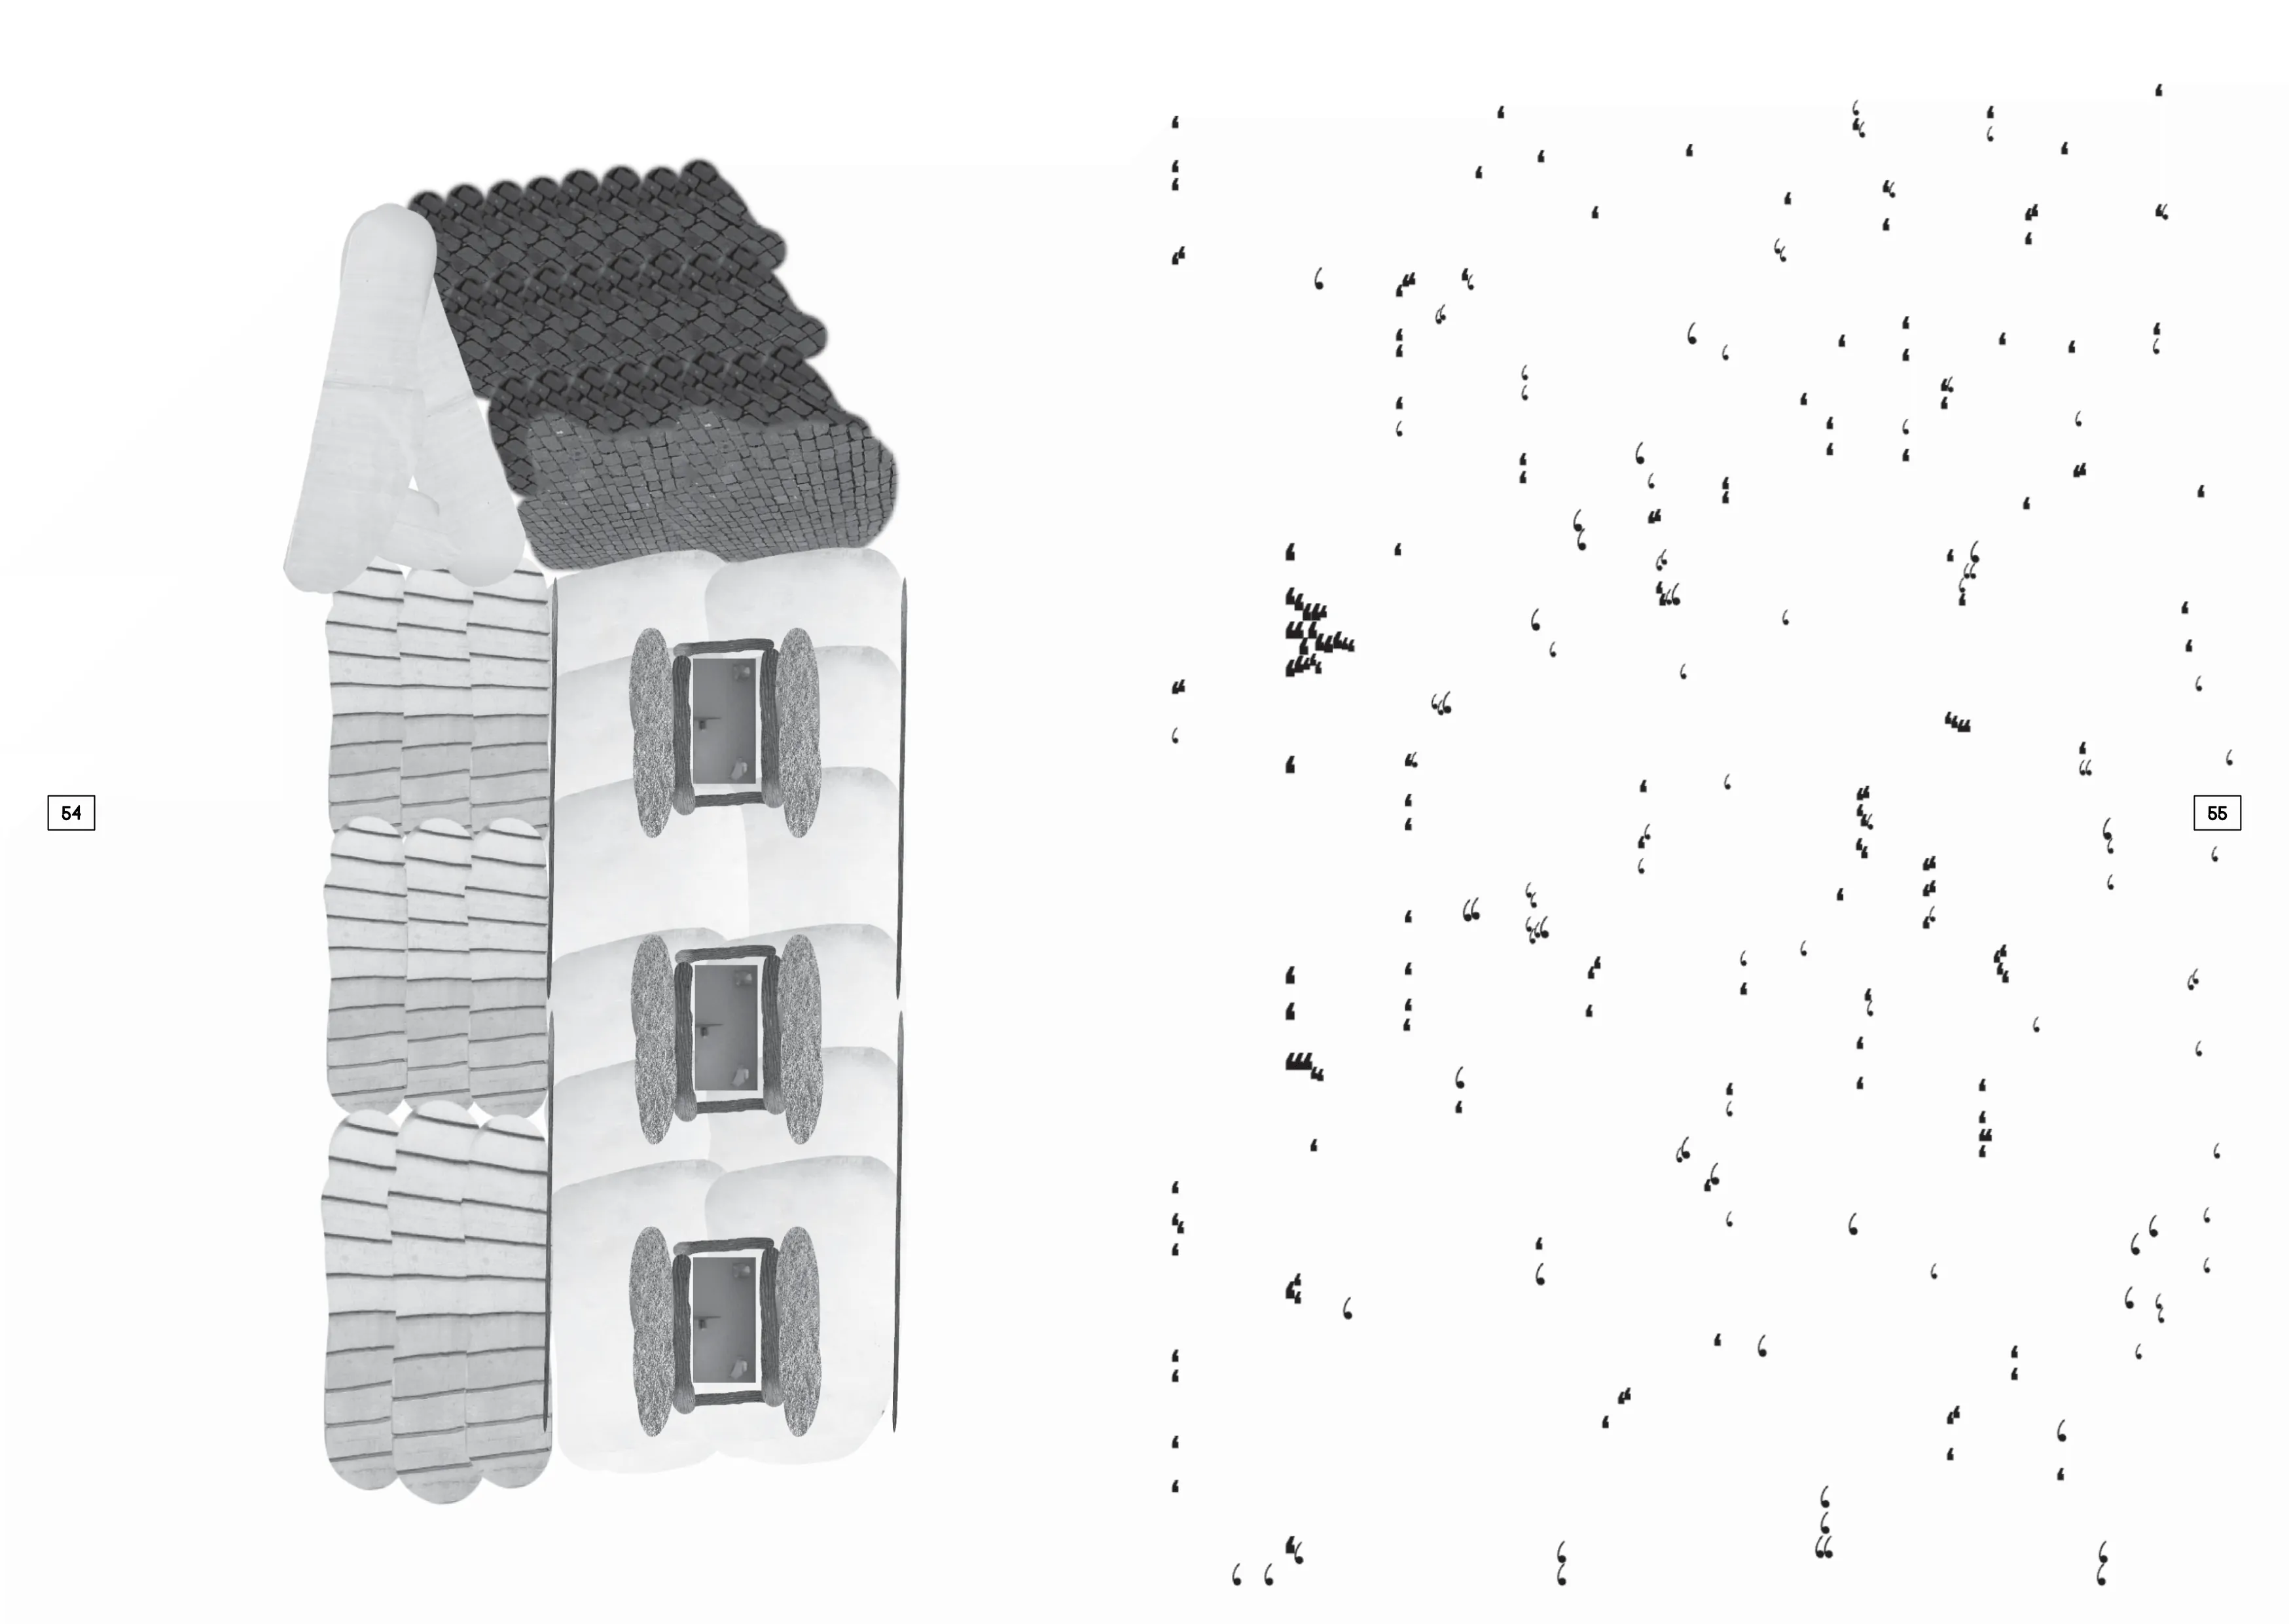
Inspired by the streets after Fasnacht, I collected items I've got over the past three days, scanning, editing, printing, and rescanning before arranging them on the grid paper, which I had drawn on the first day.
IL-VERSE, Pencil and ruler hand-drawing, KID PIX app.
The circle graphic was generated by NOCTALGIA, and Grainrad for the grainy texture. The second graphic is a scanned wrapping plastic with a dotted pattern. Furthermore I use the Pixel-Fattener to enhance the glitchy look for the product itself. Later on, I did the final composition with the scanner and the PAGES.
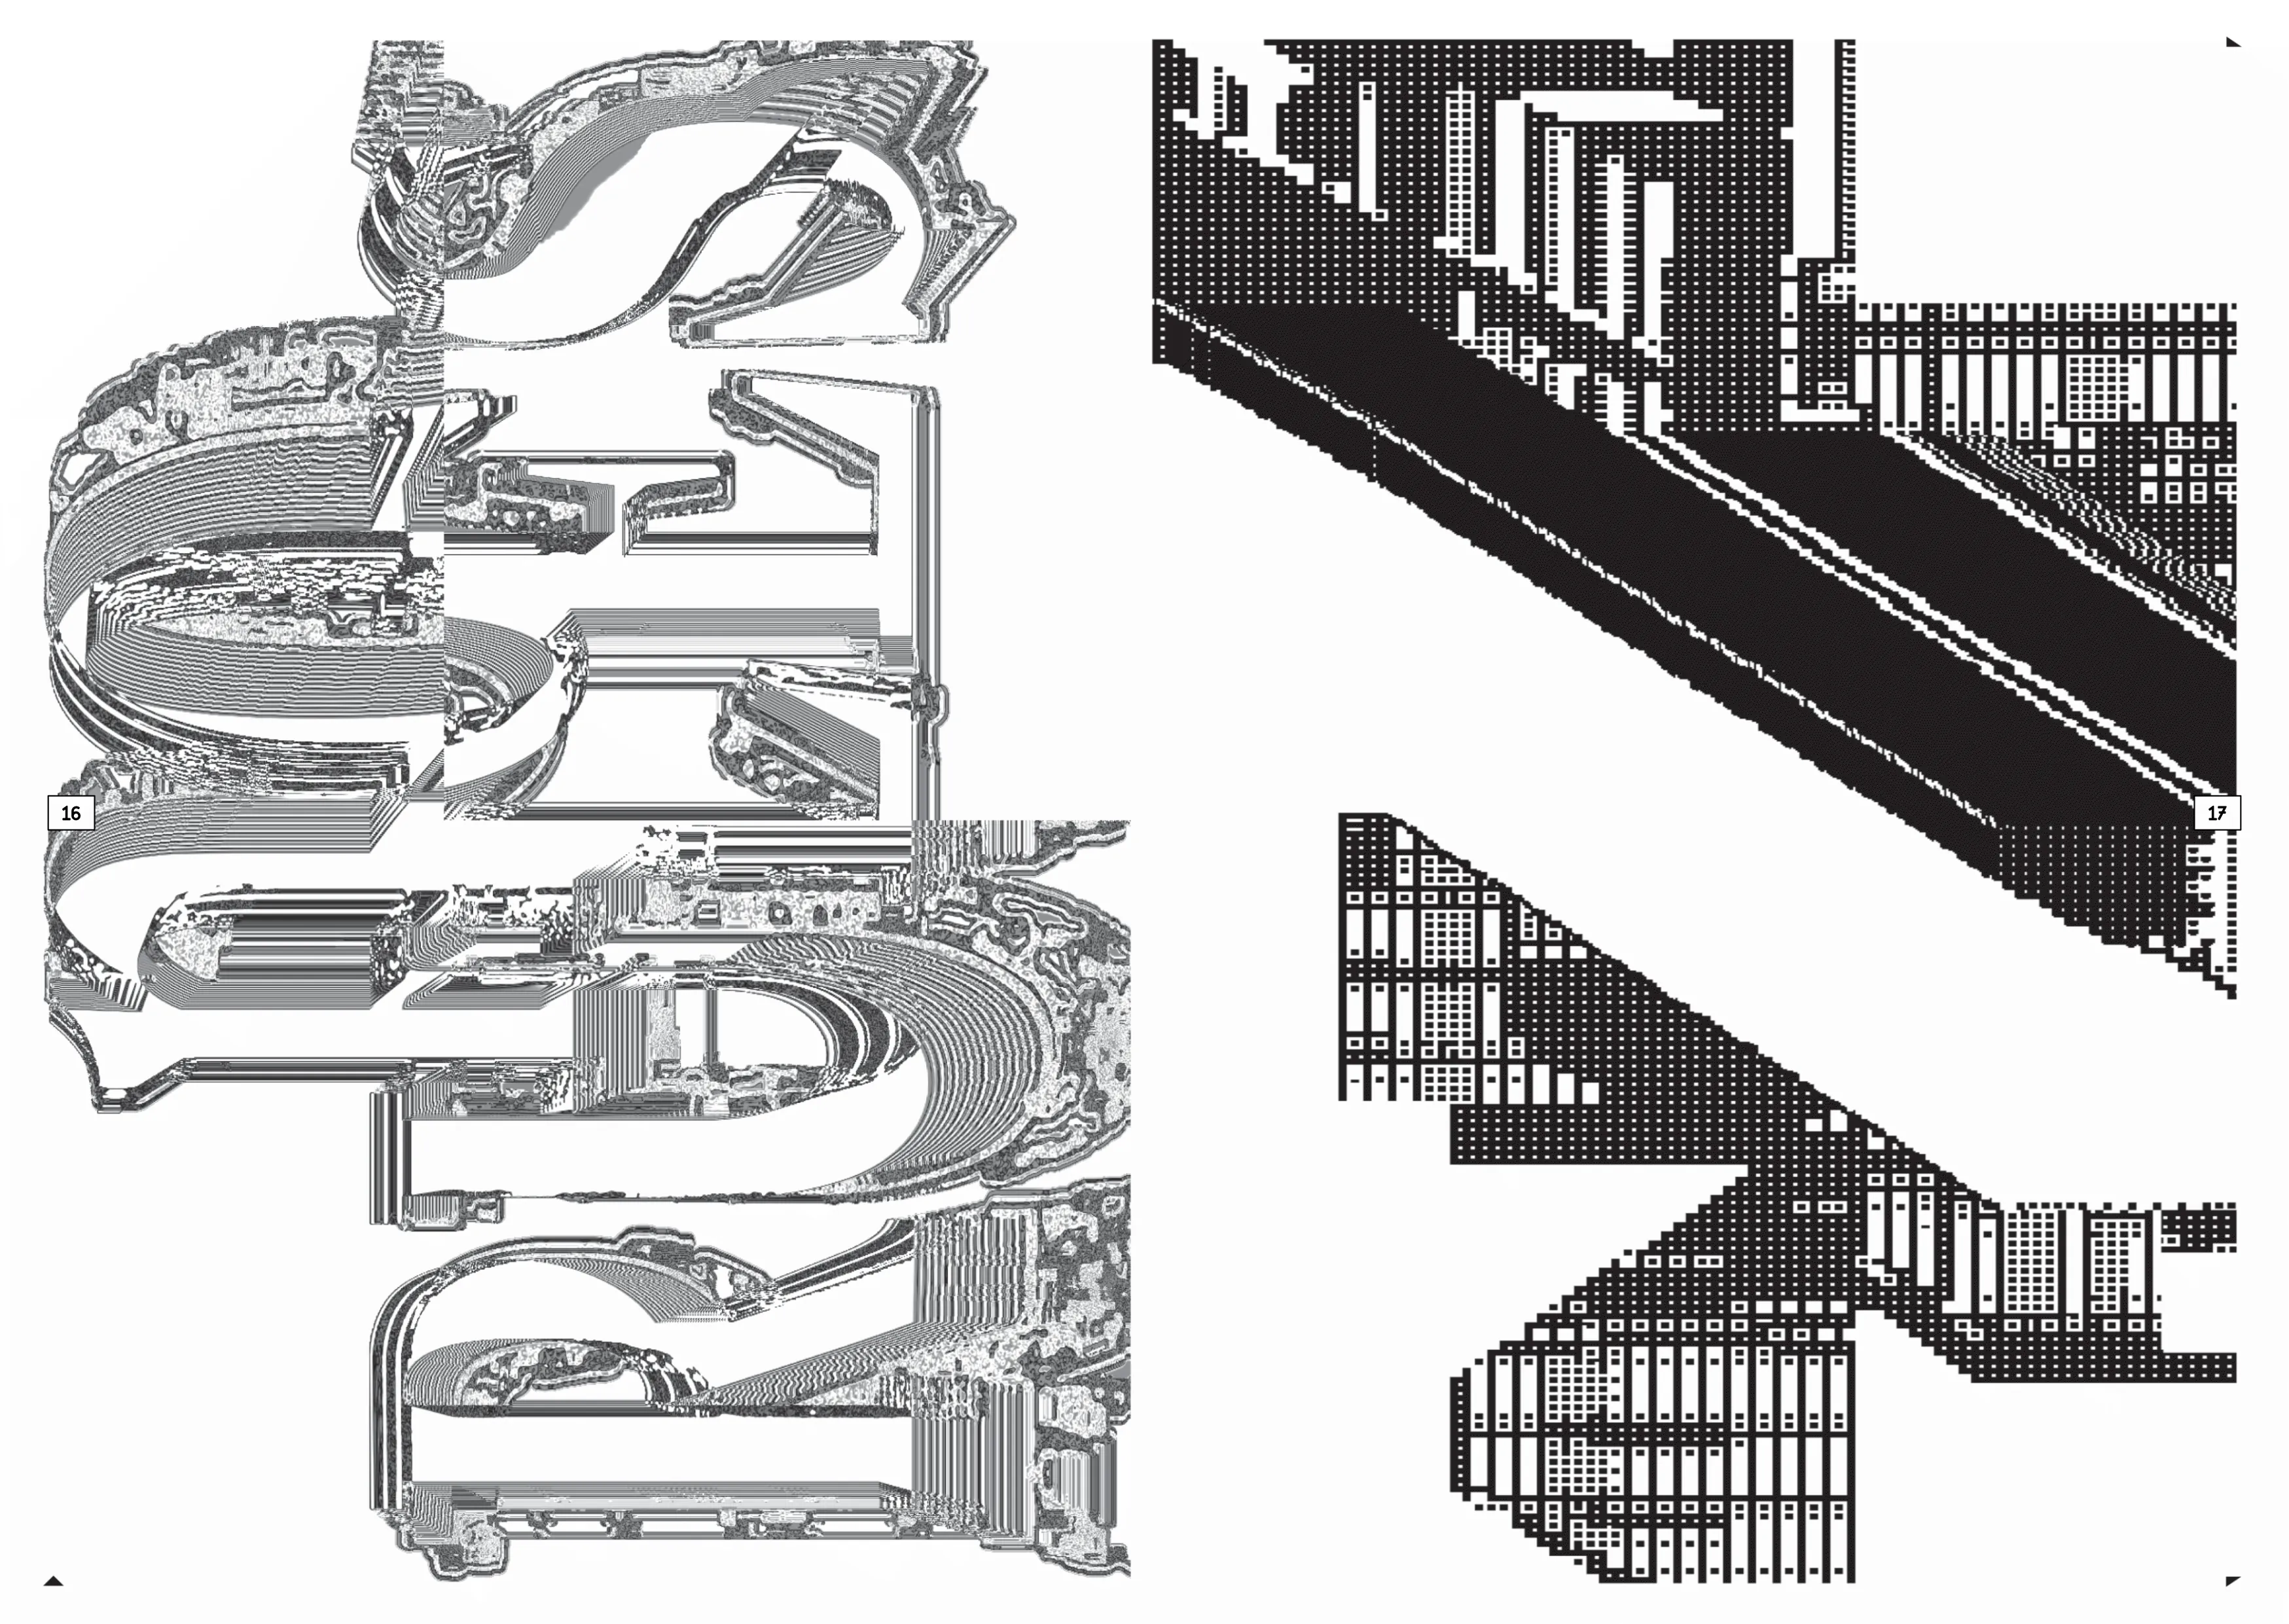
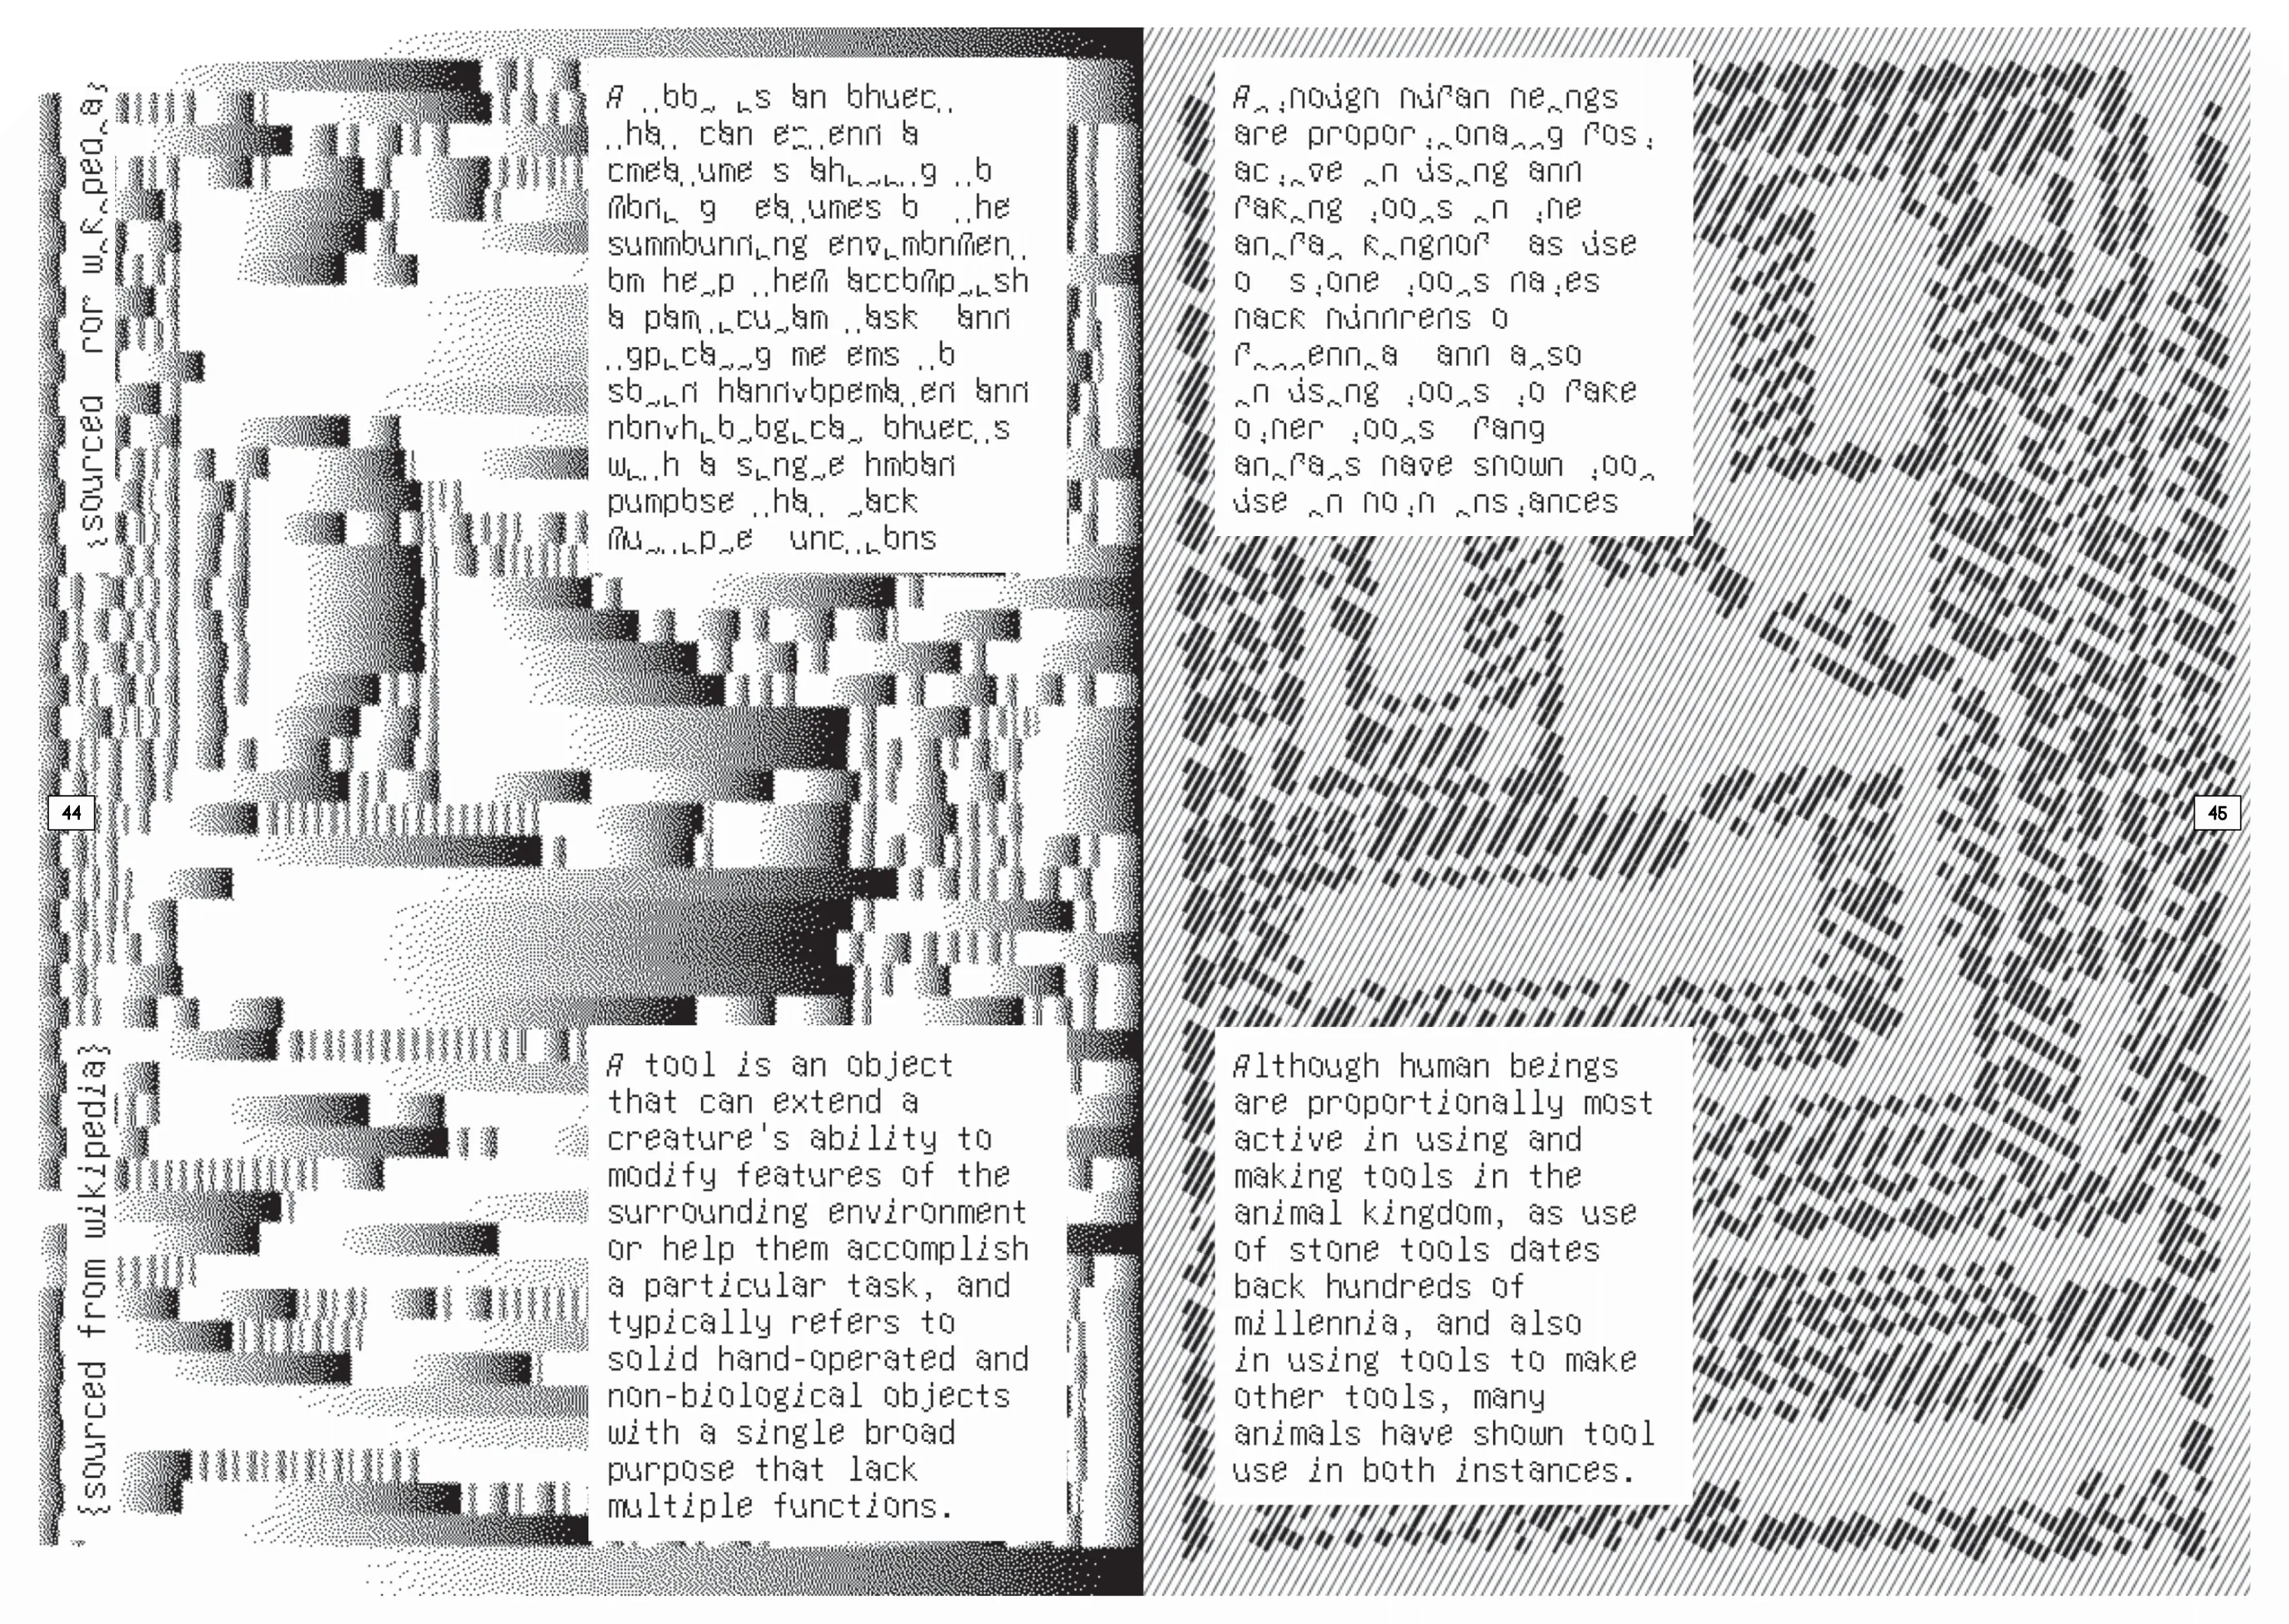
I started my process by creating a base with Il-Verse, using a single character to create a composition by rotating it several times. This base image was fed through the stippling and gradient effects of the Tooooools.app several times, which started to create a workflow of producing and remixing the same image. To produce the rest of the images, I experimented with the two images I had previously produced using the Mosaic tool from Constraint Systems, reconfiguring them with different sources. The text layer is composed of the Wikipedia definition of the tool and of me playing around with the vowels in the Face tool of Constraint Systems.
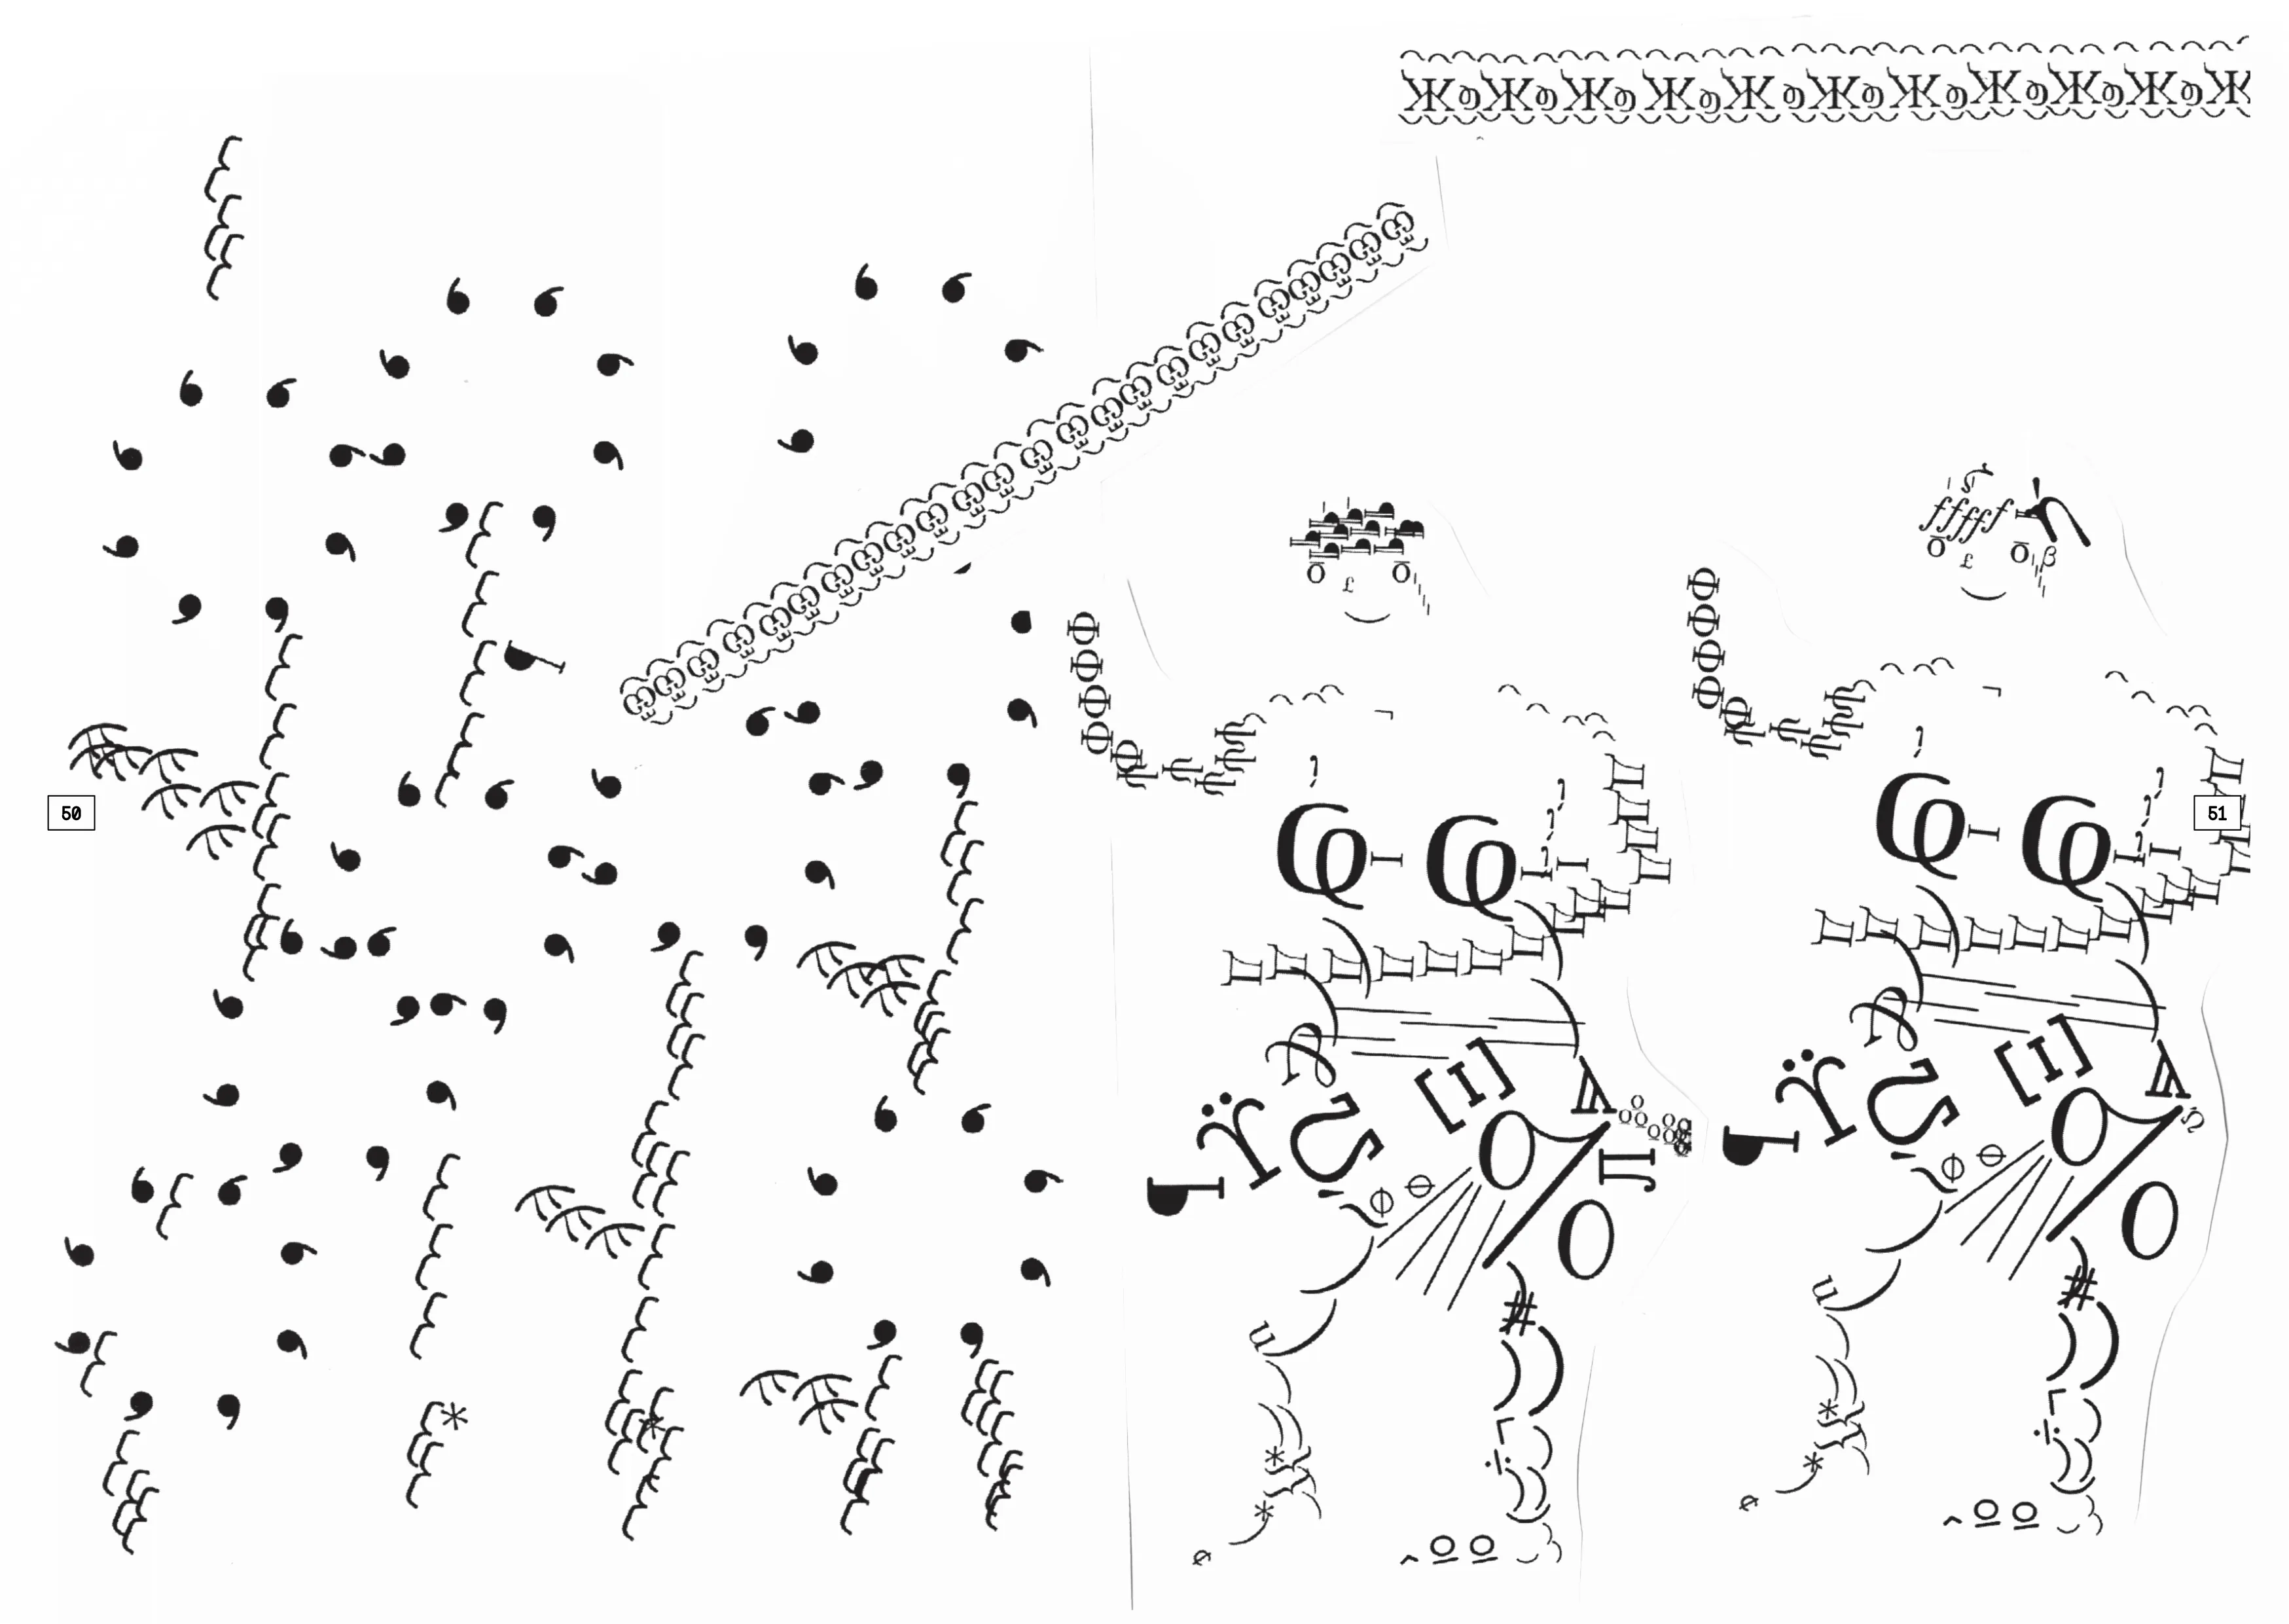
Two spreads featuring Basel Fasnacht were created using just two online tools: Glyph Drawing Club and IL-VERSE. The typefaces were also drawn in Glyph Drawing Club, starting from basic initial shapes.
Half imgaes i use Il–Verse as the tool. Another half tool i create the collage drawing tool by myself, the image fragment come from my 3D scan Texture mapping, and i use all my collect fragment to made a collage archive, by using this single pieces to do collage painting.
Inspired by Peter Saville’s color-code system for New Order’s Blue Monday, I recreated the colored typeface digitally and built web-based tools for live preview and layout export.
Here's all the tools the students used (in ~order of popularity):
Pocket Graffiti Pen, pencils, rulers, arc stencils, printer, scanner, scissors, geometric study graphs, latin lettering guides, etc.
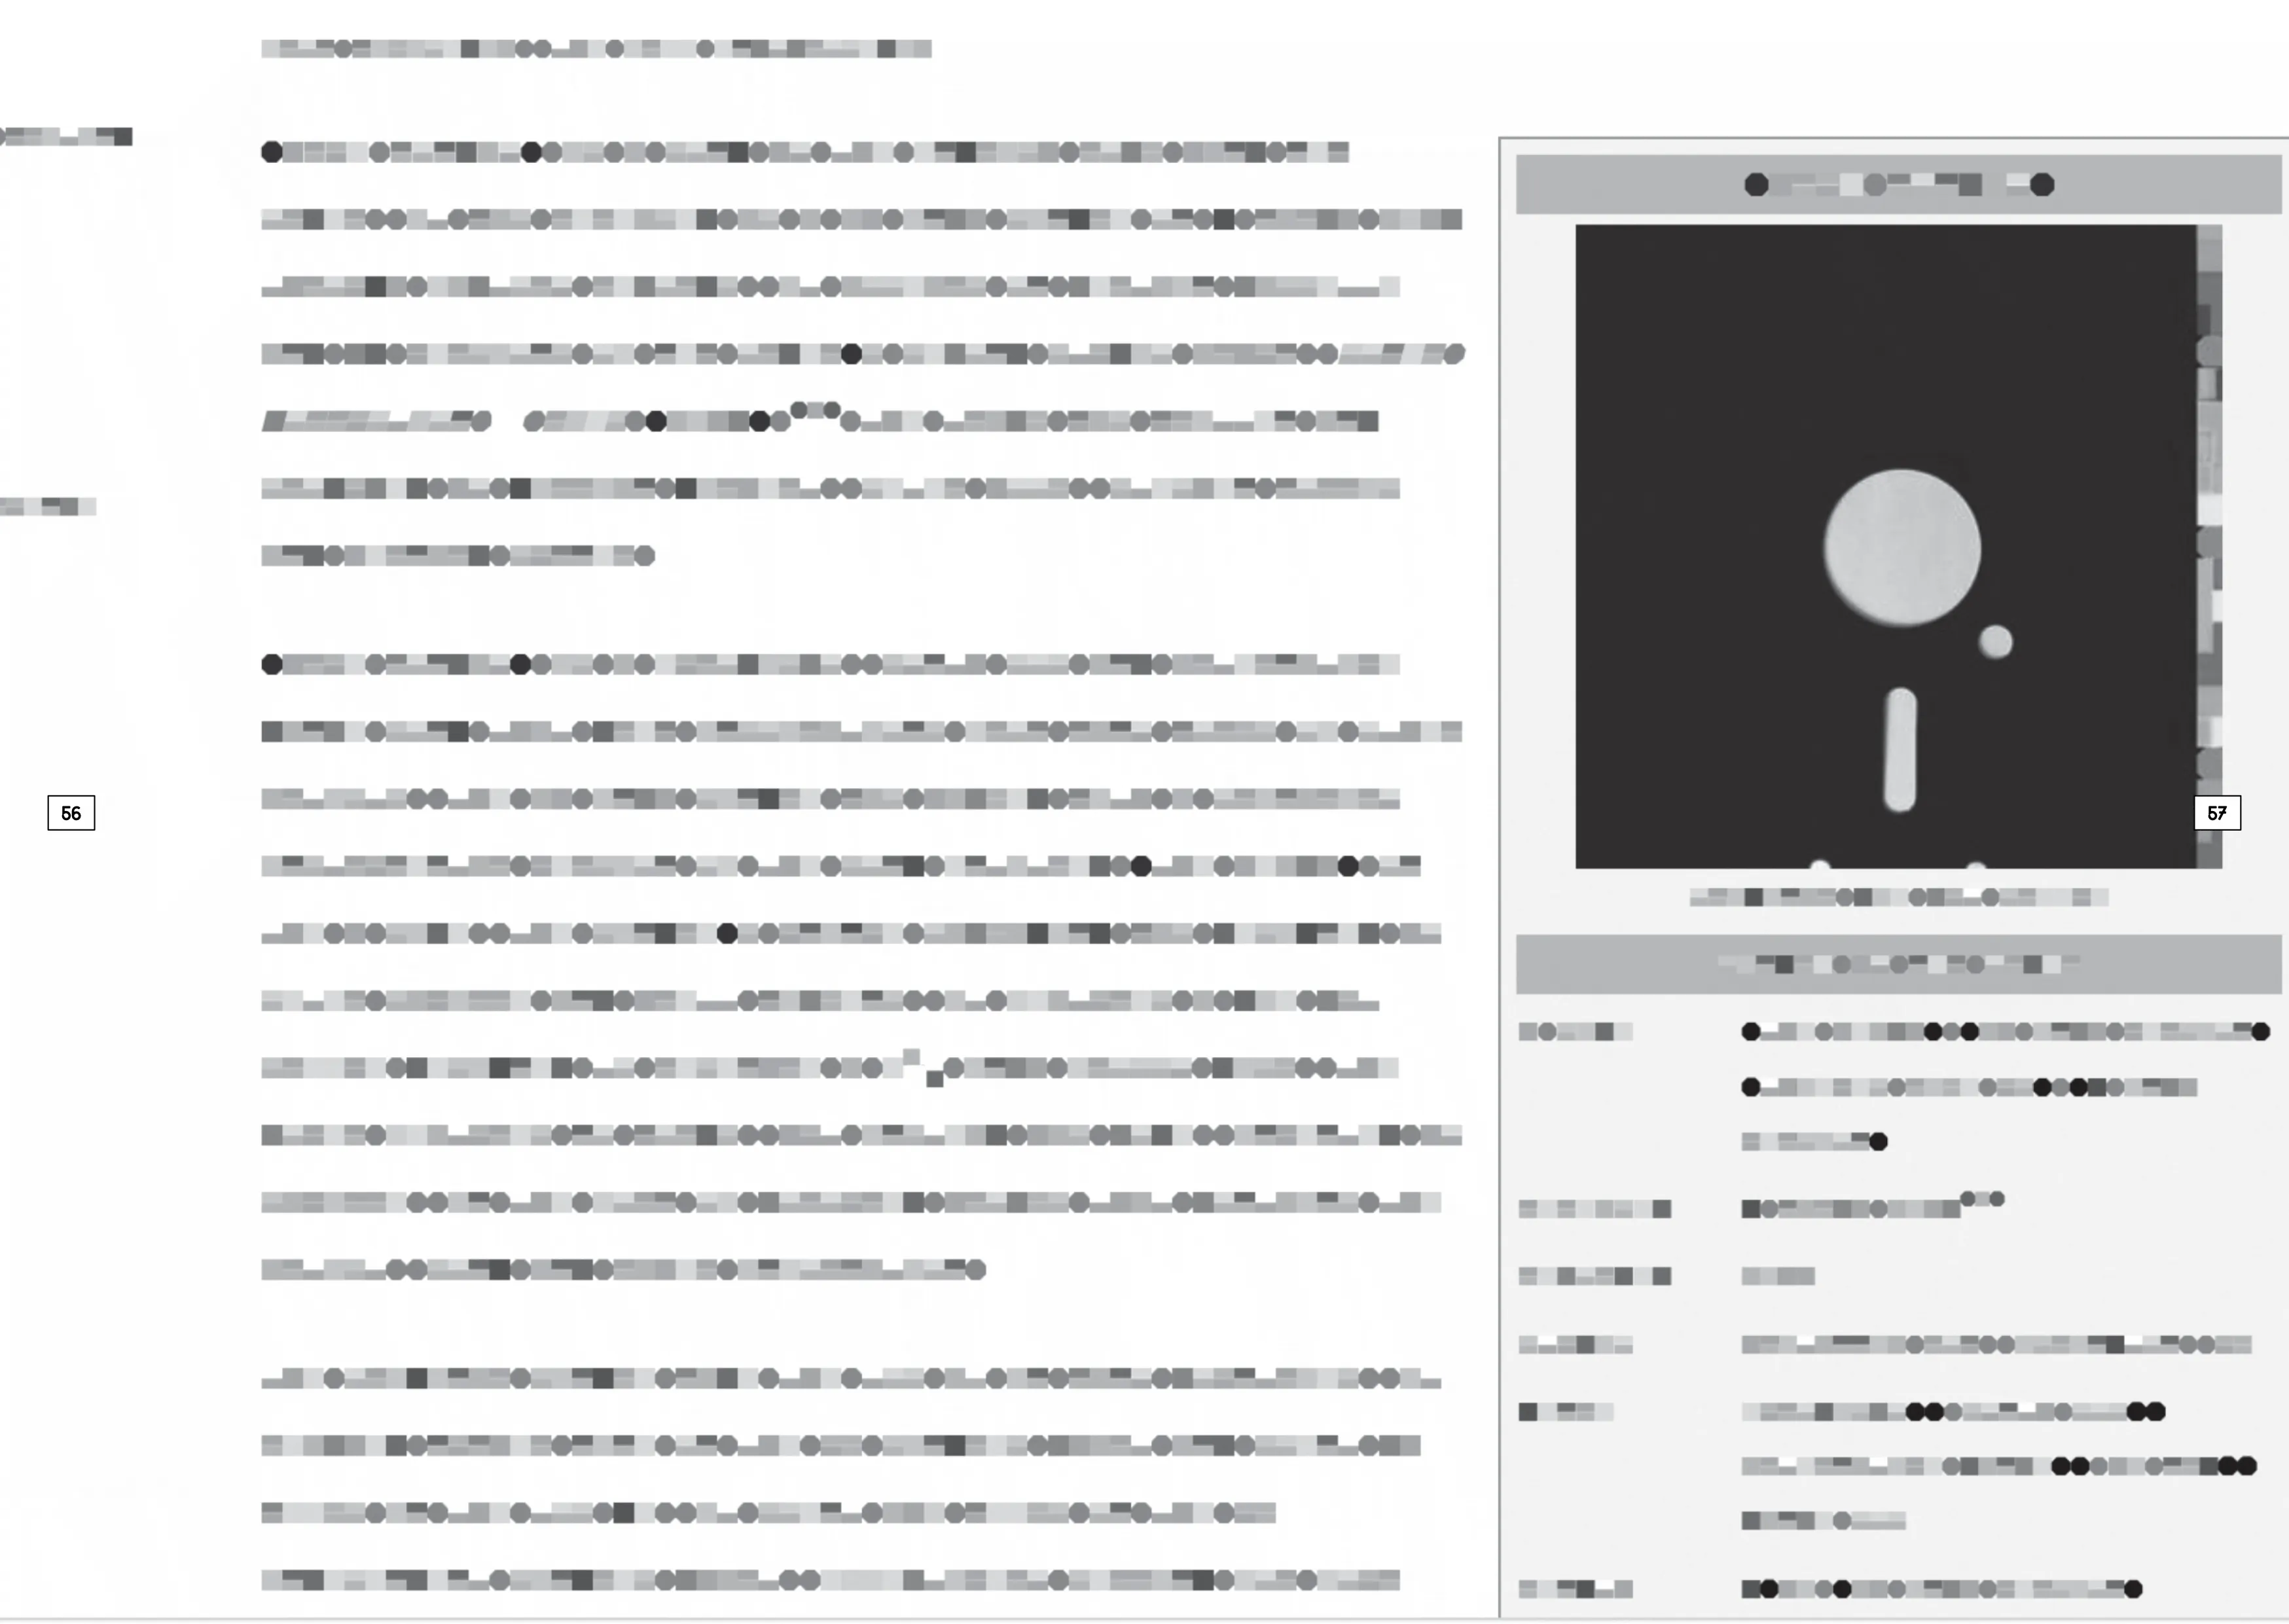
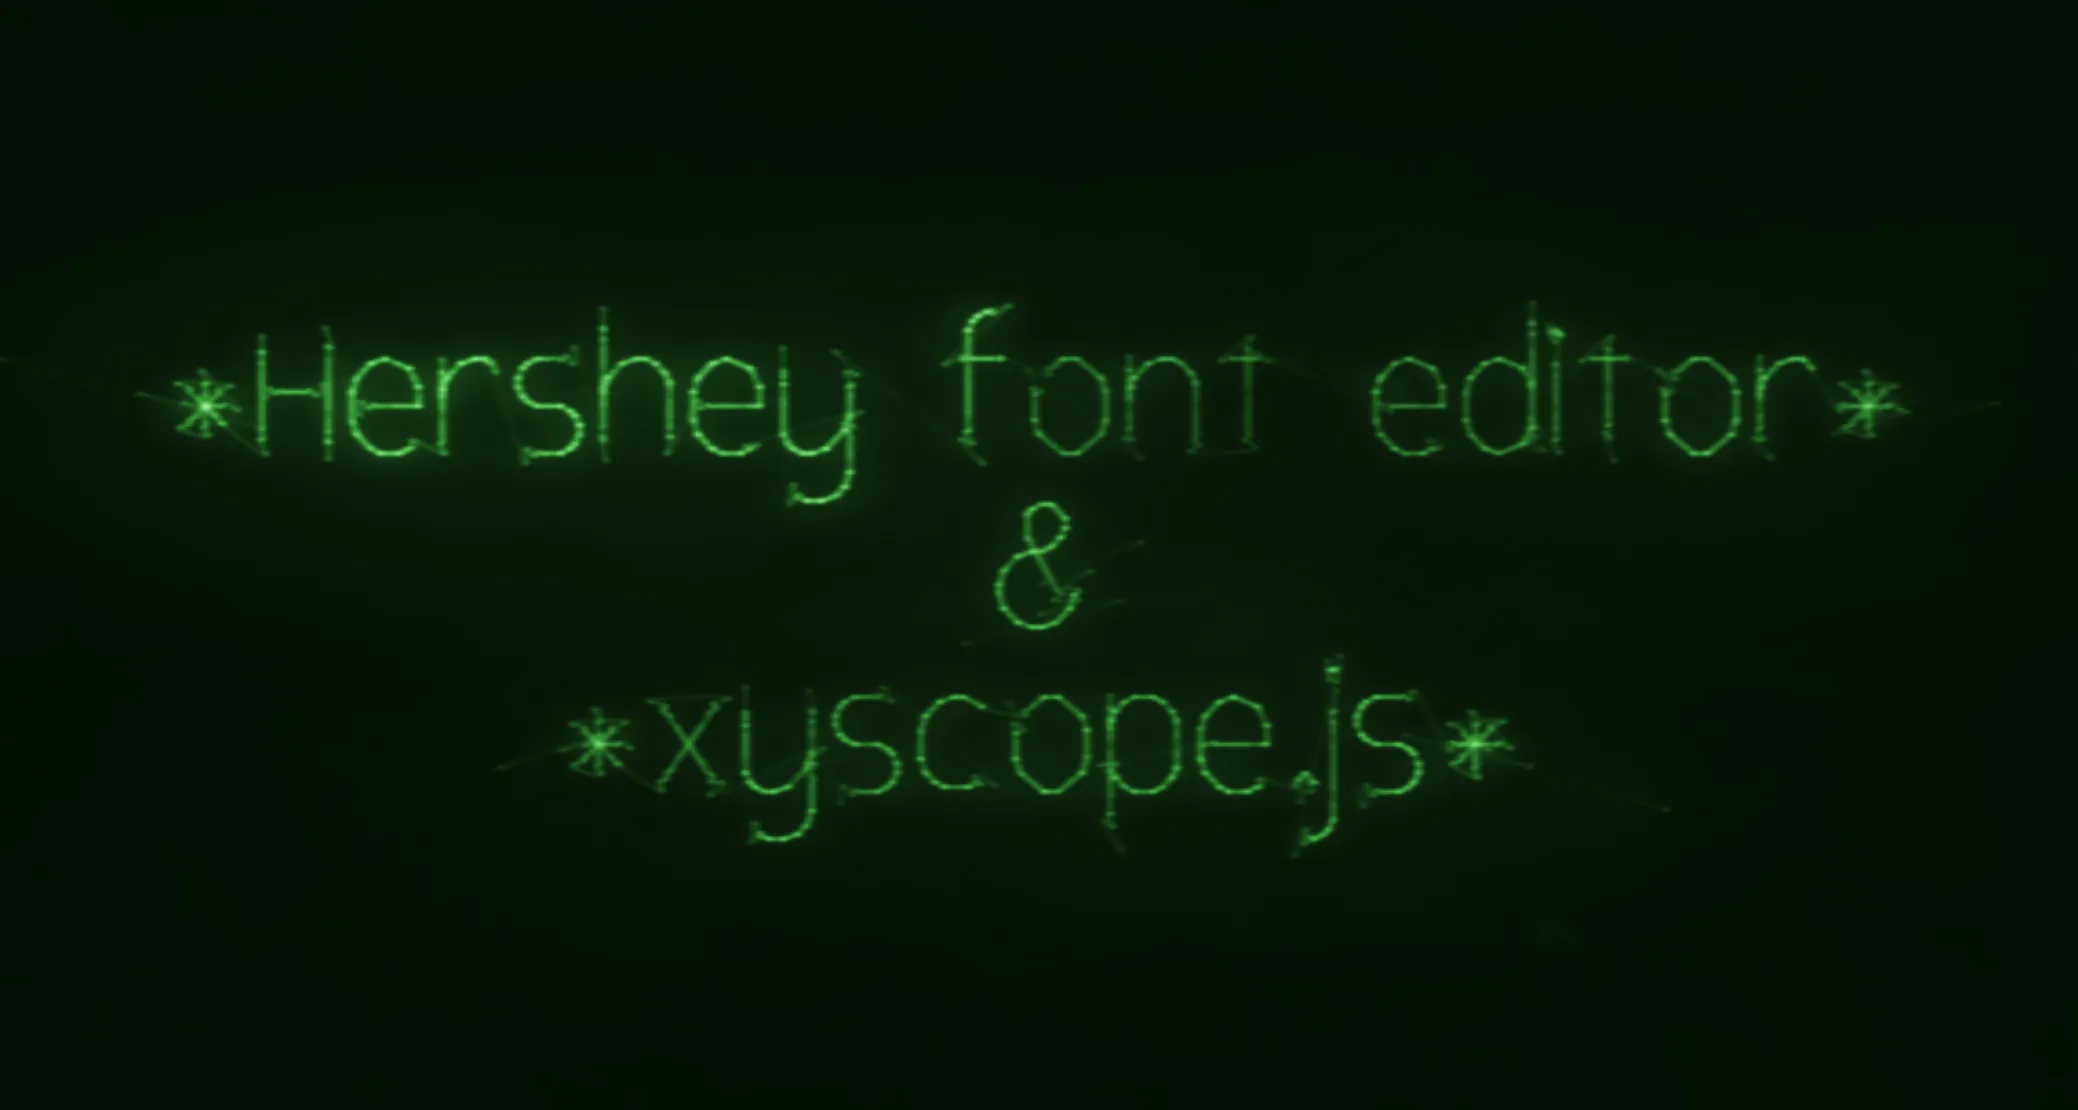
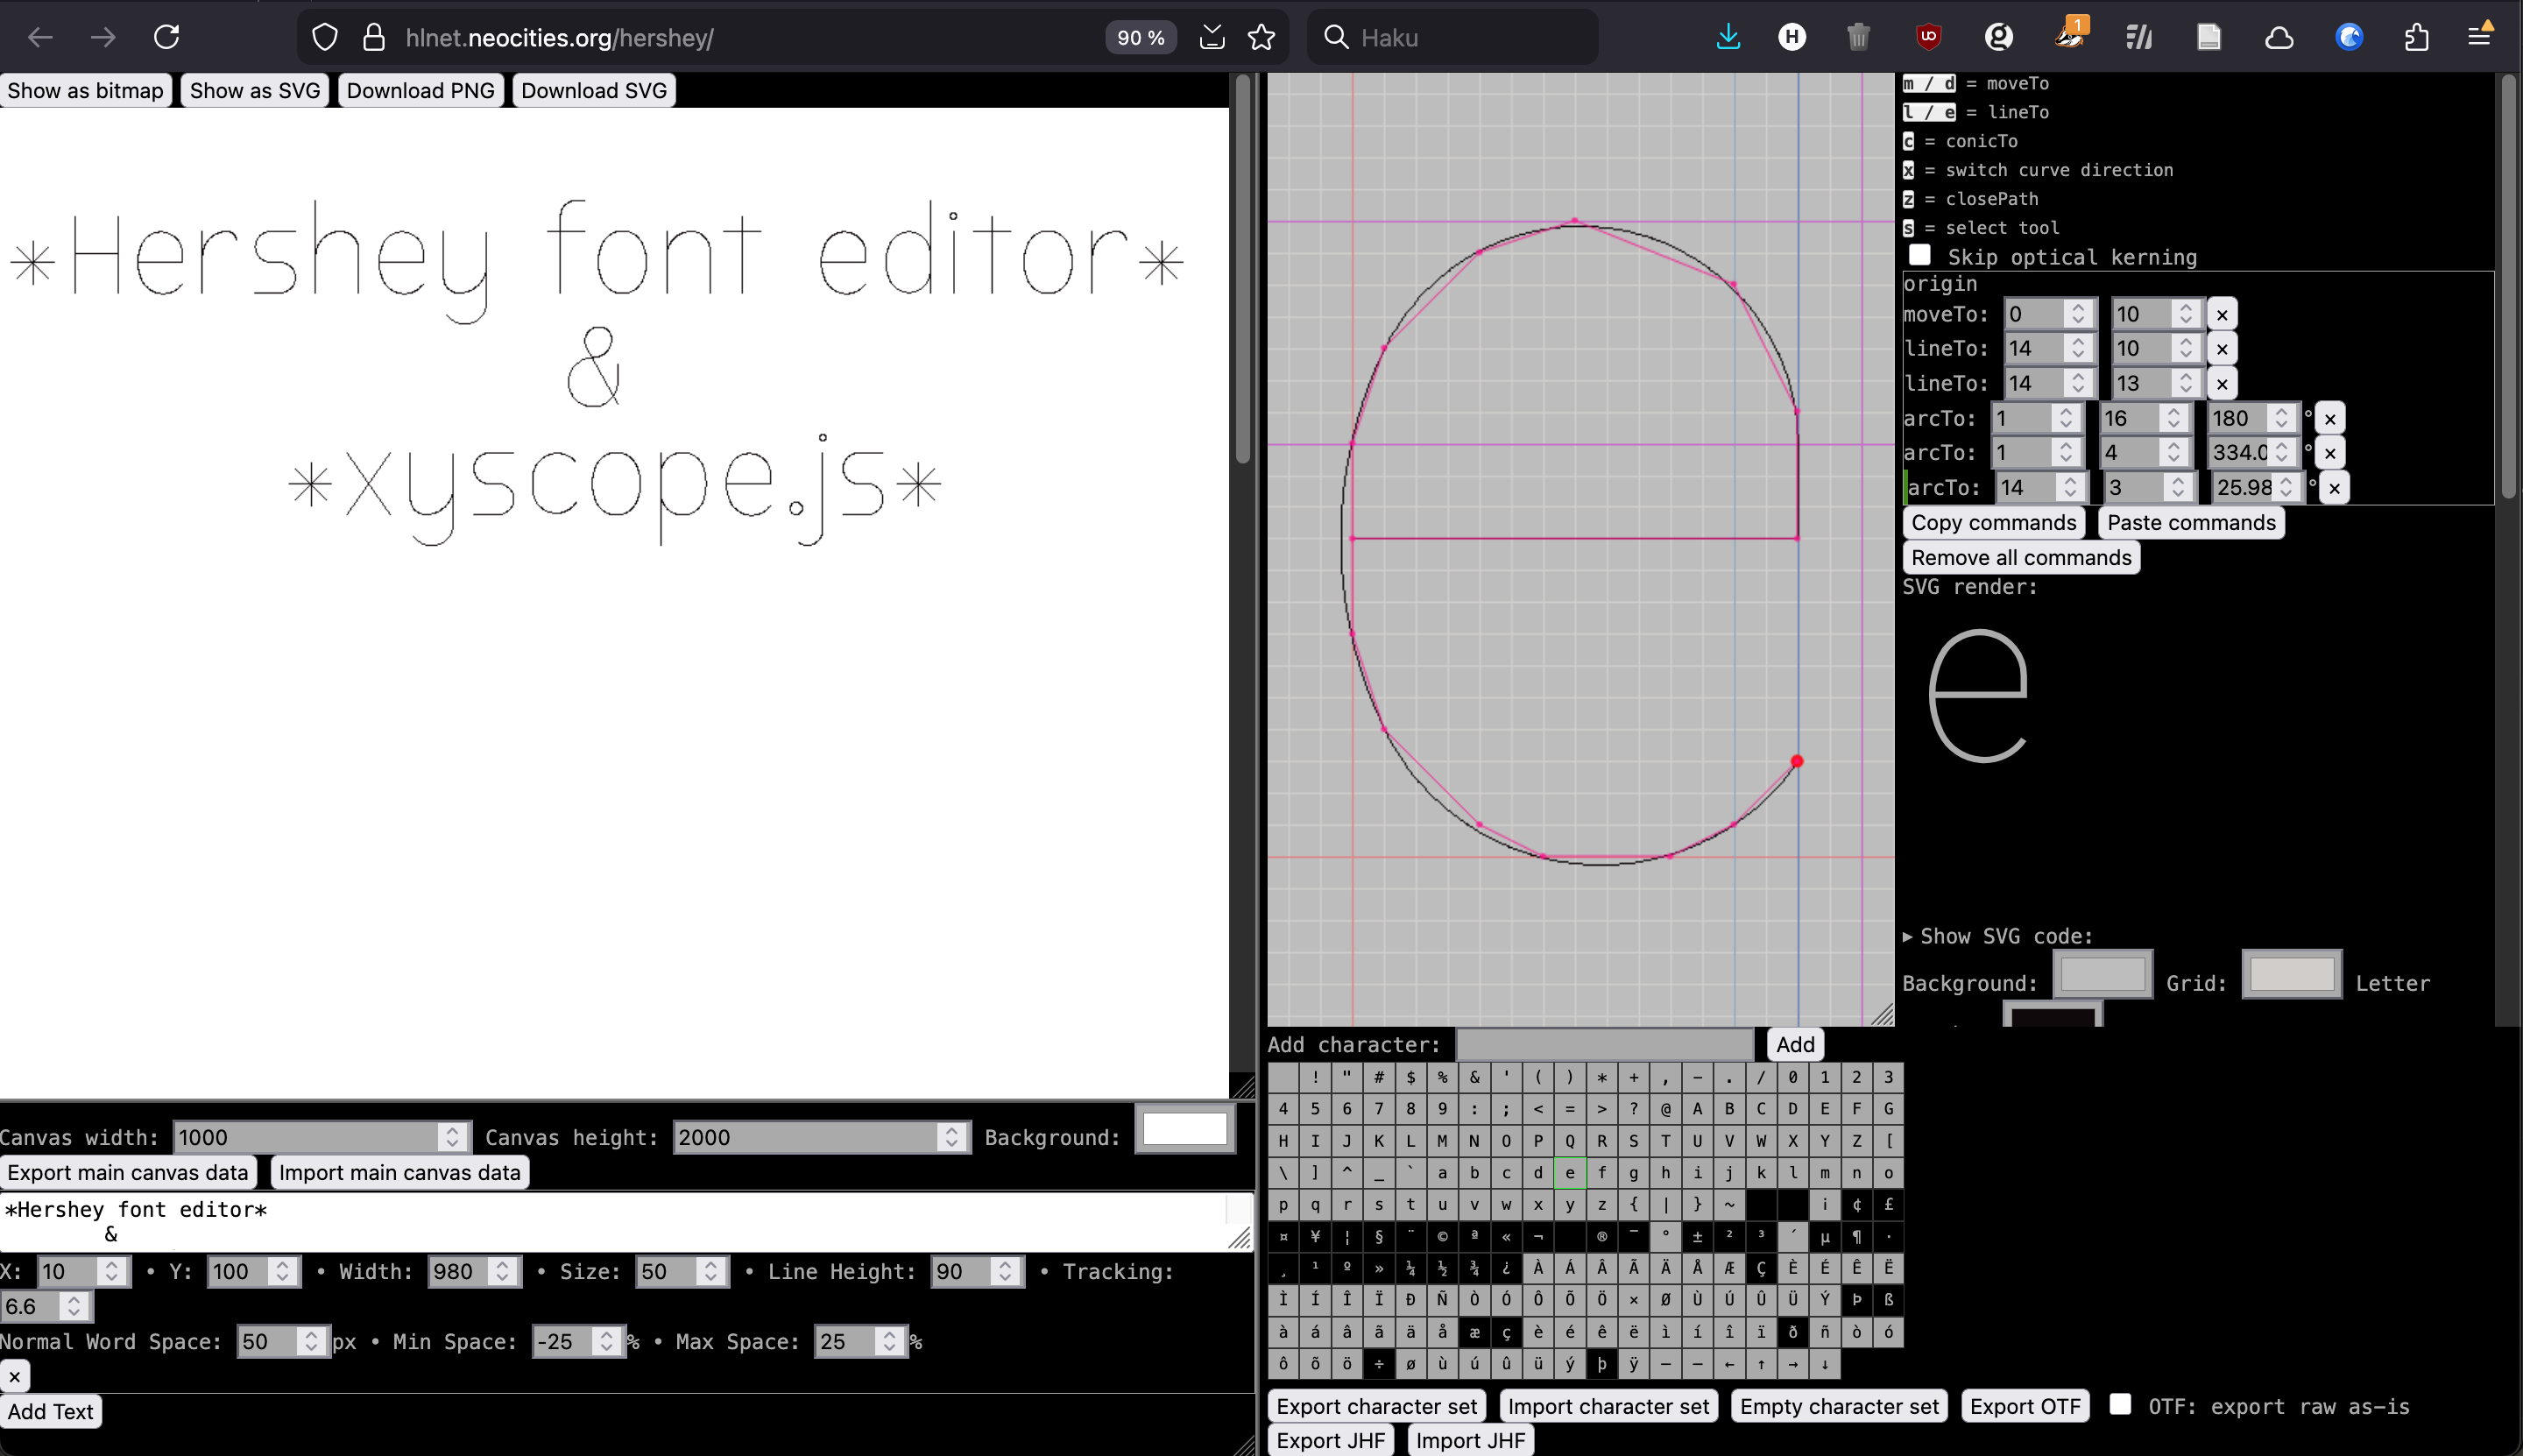
Ted also showed me his recent project XYscope.js, a p5.js library to render graphics on analog vector (XY) displays. It's very cool and as easy to use as p5.js itself!

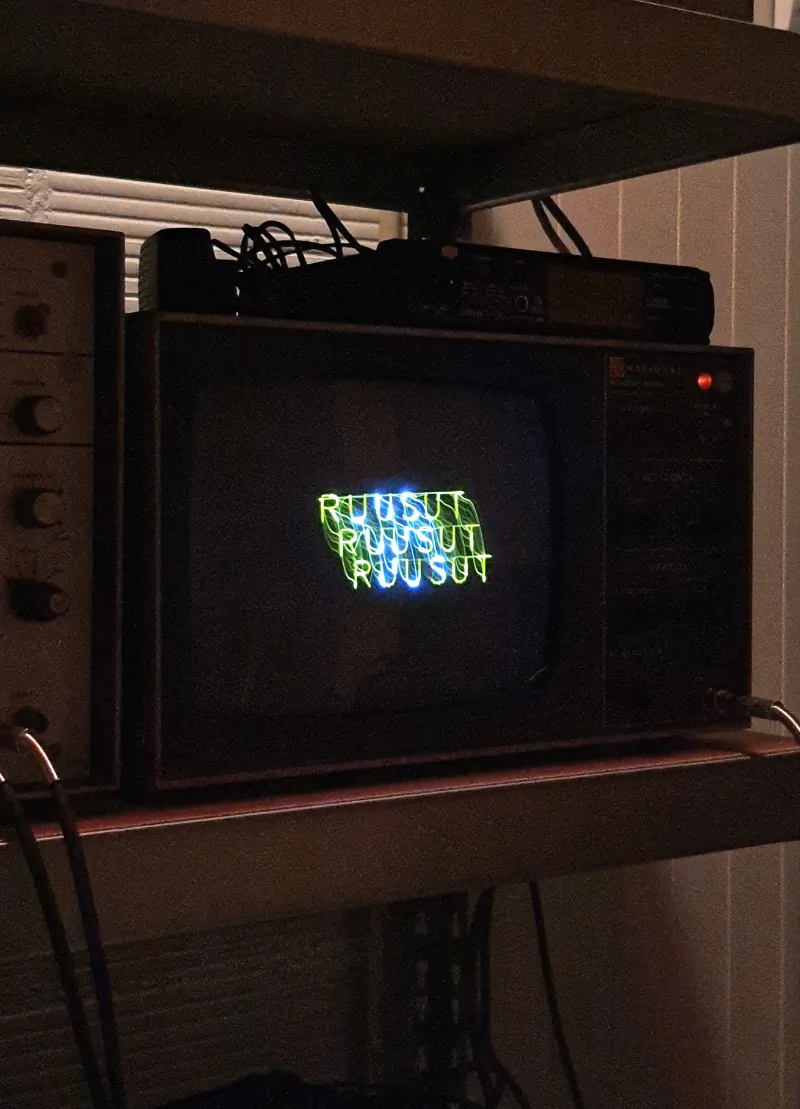
It also has support for Hershey fonts. JHF fonts can be loaded with the xy.loadFont("font.jhf") command. This inspired me to add a proper JHF (Hershey font format) export to my Hershey / single stroke font editor. So, using XYscope.js, I can render text using my own custom font on an XY-monitor or an oscillator (if I had one, that is). This code...
let xy // XYscope.js instance

function setup() {
    createCanvas(windowWidth, windowHeight, WEBGL)
    xy = new XYscope(this) // set instance
    xy.loadFont("font4.jhf")
    xy.canvas() // resize canvas/scope to full height, centered
}
function draw() {
    clear()
    xy.drawXY() // draw virtual scope
    xy.limitPath()
    xy.freq(15)
    xy.volume(0)
    xy.clearWaves() // clear shapes buffer (like clear/background)
    xy.textSize(60)
    xy.textAlign(CENTER, CENTER)
    xy.text(`*Hershey font editor*
    &
    *xyscope.js*`, 0, 0)
    xy.buildWaves() // build waves from shapes buffer
}
function mousePressed() {
    xy.resume() // user click required for sound in browser
}
...renders the following image through sound on the oscilloscope screen (simulated here by XXY):
Hershey fonts only support lines, but my editor can do Bézier curves and arcs too. So, on JHF export, curves are automatically rendered with lines, snapped to the closest grid intersections. Here's the same text in the editor:
Also, I can now also import JHF fonts and edit them!