On making Polyarc Draw, a free browser-based vector drawing tool for making graphics with polycentric arcs and crazy texture fills.
I had to make one more tool before the residency ends: Polyarc Draw. In short, Polyarc Draw is a (free & browser-based) vector drawing tool for making graphics with polycentric arcs. The main difference to Arc pudding's Polyarc tool is that it's vector and exports as SVG (& PNG).
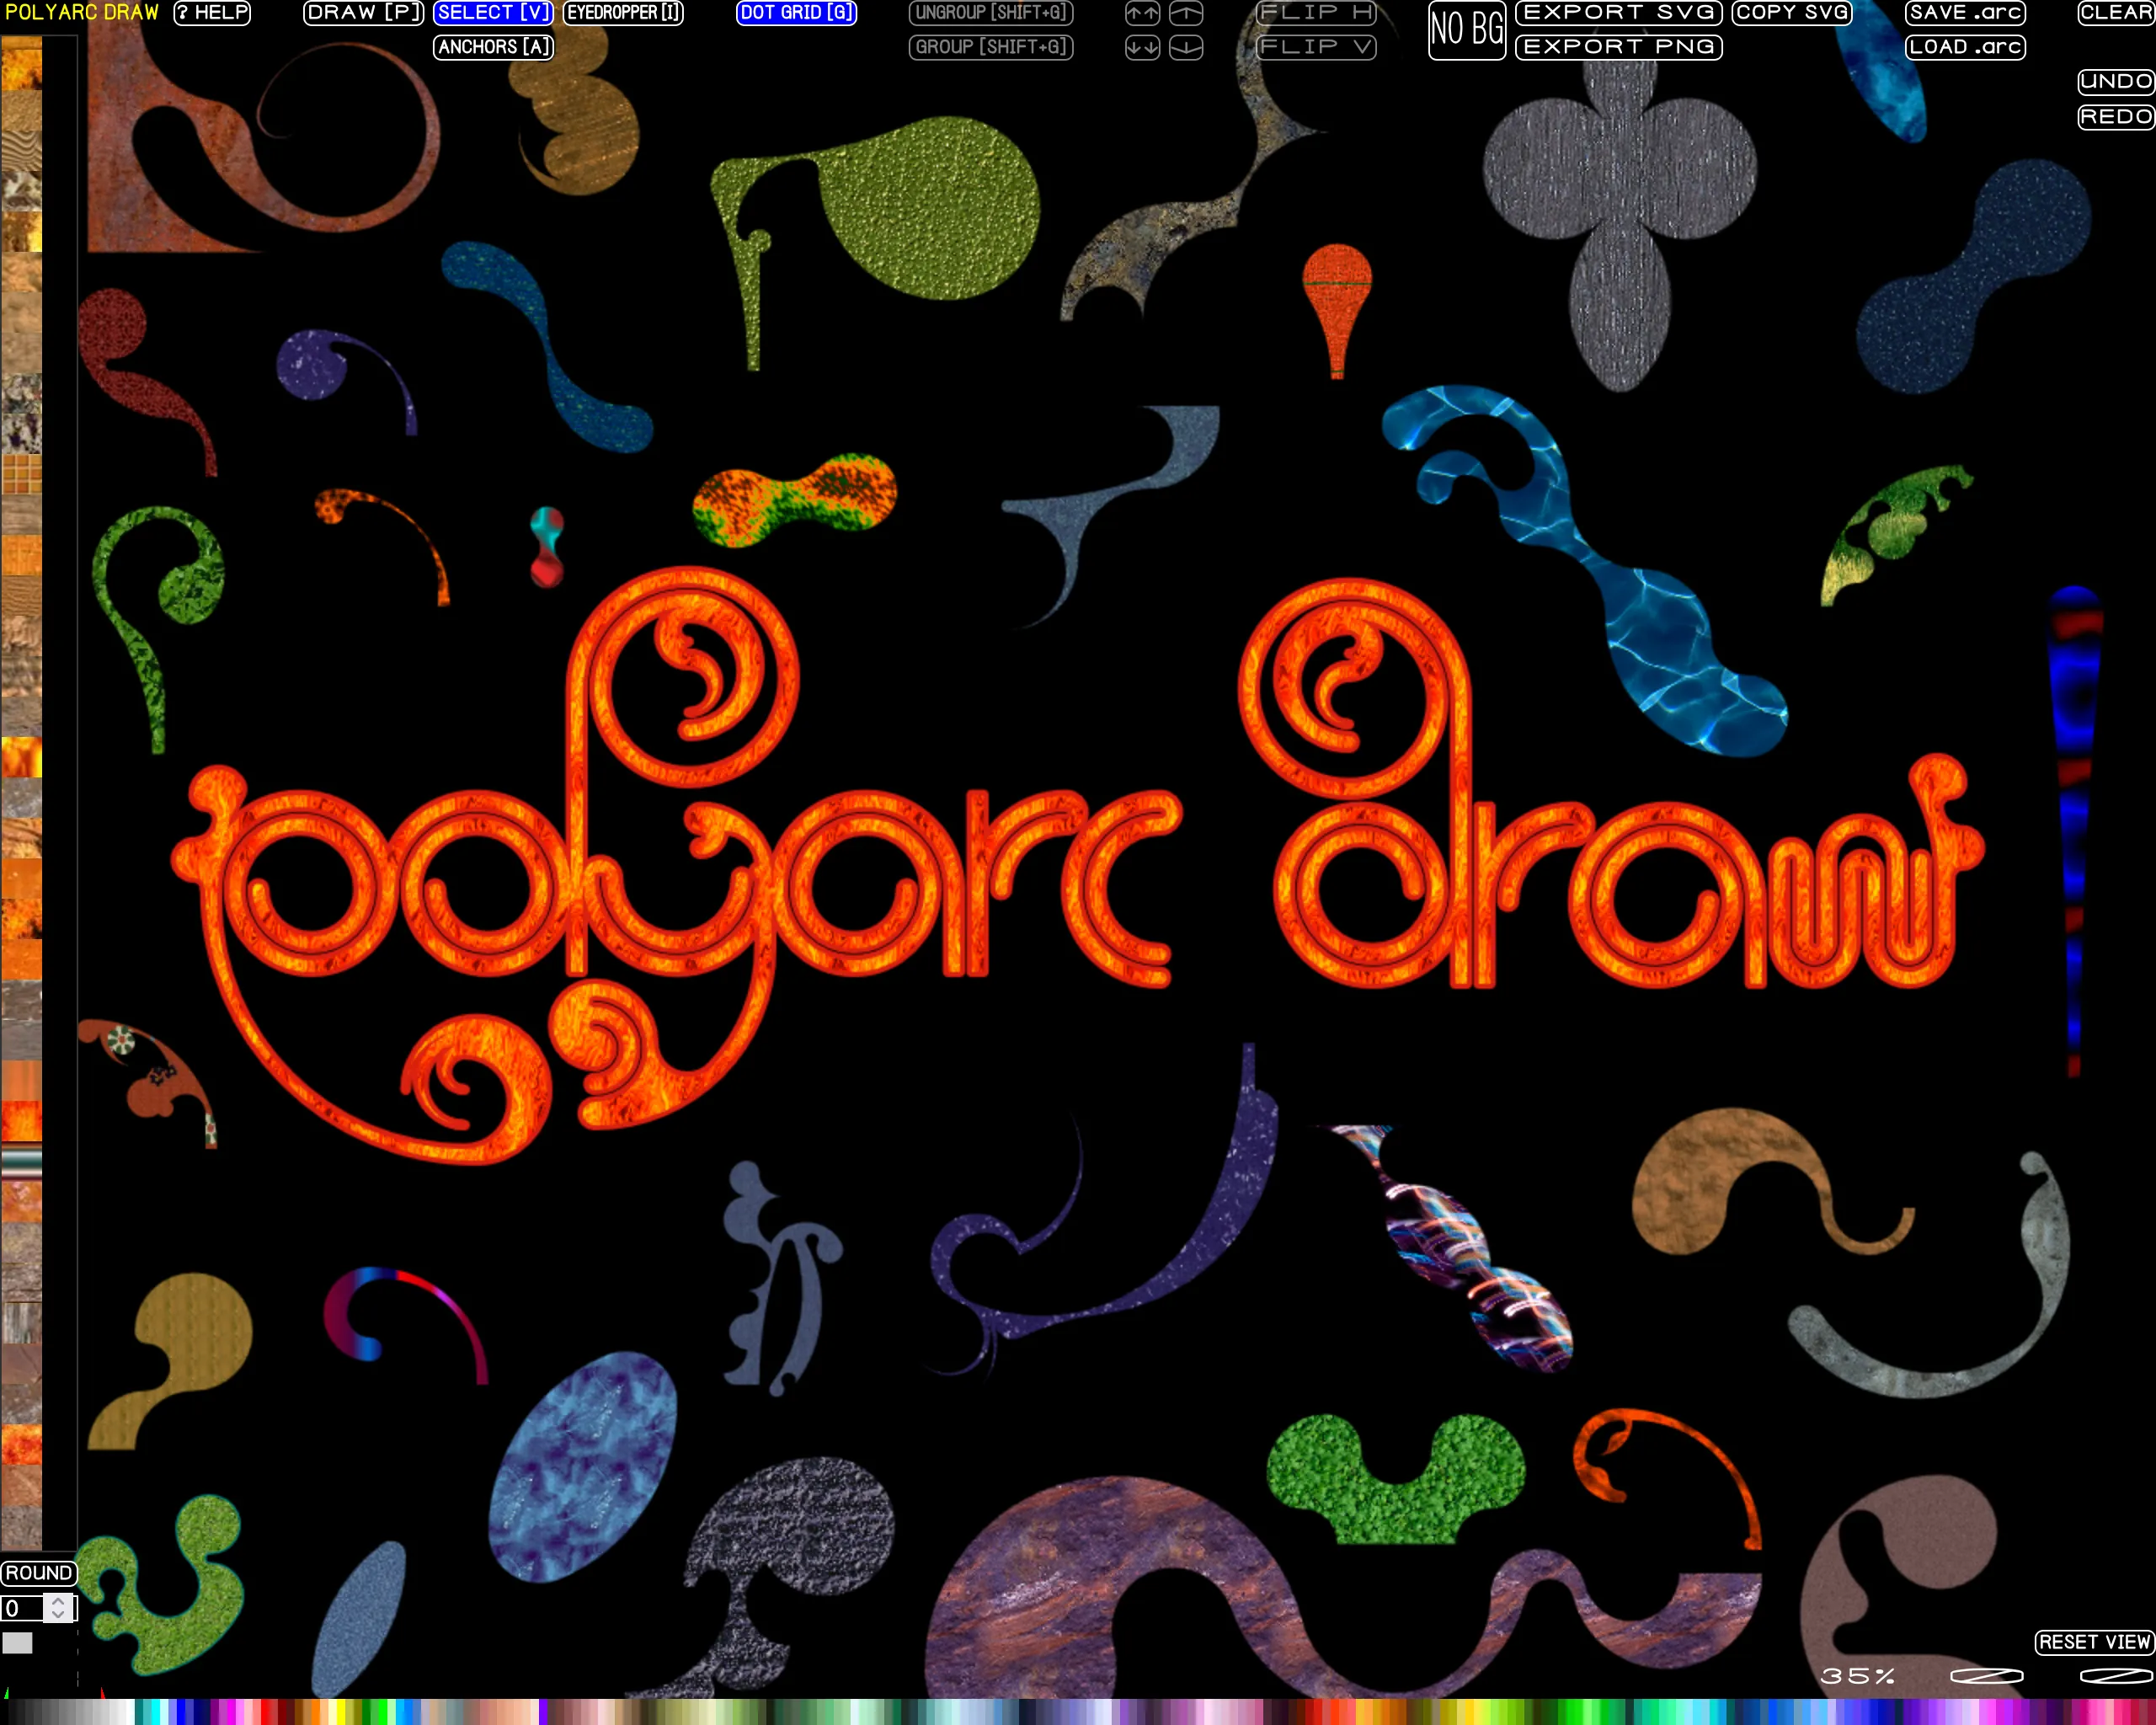
Because I've already extensively covered the idea behind polycentric arcs in February's progress with single stroke font editor and March's Arc pudding posts, I won't go into detail about the polycentric arc curve itself, but I will write a few words about the tool.
The tool is actually based on the interactive polyarc demo I made for the February post. It was already tool-like because it had SVG export. But I found doodling with it so fun that I couldn't resists turning into a bit more polished and featureful standalone tool.
The tool has only one drawing primitive, the polycentric arc. I wanted to keep this tool focused on the arcs, so there's no other primitives (like lines or Béziers) to draw with.
As anyone who has spent sime time drawing with the compass knows, circle arcs are inherently systematic. I've tried to harness some of this by incorporating anchor-placement suggestion points.
Yellow dots are suggestions for returning the curve to a grid-aligned cardinal direction (0°, 90°, 180°, 270°). This solves a problem I had with drawing arcs: if I place an arc point somewhere random, its tangent also points to an arbitrary direction (i.e. direction not divisible by 90˚). Then the next point would highly likely also point to an arbitrary direction, and the next one, and so on, making it very difficult to complete the shape without a slight bump, like this:
So, the yellow dots mark points where the tangent direction would return to being grid-aligned. In other words, I can draw very organic shapes, without caring where I place my points, and then when I want to return to the more systematic grid-alignment, I can find a yellow mark and place my point there. This is important for making smoothly continuous shapes becaues the first point is always grid-aligned and its tangent points only to cardinal directions. As you can see here, every time I place my cursor on one of the yellow marks, the tangents point to one of the cardinal directions:
Figuring out which grid dots would return the arc to grid-aligned took a while for me to figure out. The basic idea is that an arc's tangent is always perpendicular to the line from its circle's centre. Each arc has four possible exit directions (up, down, left, right) and two curvatures (curving left or right), in total eight. For each, the endpoints that return the next arc to a grid-aligned axis are somewhere on a ray from the start point P to one of these directions. So, looping over each grid line a ray crosses in each axis, we compute the ray parameter (e.g. ray = (grid_line - Px) / direction_x on vertical lines), then find the ray's other coordinate (y = Py + ray * direction_y), and then keep the points where the y is directly on a grid line. Those points are kept and displayed as yellow suggestion dots.
Then I also have these square-shaped suggestions. They're based on the "rhythm" of the already placed anchors, and suggest points that play back the previous 5: the green ones repeats the recent step vectors as-is, the orange dots are the same but mirrored, and purple dots replays the steps but rotated by the angle between the path's starting tangent and the current tangent.
Following the suggestions without much though can sometimes reveal some nice, very systematic, shapes:
There's small subtle helpers too: if grid mode (G) is off, holding down the SHIFT key snaps the next arc to some 45˚ rotation. In grid mode the points also snap to the suggestion points.
I'm very happy how this has turned out. I've yet to draw too much with it, so more experimentation is in order for me to grasp its full potential. But, I think there's a lot of potential already! And a lot of tricks I've yet to uncover.
The selection tool (V) is another fun one I experimented with. Positioning, scaling and rotation are all based on the shape's origin point, which can be moved. When moving a shape, the origin point snaps to the grid and other shape's anchor points. This makes it incredibly useful for modular design.
Instead of drawing the whole shape at once, make a collection of interesting, smaller pieces that all have one or more "connection points", and then use the select tool to mix & match them to make the bigger compositions:
Here's the Polyarc Draw logo chopped up into its pieces:
And here it is as a whole, with the pieces connected:
There's also the less useful anchor tool (A). This is where the arc based curves show their weakness. Each arc segment is based on the tangent of the previous segment, so moving one point affects all subsequent curves, which is an unwanted behaviour. The other option would be to not affect the other curves, but to break the continuity of the curves, which is also unwanted. There's no good solution. I kept it for fun though, it's fun to wiggle the shapes. But in reality, I rarely use this feature. Maybe sometime it could come in handy, but let's see...
A friend of mine said that the "textured vector" style is coming back (he shared a picture of the cover of Husky Rescue's Country Falls vinyl), so I figured I'd be at the forefront of the trend and add texture fills. The idea is simple: use SVG's <pattern> to fill the shapes. The textures can be drag & dropped from the sidebar on any shape (you can also drag & drop images from your own files, but this is a hidden feature because large texture files were crashing the site...)
The textures are from old abandon-ware royalty free CD's from Archive.org: Bakku no Oni - Mapping and Bakku No Oni - Royalty Free Materials for 3D. I made a script that sorted them by luminosity and grouped by colour. The textures are embedded into the SVG's as base64 dataURIs.
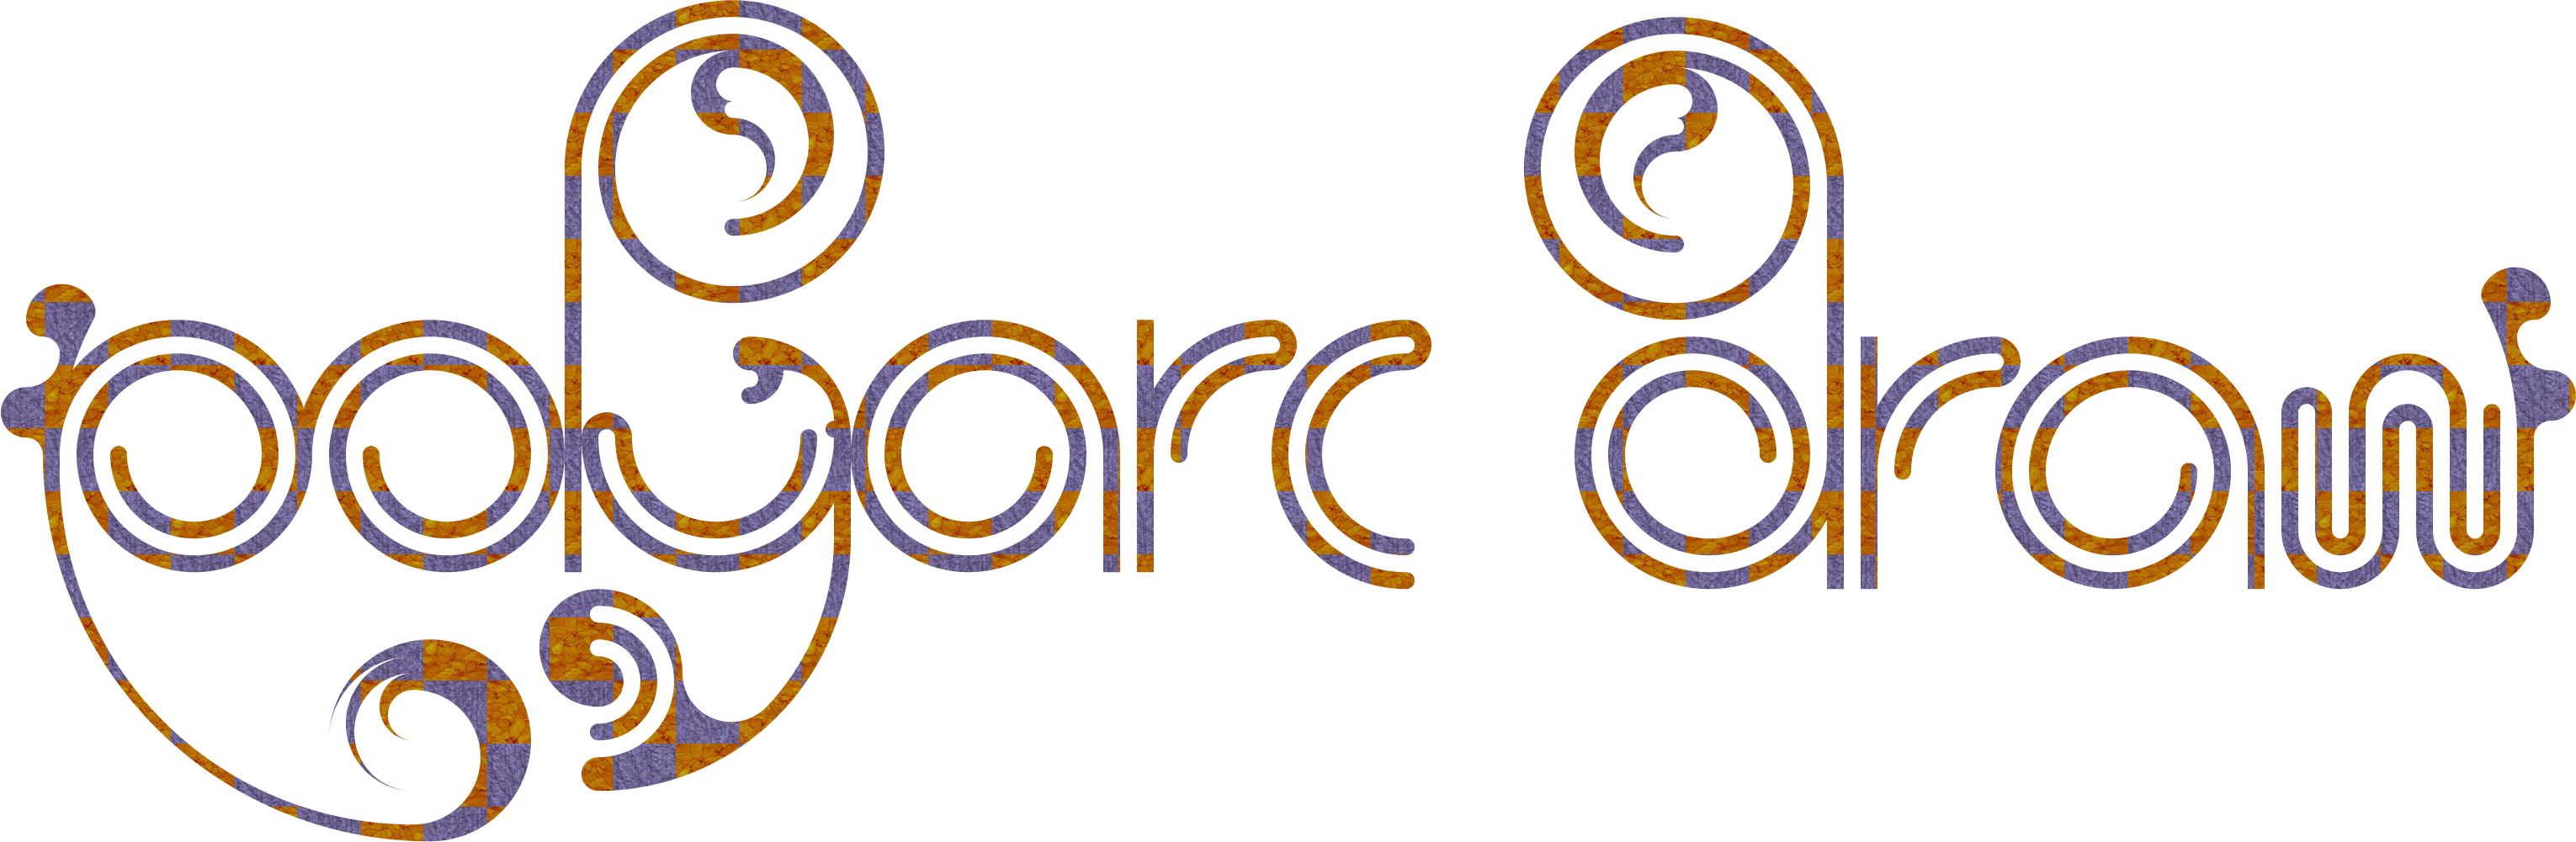
Sidenote: I also realized that Affinity doesn't support SVG's <pattern> (Inkscape does, of course)! So the above logo opens with no fill in Affinity. Affinity does have bitmap fill for vector paths, but it uses clipping masks instead. This is horribly inefficient hack and makes gigantic SVG's because the patterns are not tiled either; the export shows bitmaps placed next to each other, faking the tiling effect! Another reason not to like Affinity sadly...
Colors can also be drag & dropped onto shapes, left-click-dragged for fill and right-click-dragged for stroke. The palette is AURORA by Dawnbringer, sourced from Lospec/.
Again, the tool is available for use at https://hlnet.neocities.org/polyarc-draw/. Try it and let me know how you like it! My email is hlotvonen@gmail.com and I'm on Mastodon